

About Personalize
Contentstack Personalize is an edge-optimized personalization engine designed to deliver real-time, data-driven content experiences. Deliver real-time content efficiently and create personalized experiences without relying on developers.
With Personalize, you can create and manage audiences, define audience attributes, and develop personalized experiences within your project. You can then link these experiences to your Content Types in Contentstack through Variants, allowing you to create content variations for dynamically delivering personalized content to visitors in real-time based on demographics, behavior, and preferences.
You can also import and export data for the Personalize modules (Experiences, Audiences, Attributes, and Events) linked to a stack containing your Variants via the CLI.
Note: To enable Personalize for your organization, reach out to our support team.
To access Personalize, log in to your Contentstack account.
In the top navigation bar, click the App Switcher icon and then click Personalize.You can then create a new Personalize project by clicking the + New Personalize Project button.
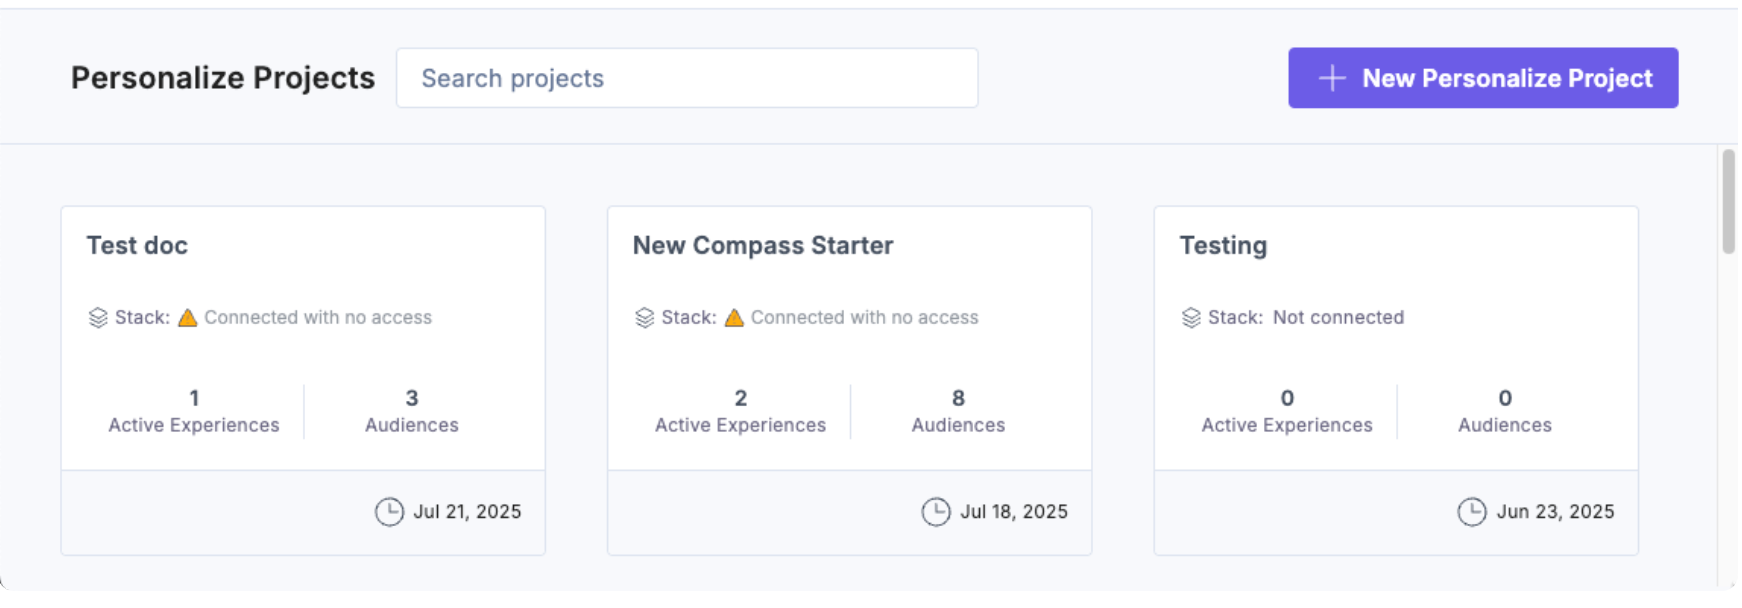
Your Personalize landing page will look as follows:
Tutorial Video
More articles in "Personalize Overview"
