

Stencil.js Sample Website
Note Contentstack no longer supports Starters. We recommend using Kickstarts which are pre-built, minimal code templates designed to help you quickly integrate your project with Contentstack.
Stencil.js is an amazing tool that helps to build a reusable and scalable design system. It allows developers to generate web components that are fast and run on every browser.
This guide will help you create a starter website built on top of Stencil.js with minimal steps. It uses Contentstack’s Node.js SDK to store and deliver the website content from Contentstack.
Let’s look at the steps to create this starter website using Stencil.js and Contentstack
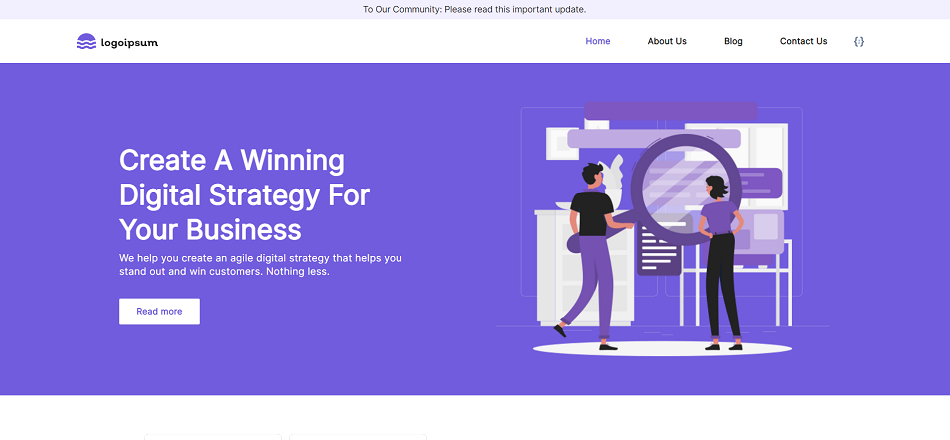
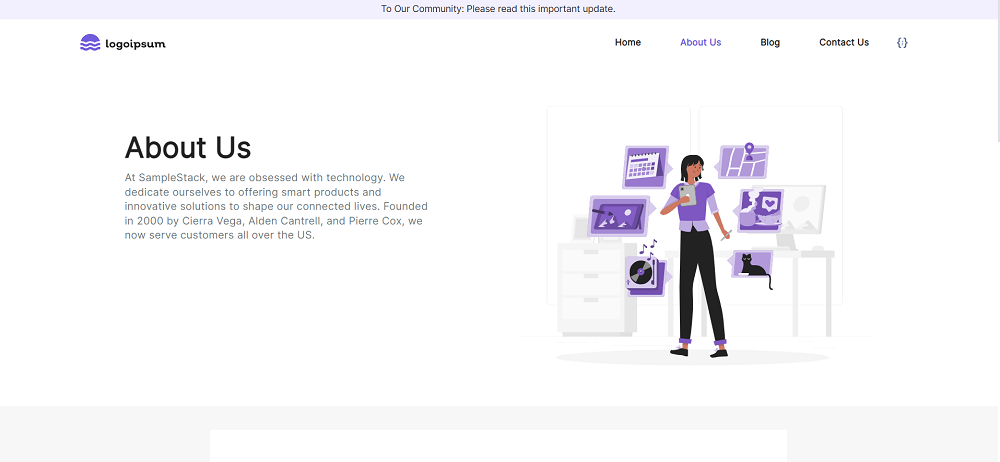
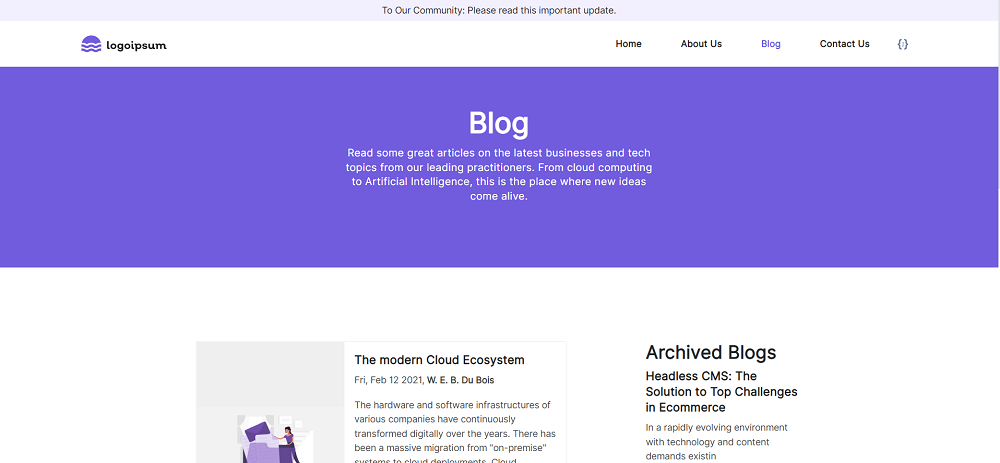
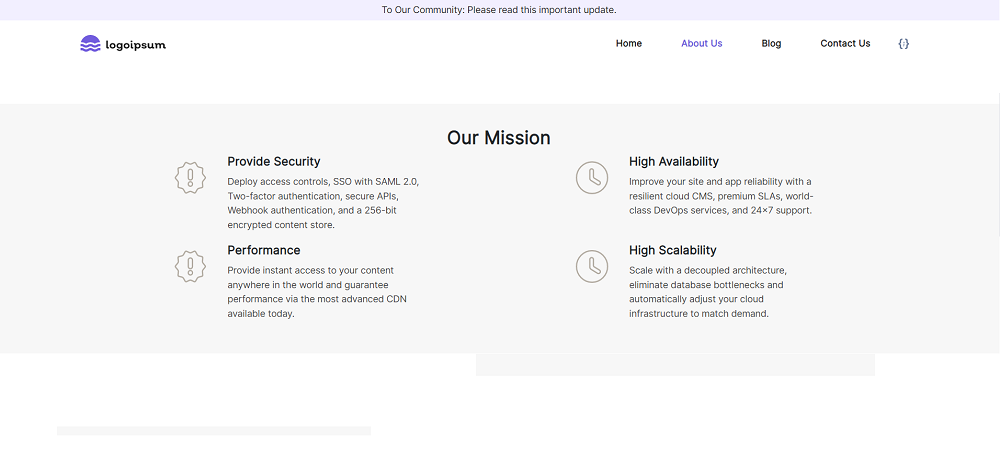
Screenshots
Note: This starter app uses Live Preview version 2.0.
Prerequisites
- Contentstack account
- Node.js version 20 or above
- Contentstack CLI: npm install -g @contentstack/cli
- Enable Live Preview for your organization
- Management token with read permission
Note: For this tutorial, we have assumed that you are familiar with Contentstack and Stencil.js. If not, please refer to the Contentstack docs and Stencil.js docs for more details.
Supported Features
- Live Preview: Utilize Contentstack's Live Preview feature to see real-time updates of your content changes reflected on your site before publishing.
- Branches: Leverage the Branches feature to manage different versions of your content within Contentstack, allowing for organized development and deployment.
Set Up Your App
Here is an overview of the steps involved in setting up the Stencil.js starter app:
- Set the Region
- Login to your Account
- Import Content
- Create Delivery Token
- Build and Configure the Website
- Deploy the Website
Set the Region
To use the North America, Europe, Azure North America, Azure Europe, Google North America, or Google Europe endpoint, run the following command in your terminal (command prompt):
csdx config:set:region <<region>>Note:- For North American users, set the region as NA.
- For European users, set the region as EU.
- For Azure North American users, set the region as AZURE-NA.
- For Azure European users, set the region as AZURE-EU.
- For Google North America users, set the region as GCP-NA.
- For Google Europe users, set the region as GCP-EU.
Login to your Account
To import content to your stack, first, you’ll need to log in to your Contentstack account via CLI by running the following command in your terminal:
csdx auth:loginThis command will ask you to provide your Contentstack’s account credentials (email and password)
Import Content
The seed command lets you import content to your stack in a few steps. To do so, run the following command in your terminal:
csdx cm:stacks:seed --repo "contentstack/stack-starter-app"This command prompts the following options:
- Organization name: You will get a list of organizations to which you have access. Select the one from the list where your source stack is located or where you want to create a new stack.
Note: Choose an organization where you are an owner or admin.
- Stack preference: Next, you will get an option to create a new stack or use an existing stack.
- If you select New, you must enter the stack name, and the stack creation process will start.
- If you select Existing, you will get a list of stacks to which you have access in the organization. Choose the destination stack where you want to import the content. If the existing stack has some content, it will ask for a confirmation to continue with the same stack.
Additional Resource: Refer to the Stack Roles documentation to learn more about permissions.
Tip: To avoid the chances of any error, we recommend that you select the option of creating a new destination stack. If you import content to an existing stack, ensure that the stack is empty.
Finally, you will get the content imported to your stack.
- Organization name: You will get a list of organizations to which you have access. Select the one from the list where your source stack is located or where you want to create a new stack.
Create Delivery token
A delivery token lets you fetch published content of an environment.
You can create a delivery token for the “development” environment for running the website on localhost.
Later, while deploying your site, you can create tokens for other environments.Build and Configure the Website
Fire up your terminal, navigate to your project folder, and run the following command to create a configuration file named .env.
cp .env.sample .envNote: If you are a Windows user, replace cp with copy in the command given above.
The .env file contains all the necessary config parameters. Open it in any code editor or IDE of your choice, provide your stack credentials as shown below, and save the file.
CONTENTSTACK_API_KEY = <api_key_of_your_stack>
CONTENTSTACK_DELIVERY_TOKEN = <delivery_token_of_the_environment>
CONTENTSTACK_ENVIRONMENT = <environment_name>
CONTENTSTACK_BRANCH = <your_branch_name>
# For example: CONTENTSTACK_BRANCH=main
CONTENTSTACK_REGION = <your_region_name>
# For example: CONTENTSTACK_REGION=us
Mandatory configuration parameters to enable Live Preview
Note: The below code is for North America region users only. Refer the configuration code for Europe region, Azure North America region, Azure Europe region, Google North America, and Google Europe region on the regions configuration page.
CONTENTSTACK_PREVIEW_TOKEN = <preview_token_linked_with_delivery_token> CONTENTSTACK_PREVIEW_HOST = rest-preview.contentstack.com CONTENTSTACK_APP_HOST = app.contentstack.com CONTENTSTACK_API_HOST = api.contentstack.io CONTENTSTACK_LIVE_PREVIEW = true #By default the live preview feature is enabled for this project. To disable it, set "CONTENTSTACK_LIVE_PREVIEW= false". CONTENTSTACK_LIVE_EDIT_TAGS = false #By default live editing tags are disabled for this project. To enable it, set “CONTENTSTACK_LIVE_EDIT_TAGS= true”.Note: Make sure your management token has READ permission only.
Additional Resource: Go to our Live Preview documentation to learn more about the Live Preview feature in Contentstack.
Fire up your terminal, point it to your project location, and run the following commands:
npm install
npm start
That’s it!
You can now view the website at http://localhost:3000. And you also have the stack that has all the content and resources for the website. Try experimenting by creating new entries and publishing on the “development” environment. You should be able to see the changes on the website at the localhost.
Set up Live Preview (Optional)
Note: In order to use Live Preview, your plan must include this feature. Check our pricing page for more details.
The next step is to set up and enable live preview for your website. Follow the steps below to set up live preview feature for your website:
- Navigate to the Live Preview section in your stack's “Settings”.
- Select the Enable Live Preview checkbox.
- Now, select a Default Preview Environment for previewing the live content of your website. Finally, Save your settings.
This completes your live preview set up. Now, you can deploy the website using Vercel.
Deploy the Website
The easiest and the quickest way to deploy a website on production is to use Vercel. You need a Vercel account before you start deploying.
Note: While deploying the starter website to Vercel, make sure to enable/ disable the live preview environment variable as per your requirement.
