

Bulk Operations App Installation Guide
The Bulk Operations Marketplace app in Contentstack allows you to perform various operations on bulk content together in one go. The app includes operations for updating multiple entries within the Contentstack environment. Bulk operations save time and effort by allowing operations on multiple entries in a single request, improving efficiency, performance, and user experience.
The Bulk Operations app enables you to use the following operation:
Entries: Bulk operations for Contentstack Entries, allow you to perform bulk publishing, unpublishing, and deleting multiple entries at once. Content editors save time by avoiding repetitive tasks on more than one entry.
Assets: Bulk operations on Contentstack Assets, allow you to perform multiple asset-related operations such as uploading, publishing, unpublishing, and deleting in bulk. Bulk operations are available for images and videos stored within the Assets section of CMS.
Releases: Bulk operations on Contentstack Releases, allow you to add multiple entries and assets at once and also create a new release. This benefits faster deployments and greater visibility into the content publishing process.
Find and Replace: The Find and Replace operation quickly searches for a specific text, such as a word or a phrase, and replaces it with another. The app lets you edit the text in multiple entries at once. It can correct typos or spelling mistakes, update outdated information, and make changes throughout the content.
Prerequisites
- Contentstack account
- Access to the Contentstack Organization/Stack as the Owner/Admin
Follow this step-by-step guide to install and configure the Bulk Operations app within your stack.
Steps for Execution
- Install and configure the Bulk Operations app in Marketplace
- Use the Bulk Operations app within your Stack
Install and Configure the Bulk Operations App in Marketplace
To install the app in Contentstack, log in to your Contentstack account and follow the steps below:
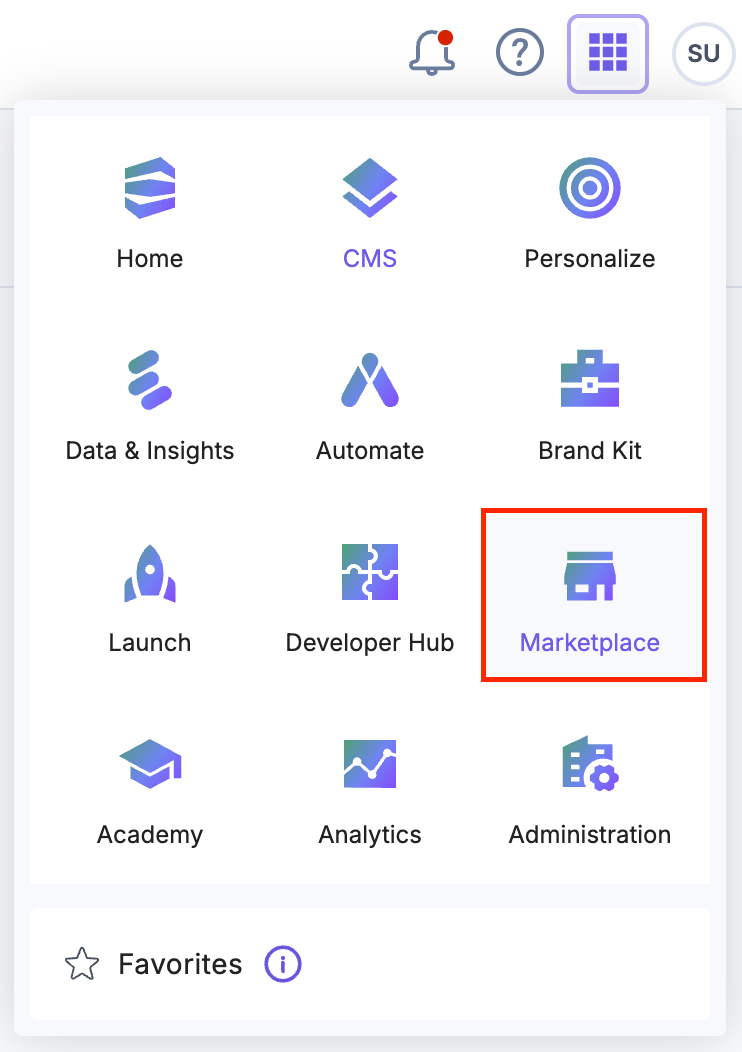
- Navigate to the “App Switcher” icon in the top-right corner and click Marketplace.
- Click Apps from the left panel.
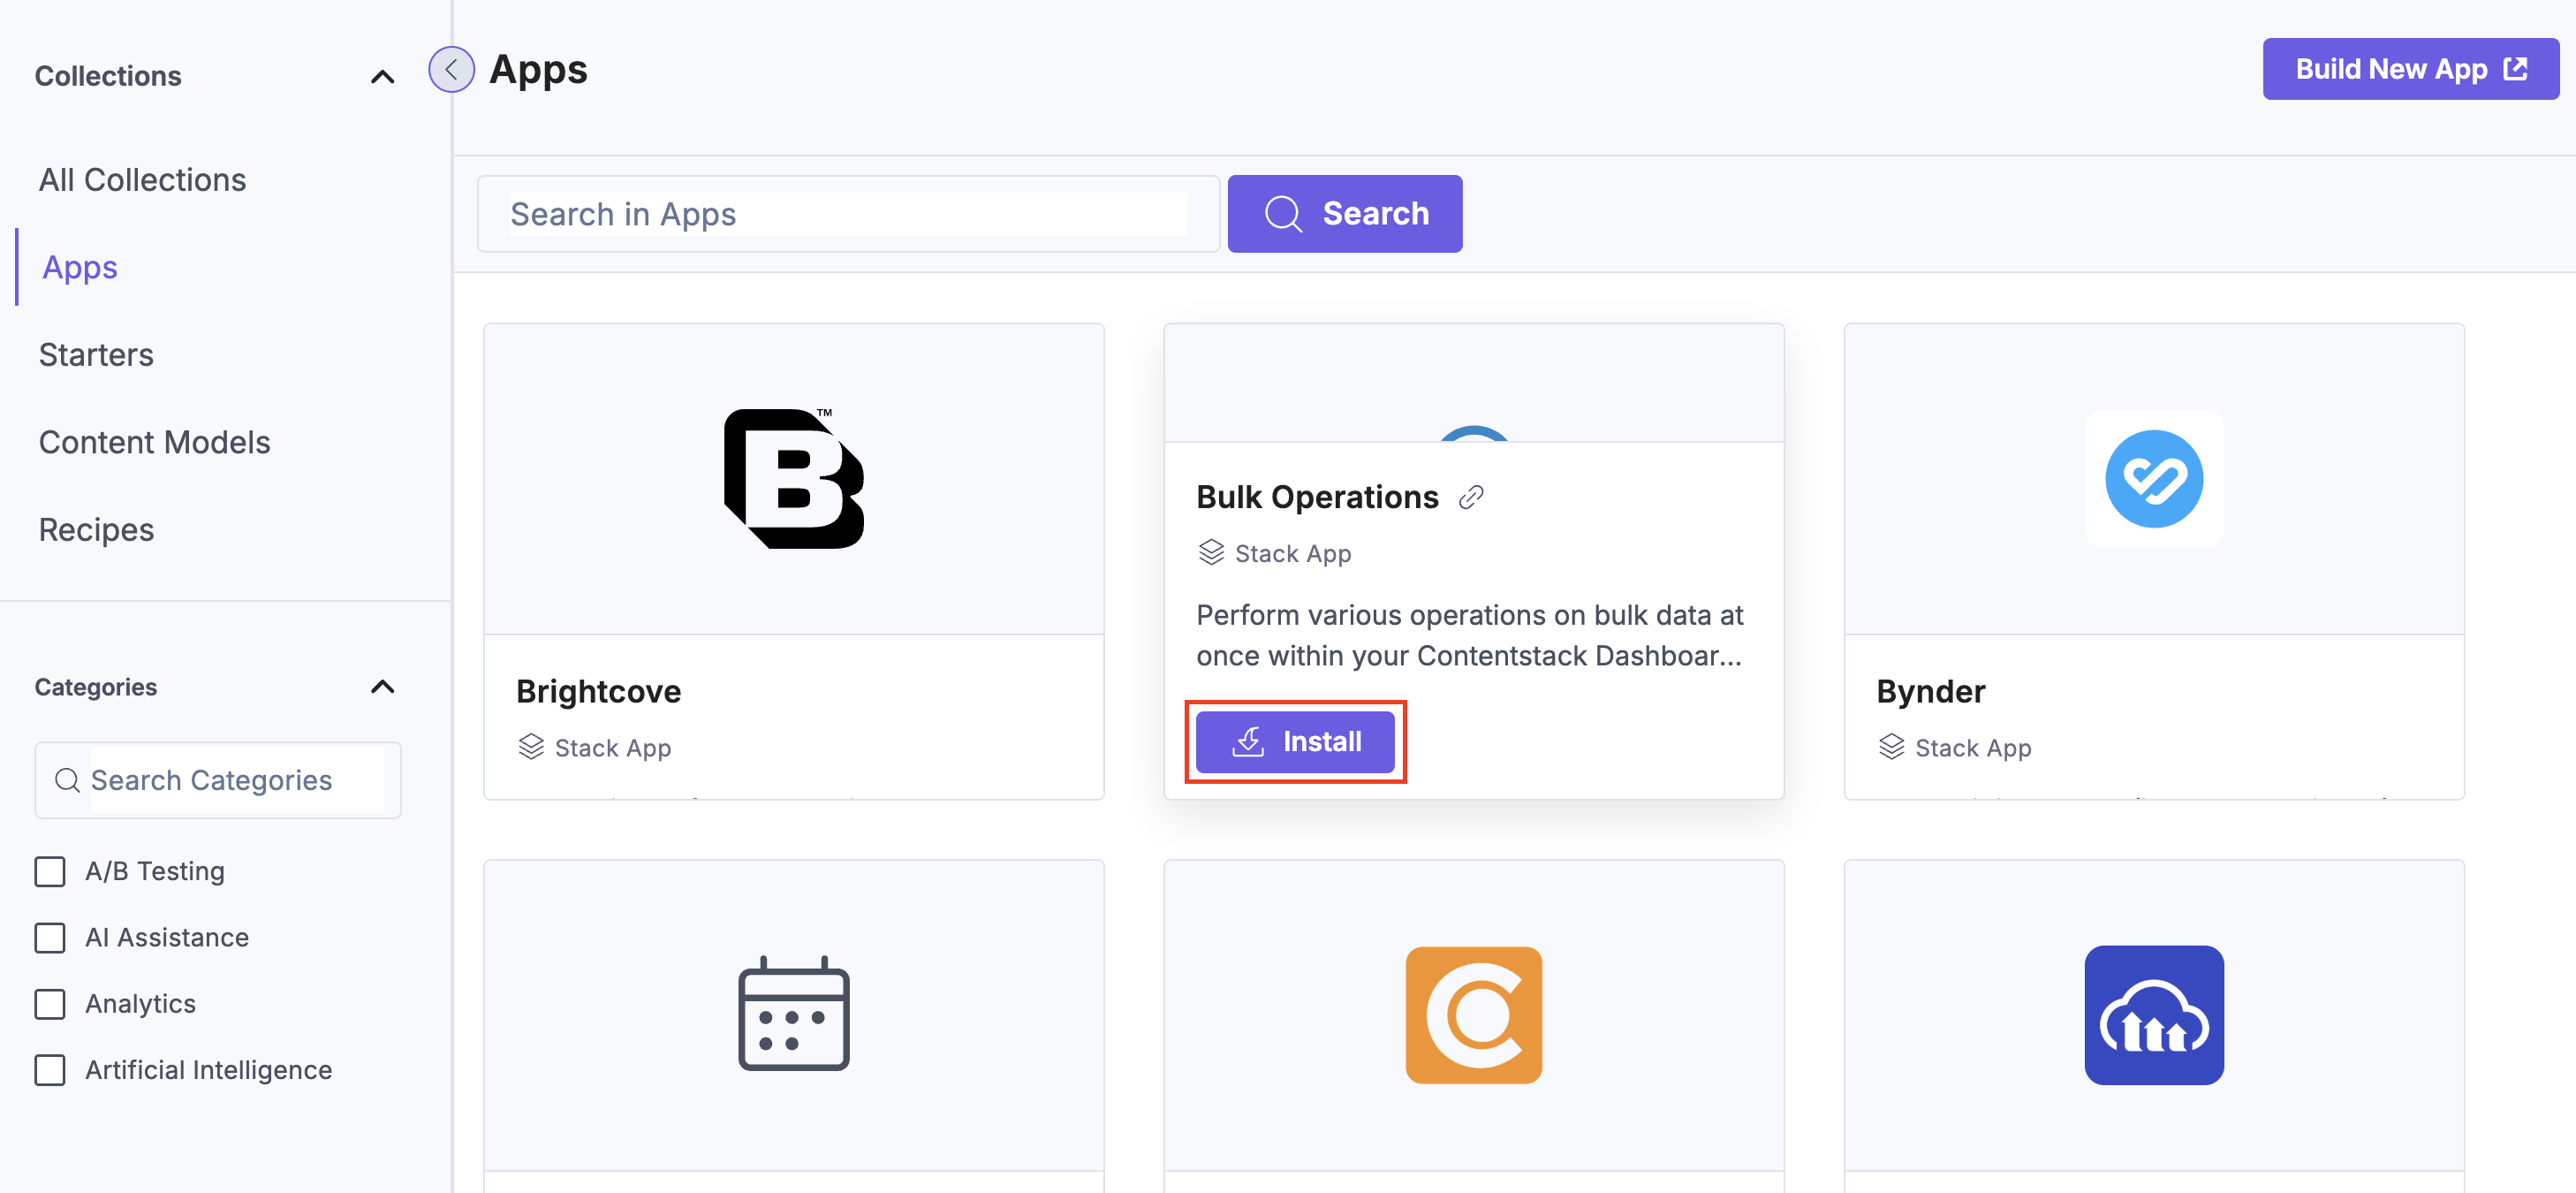
- Within the Marketplace, you can see the available apps. Hover over the Bulk Operations app and click Install.
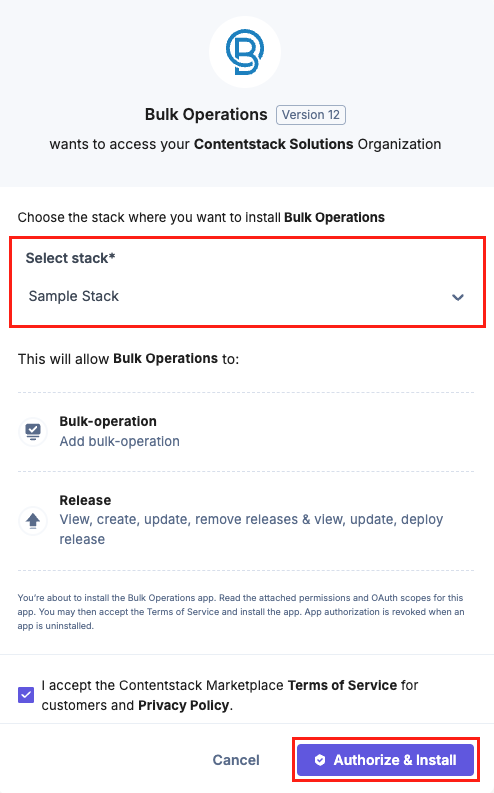
- In the pop-up window, select the stack where you want to install the Bulk Operations app, accept the Terms of Service, and click the Authorize & Install button.
- On the UI Locations tab, you can see the predefined app location (Stack Dashboard Location). You can use the toggle button corresponding to enable or disable it based on your requirements.
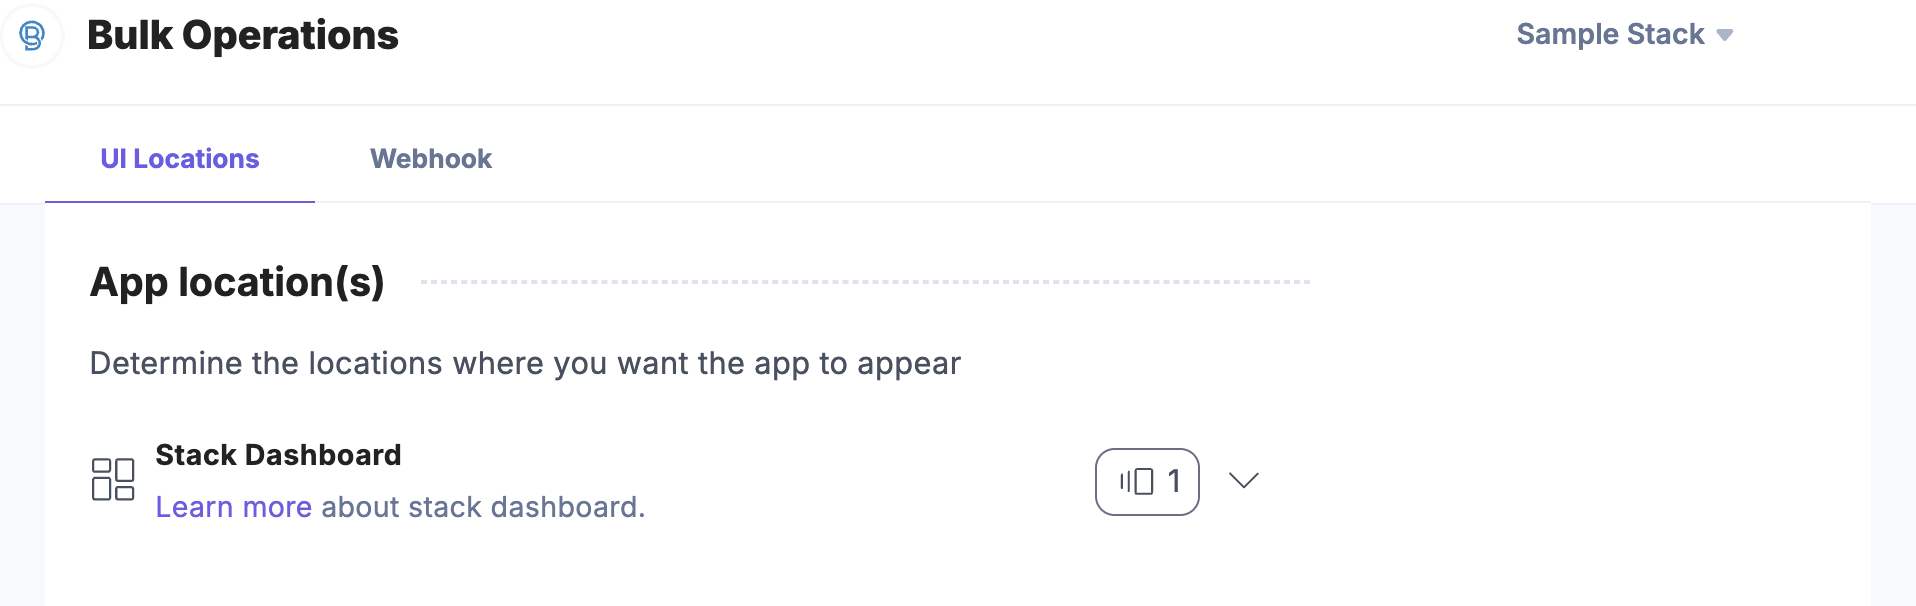
- If the webhook is enabled for your app, you can view the webhook logs under the Webhook tab.
Additional Resource: For more information on UI location and webhooks, please refer to the Installed Apps guide.
- Click Open Stack to start using the Bulk Operations app.
- Navigate to the “App Switcher” icon in the top-right corner and click Marketplace.
Use the Bulk Operations App within your Stack
To use the Bulk Operations app, log in to your Contentstack account and follow the steps below:
- Navigate to the stack dashboard to view the Bulk Operations app within your CMS.
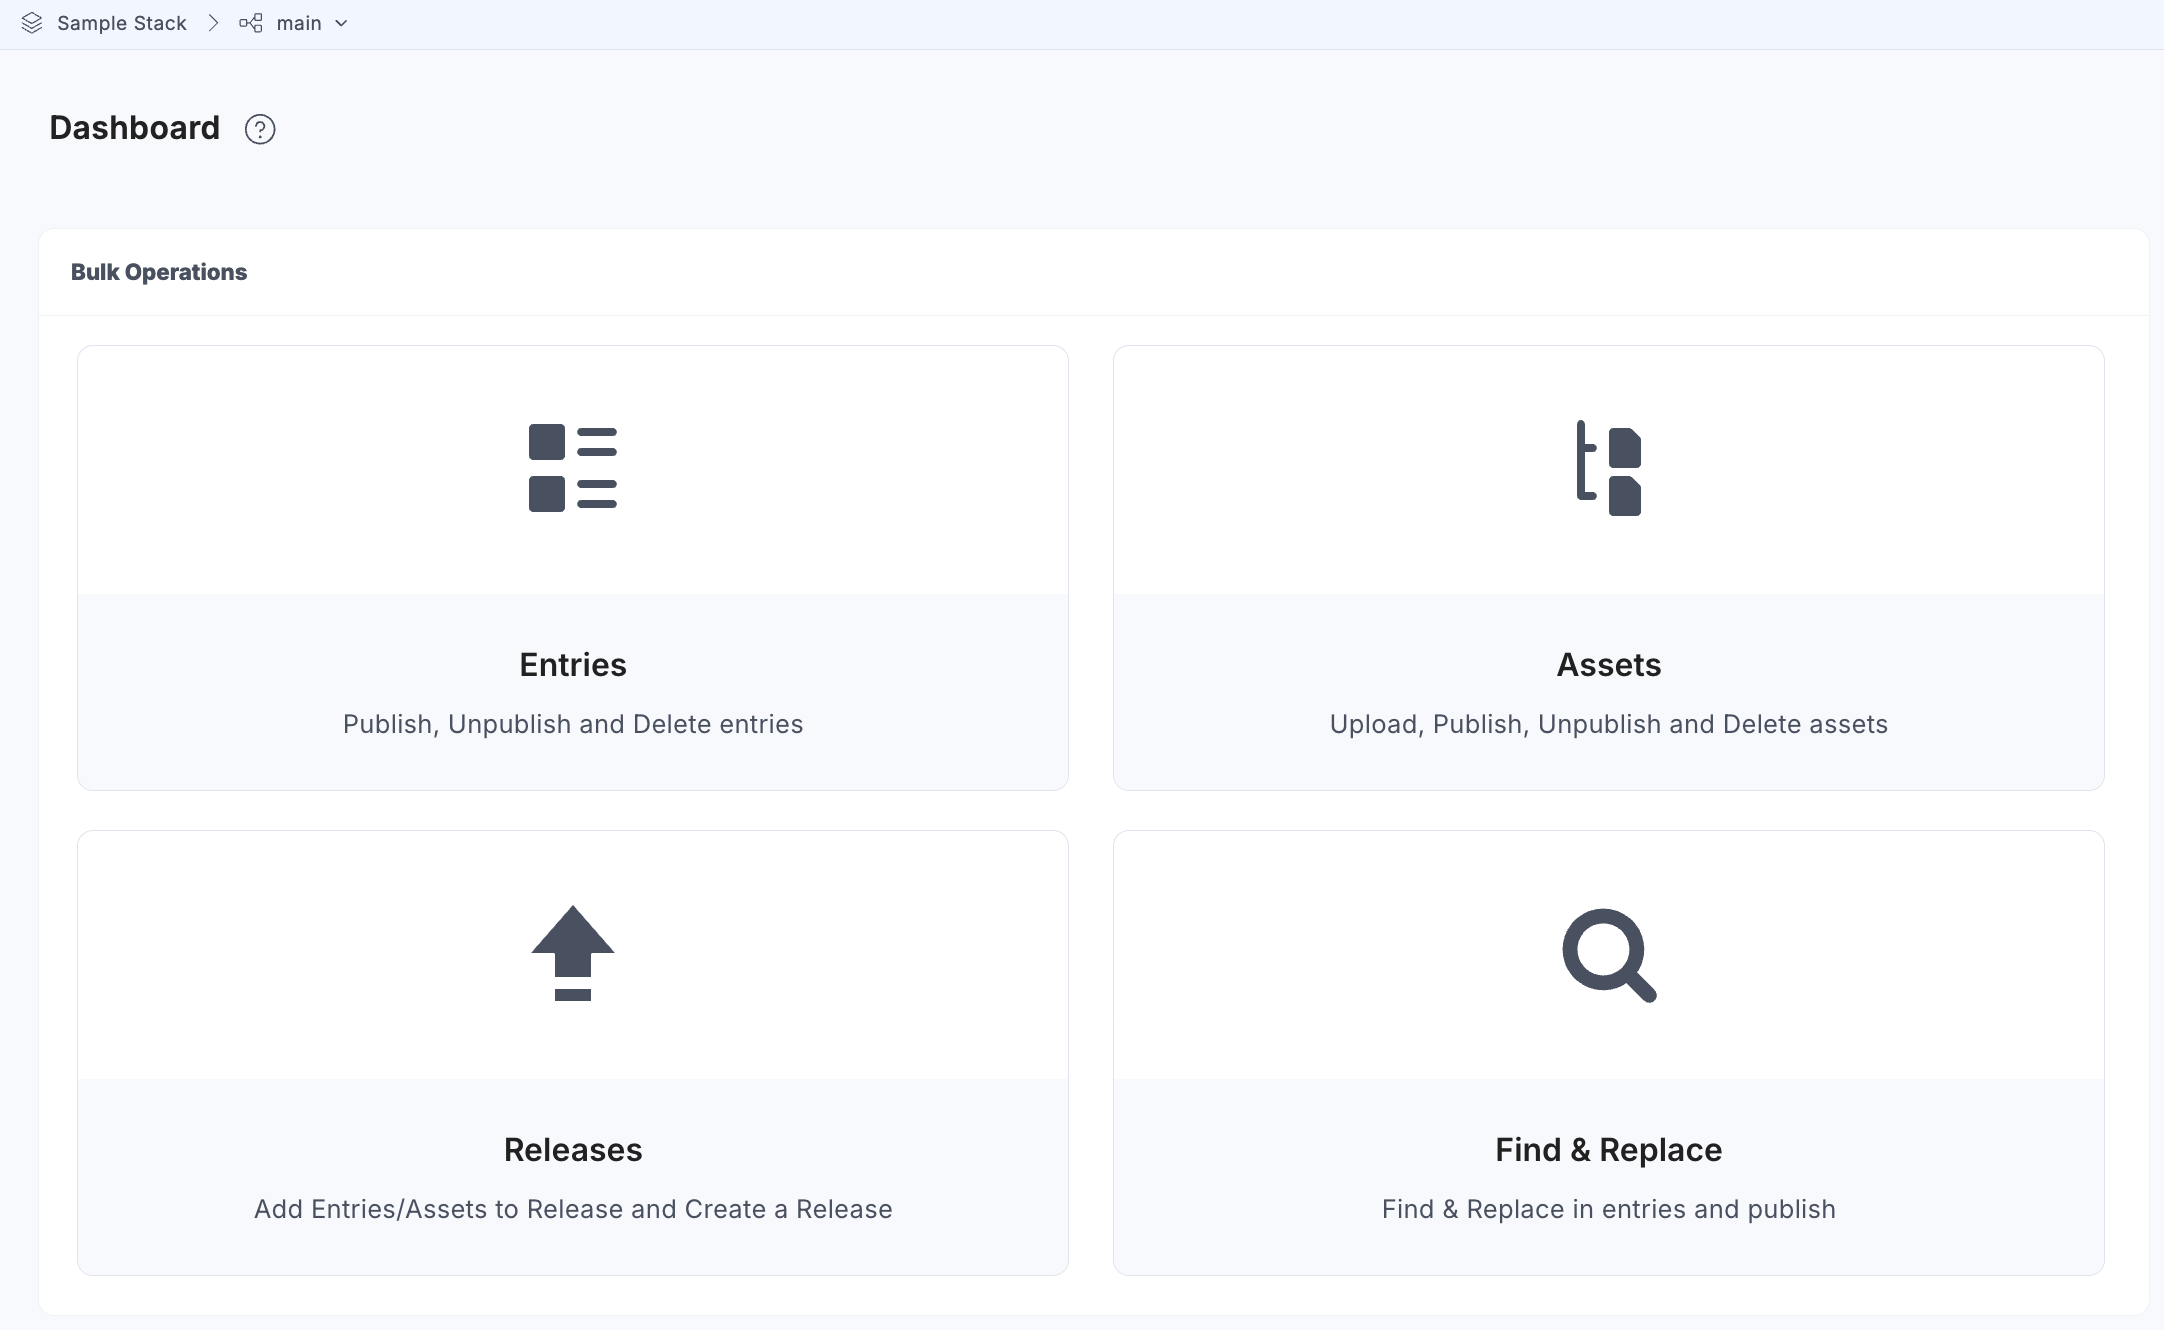
Entries Operation
- Click Entries to perform bulk operations like publish, unpublish, and delete on entries.
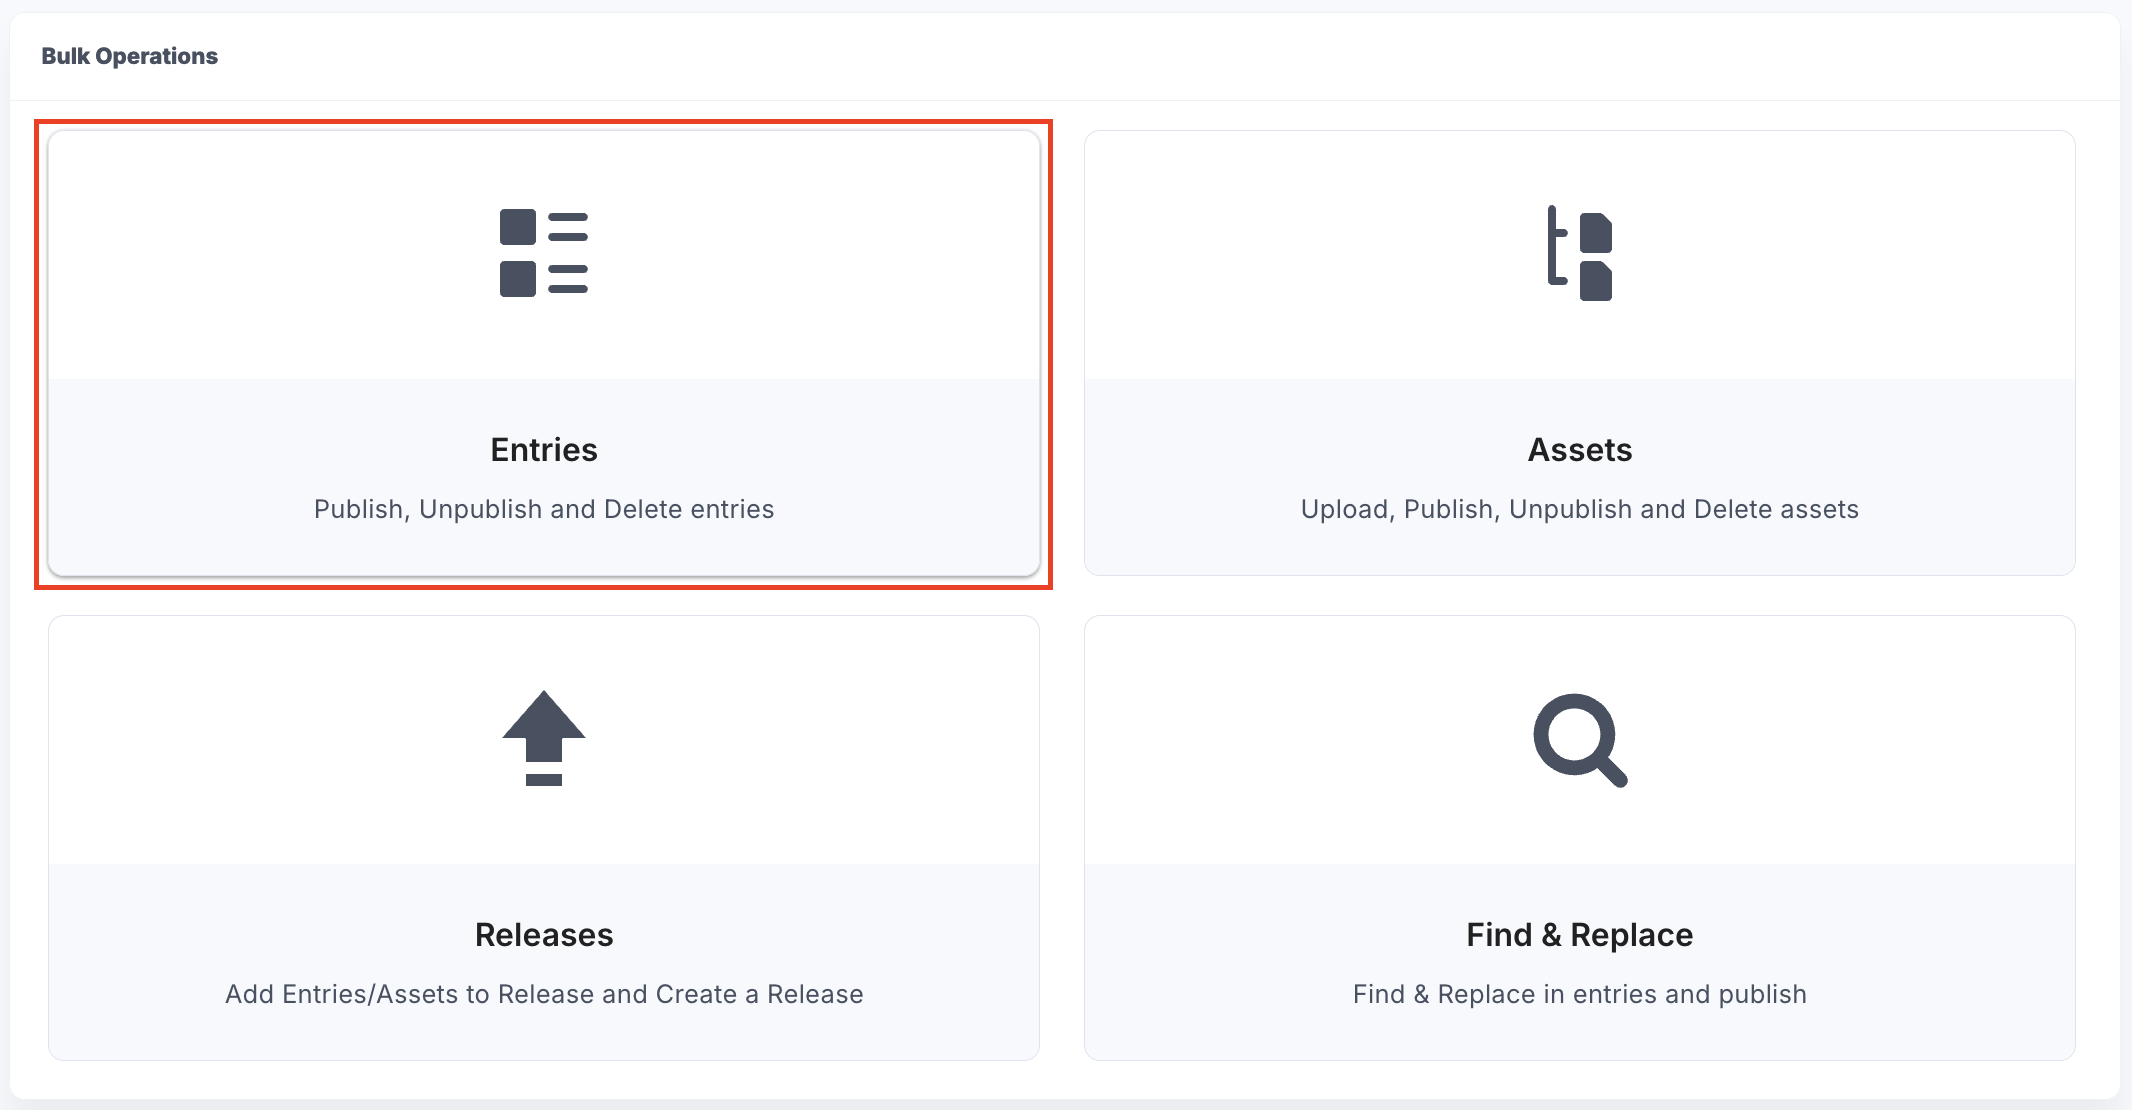
- In the Dashboard, choose the Content Type from all the available content types of your stack.
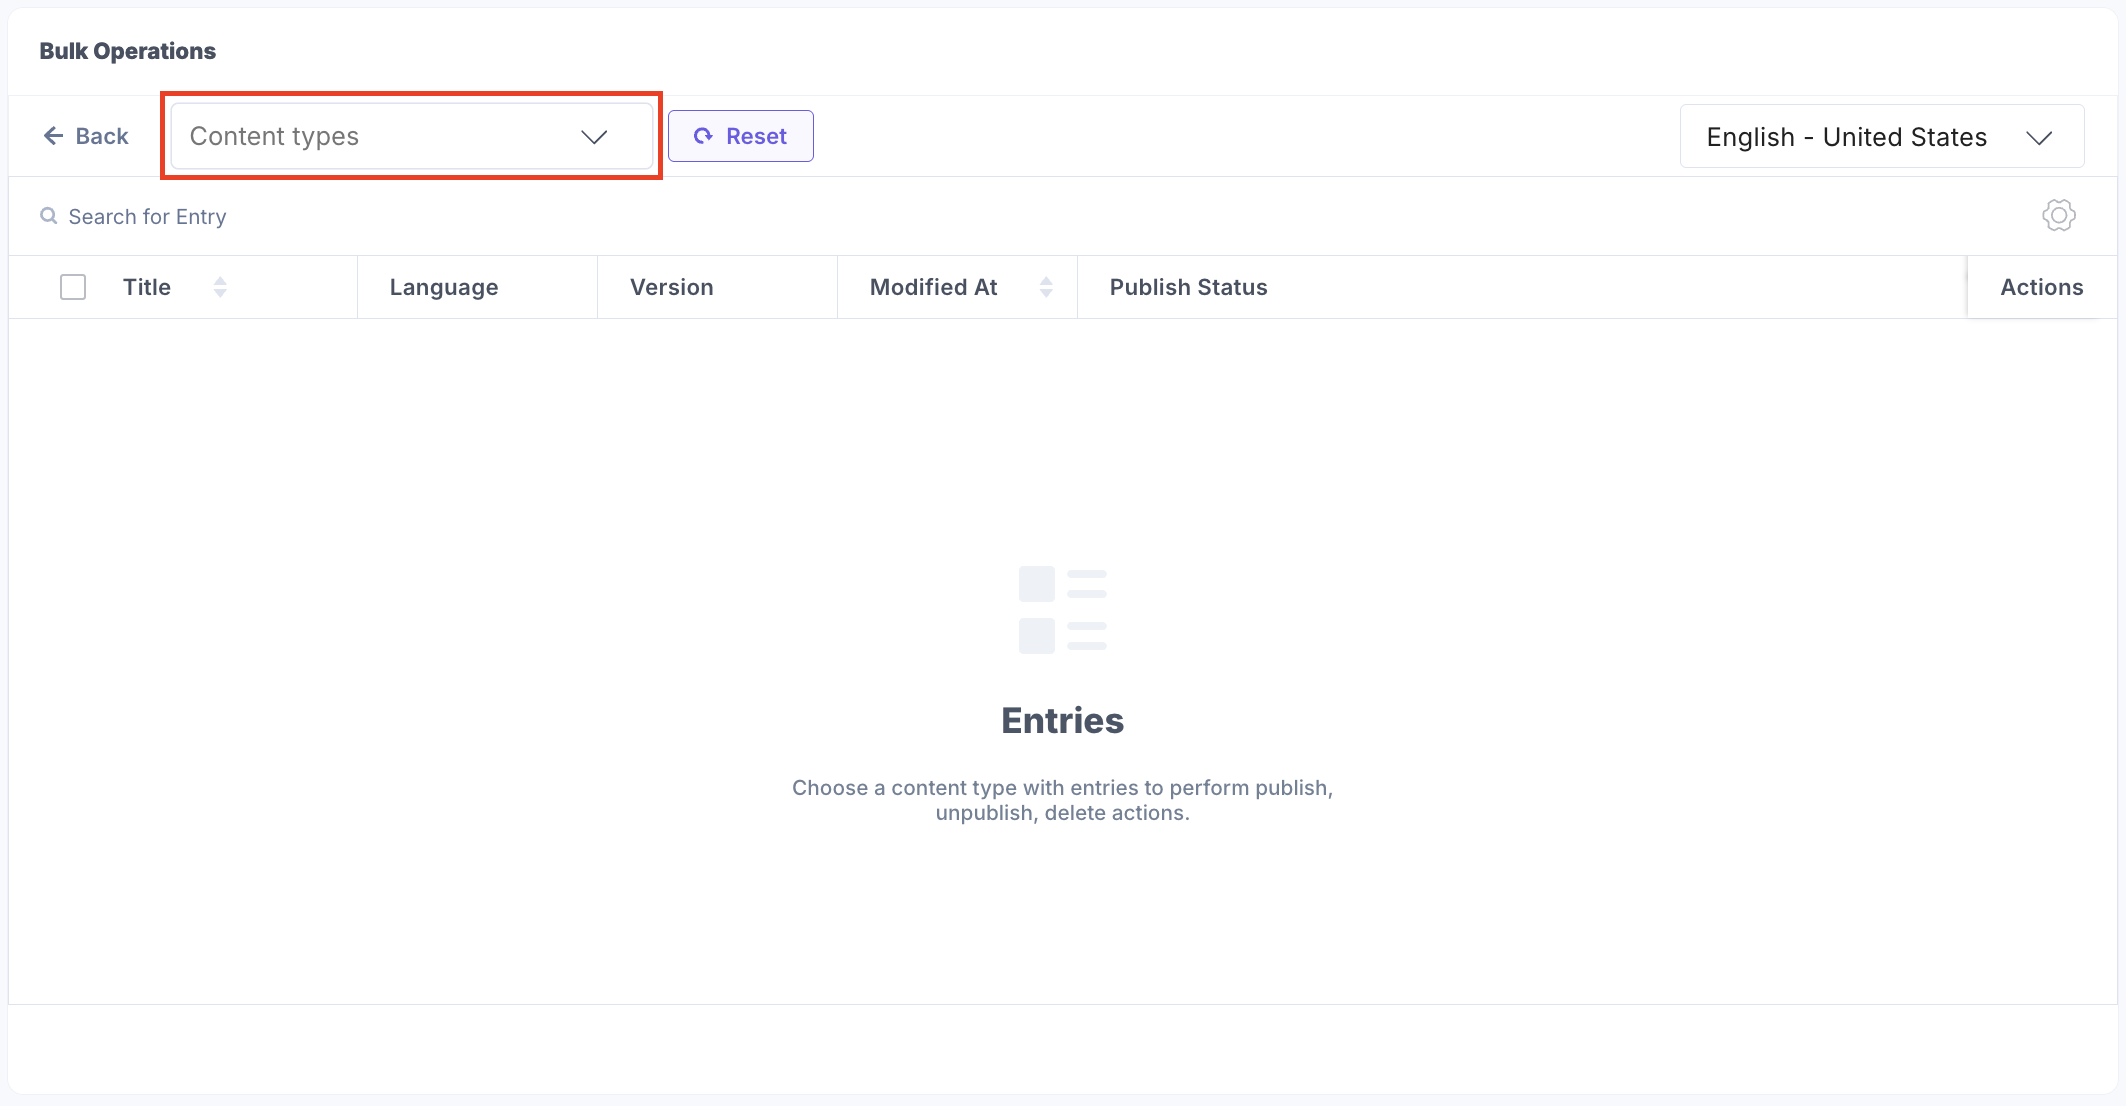
You can see all the entries of the selected content type.
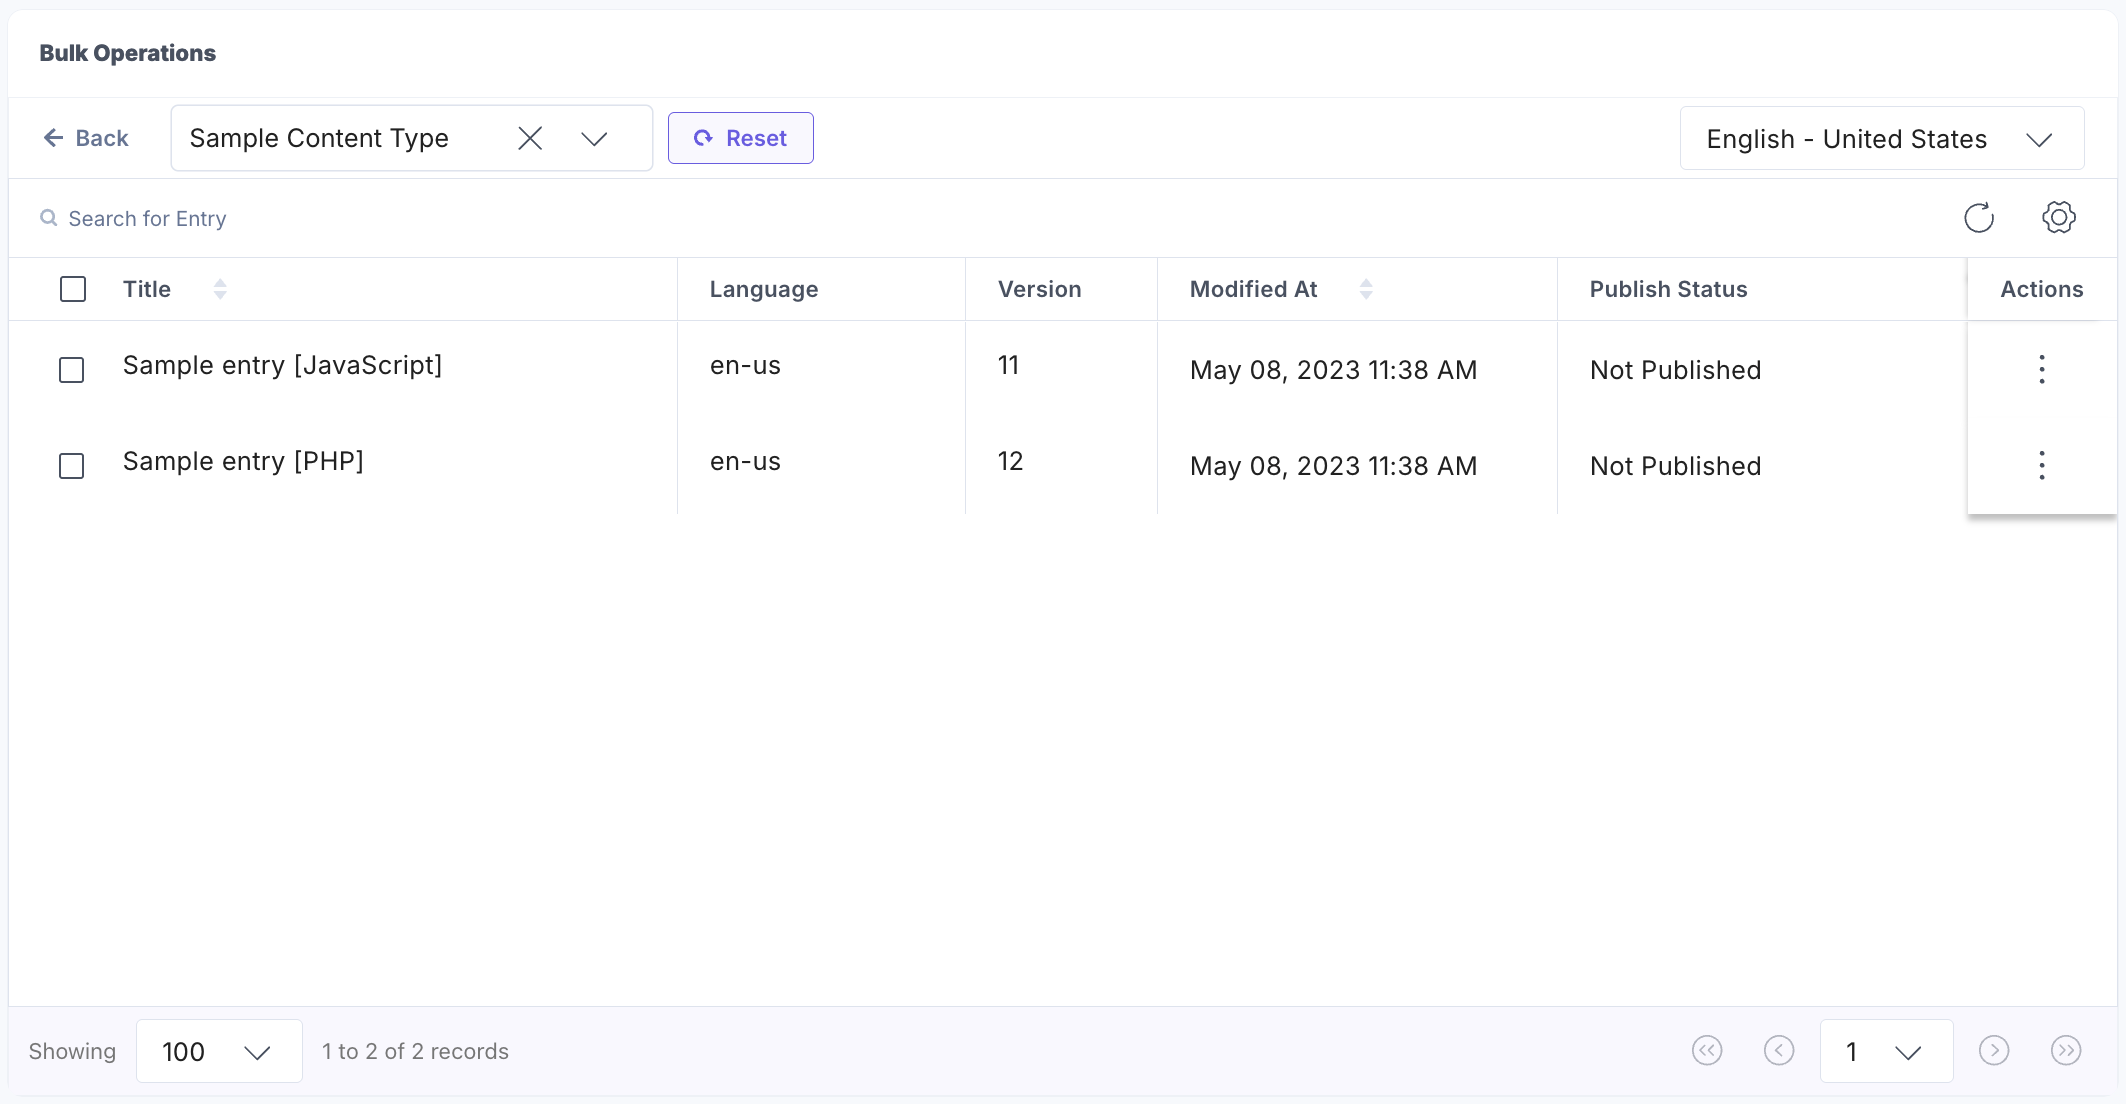
- Select the entries and click Publish to publish all the selected entries at once.
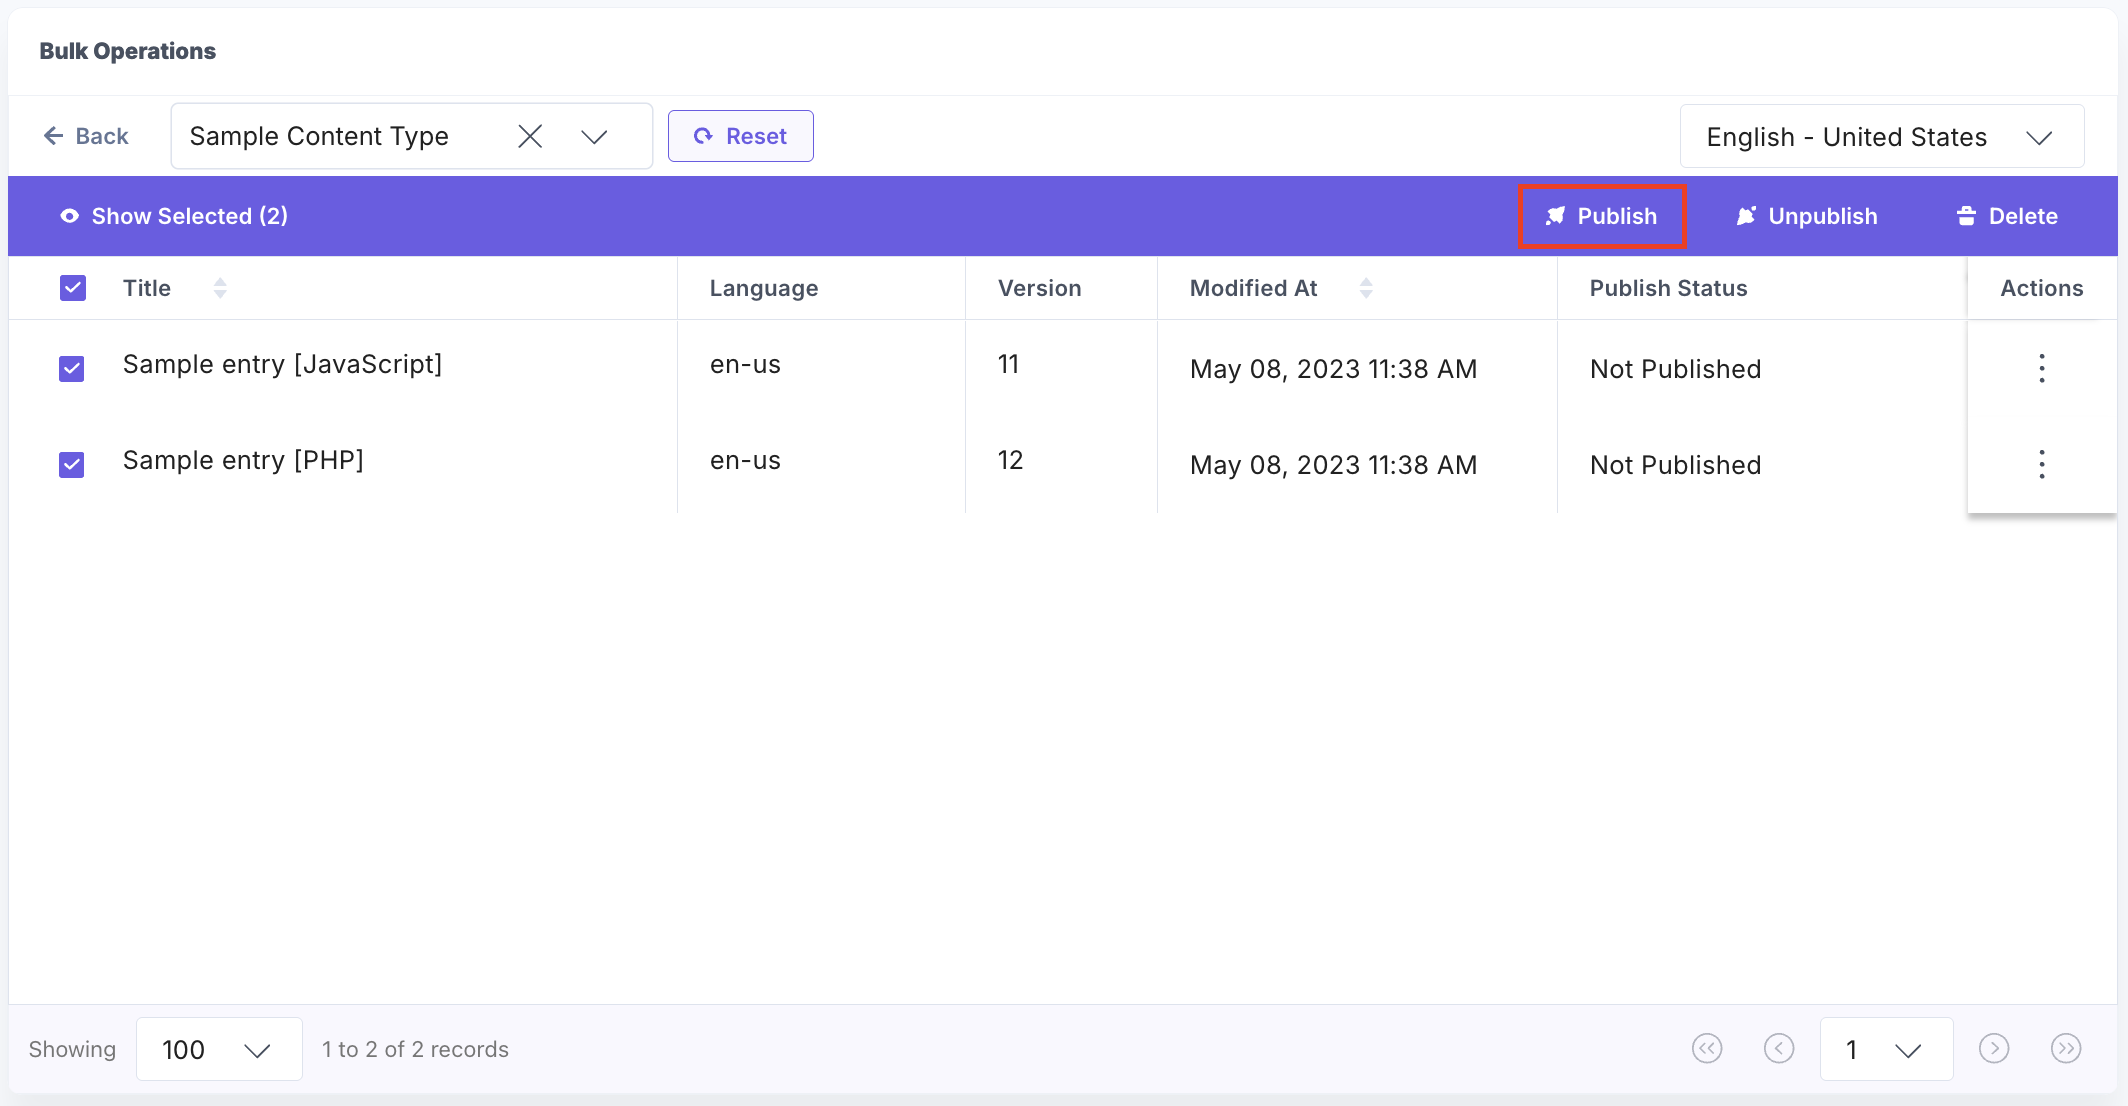
- In the Publish Entries modal, select the Environment(s) where you want to publish the entries. The stack Language is selected, by default; you can add more languages if needed. Choose the option to publish now or schedule it for later, and then click Publish to continue.
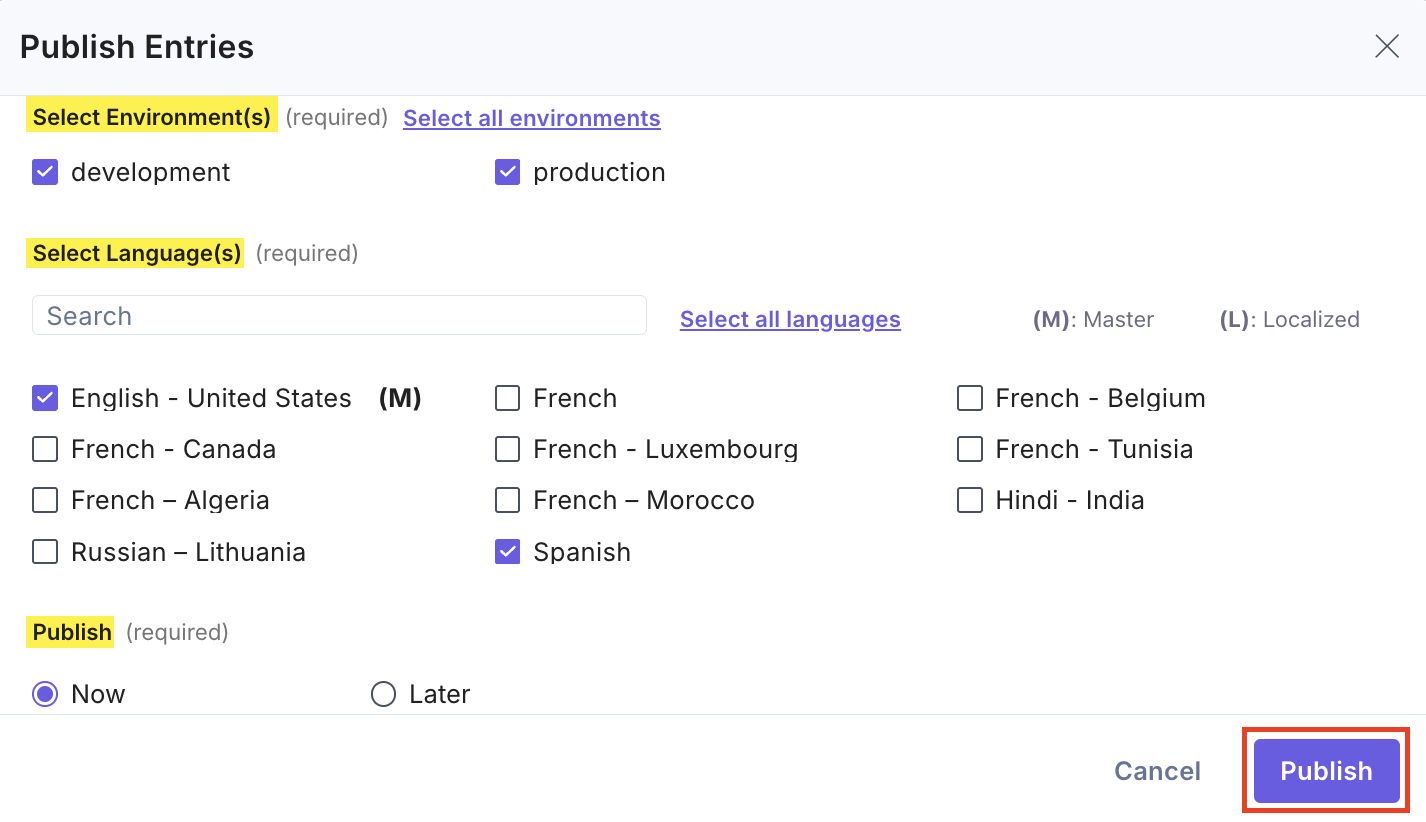
After successful publishing of entries, you can see the Queued status.
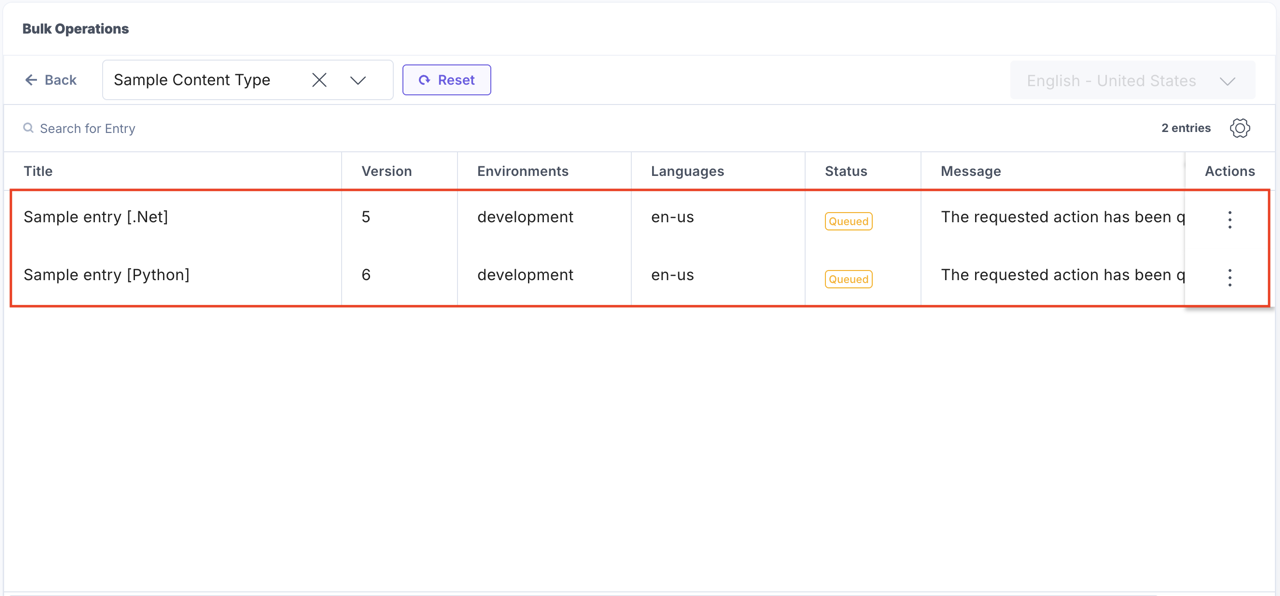
Click the vertical ellipsis under Actions next to an entry and select View Entry to open the entry editor. Alternatively, you can click View in Publish Queue to view the status in the publish queue.
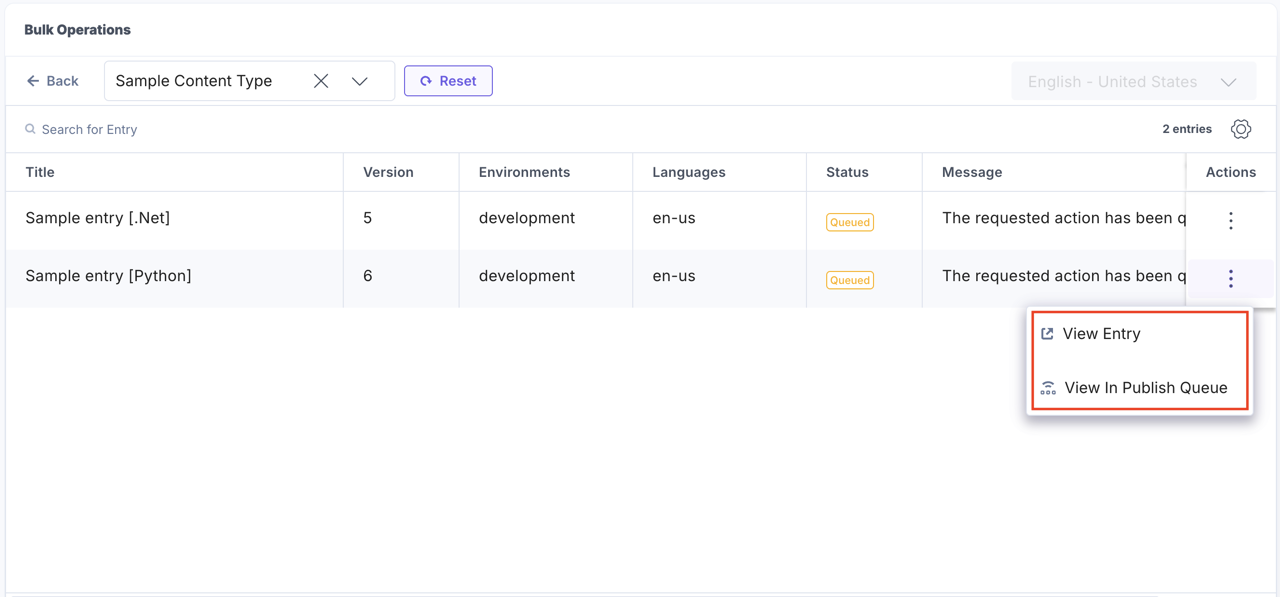
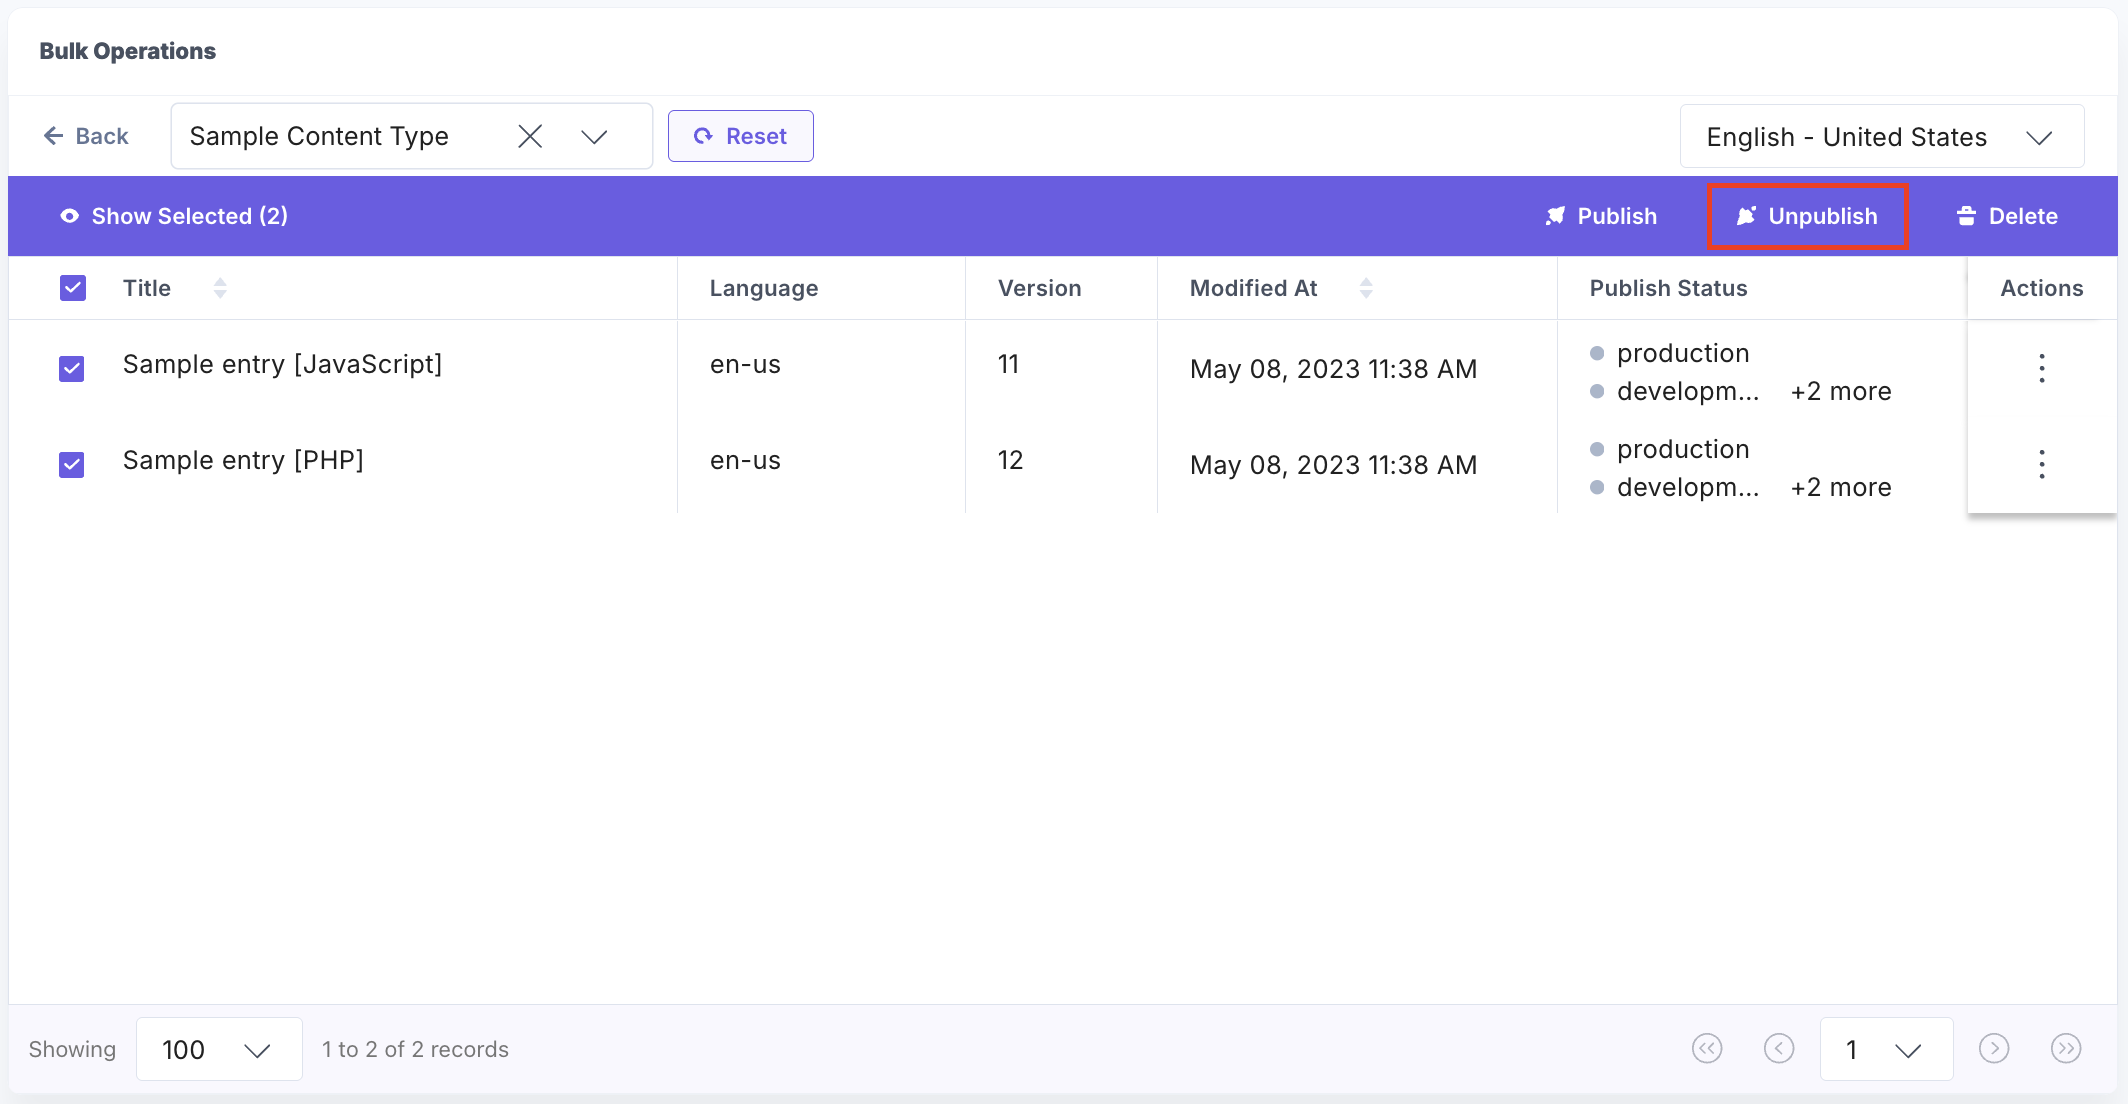
- If you want to unpublish the entries, select entries and click Unpublish.
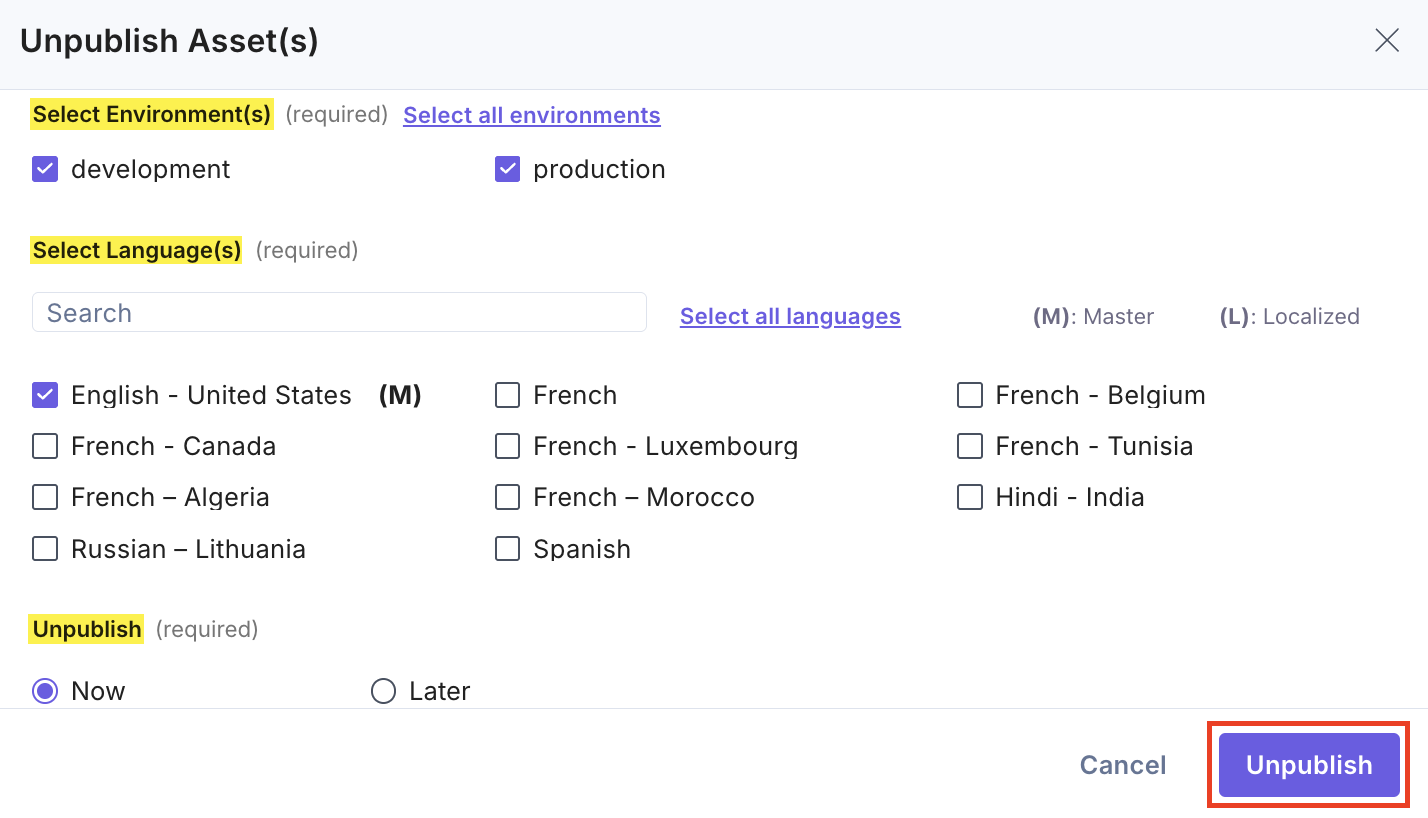
- In the Unpublish Entries modal, select the Environment(s) where you want to unpublish the entries. The stack Language is selected, by default; you can add more languages if needed. Choose the option to unpublish now or schedule it for later, then click Unpublish to continue.
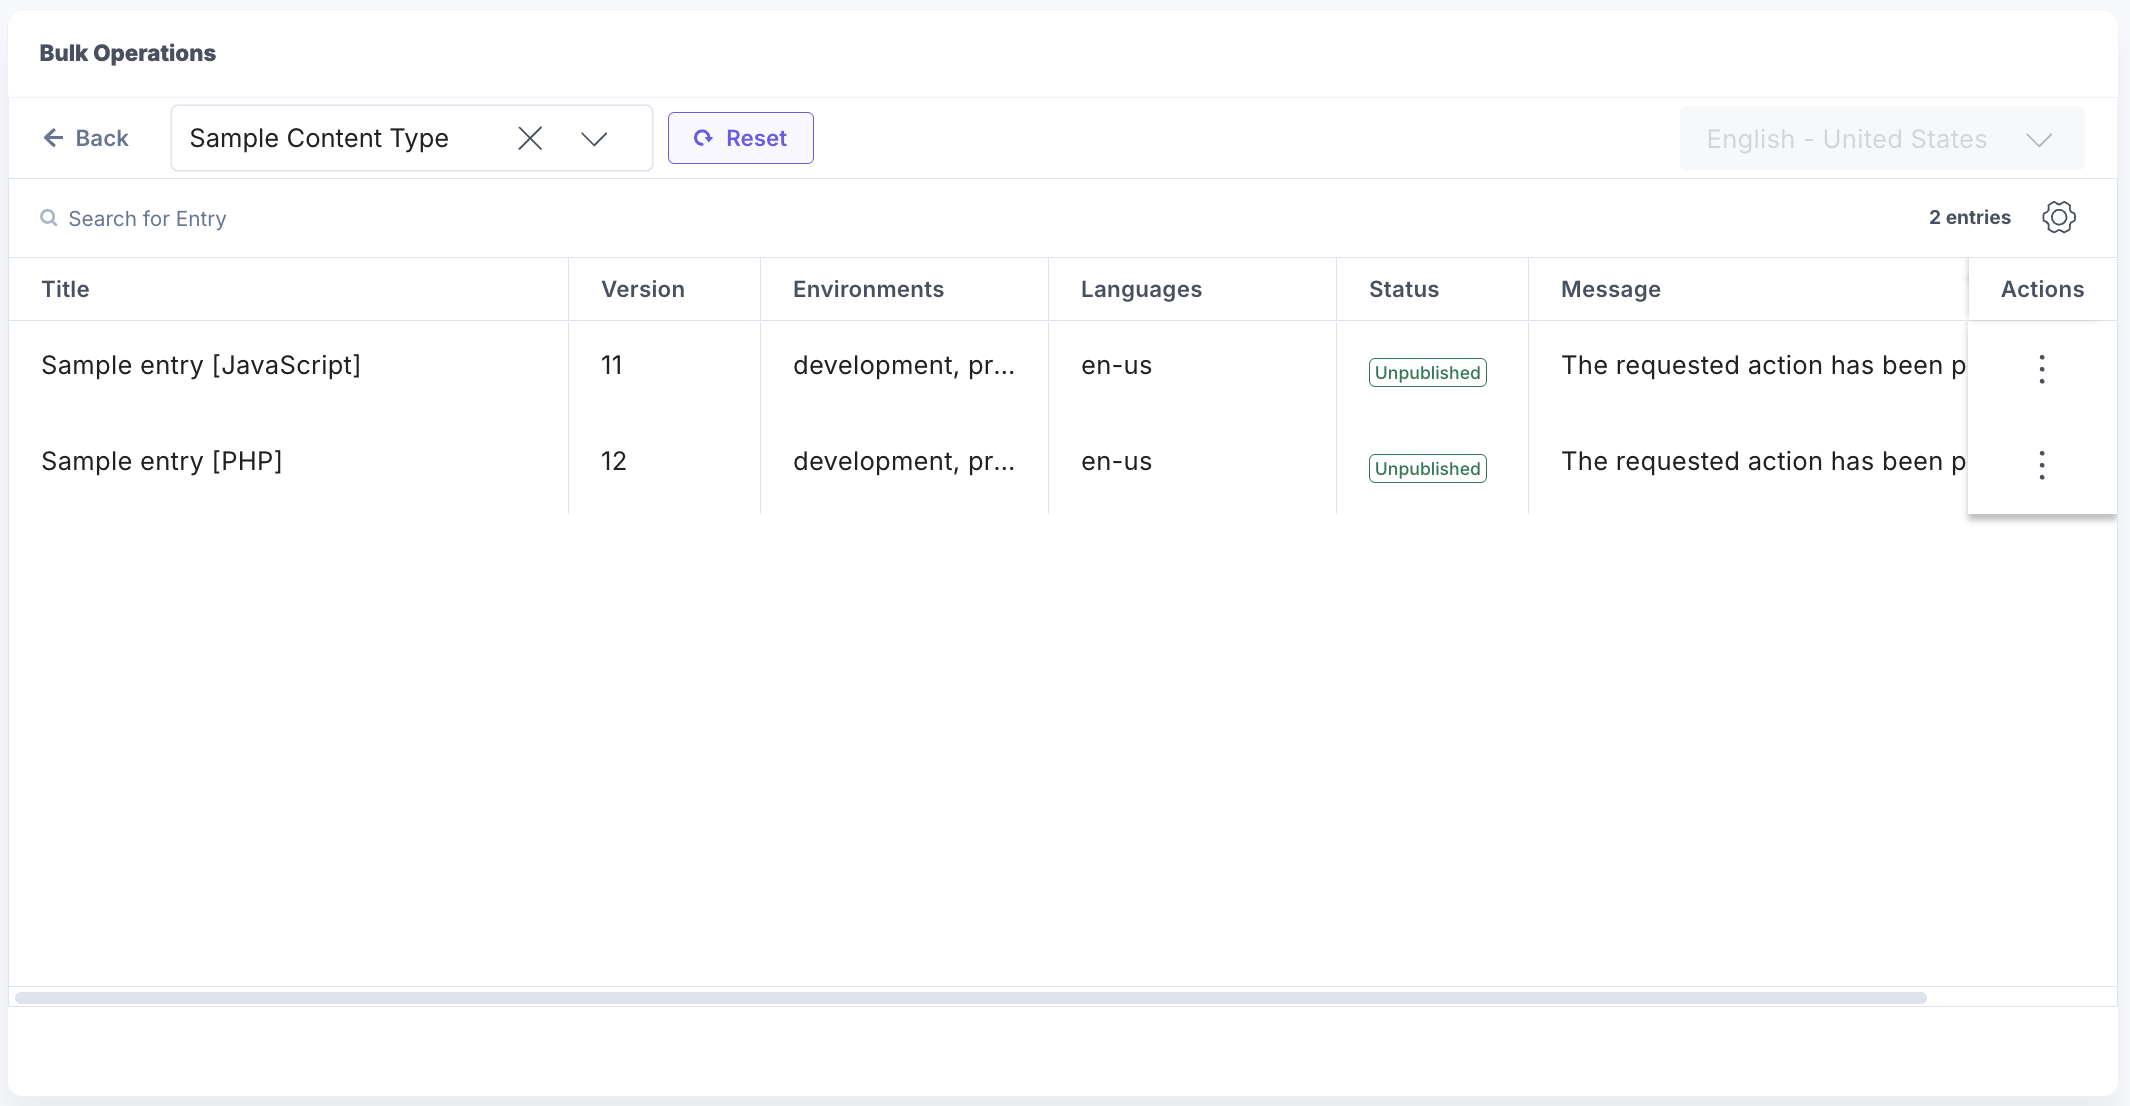
Once unpublished, the entry status will update to Unpublished.
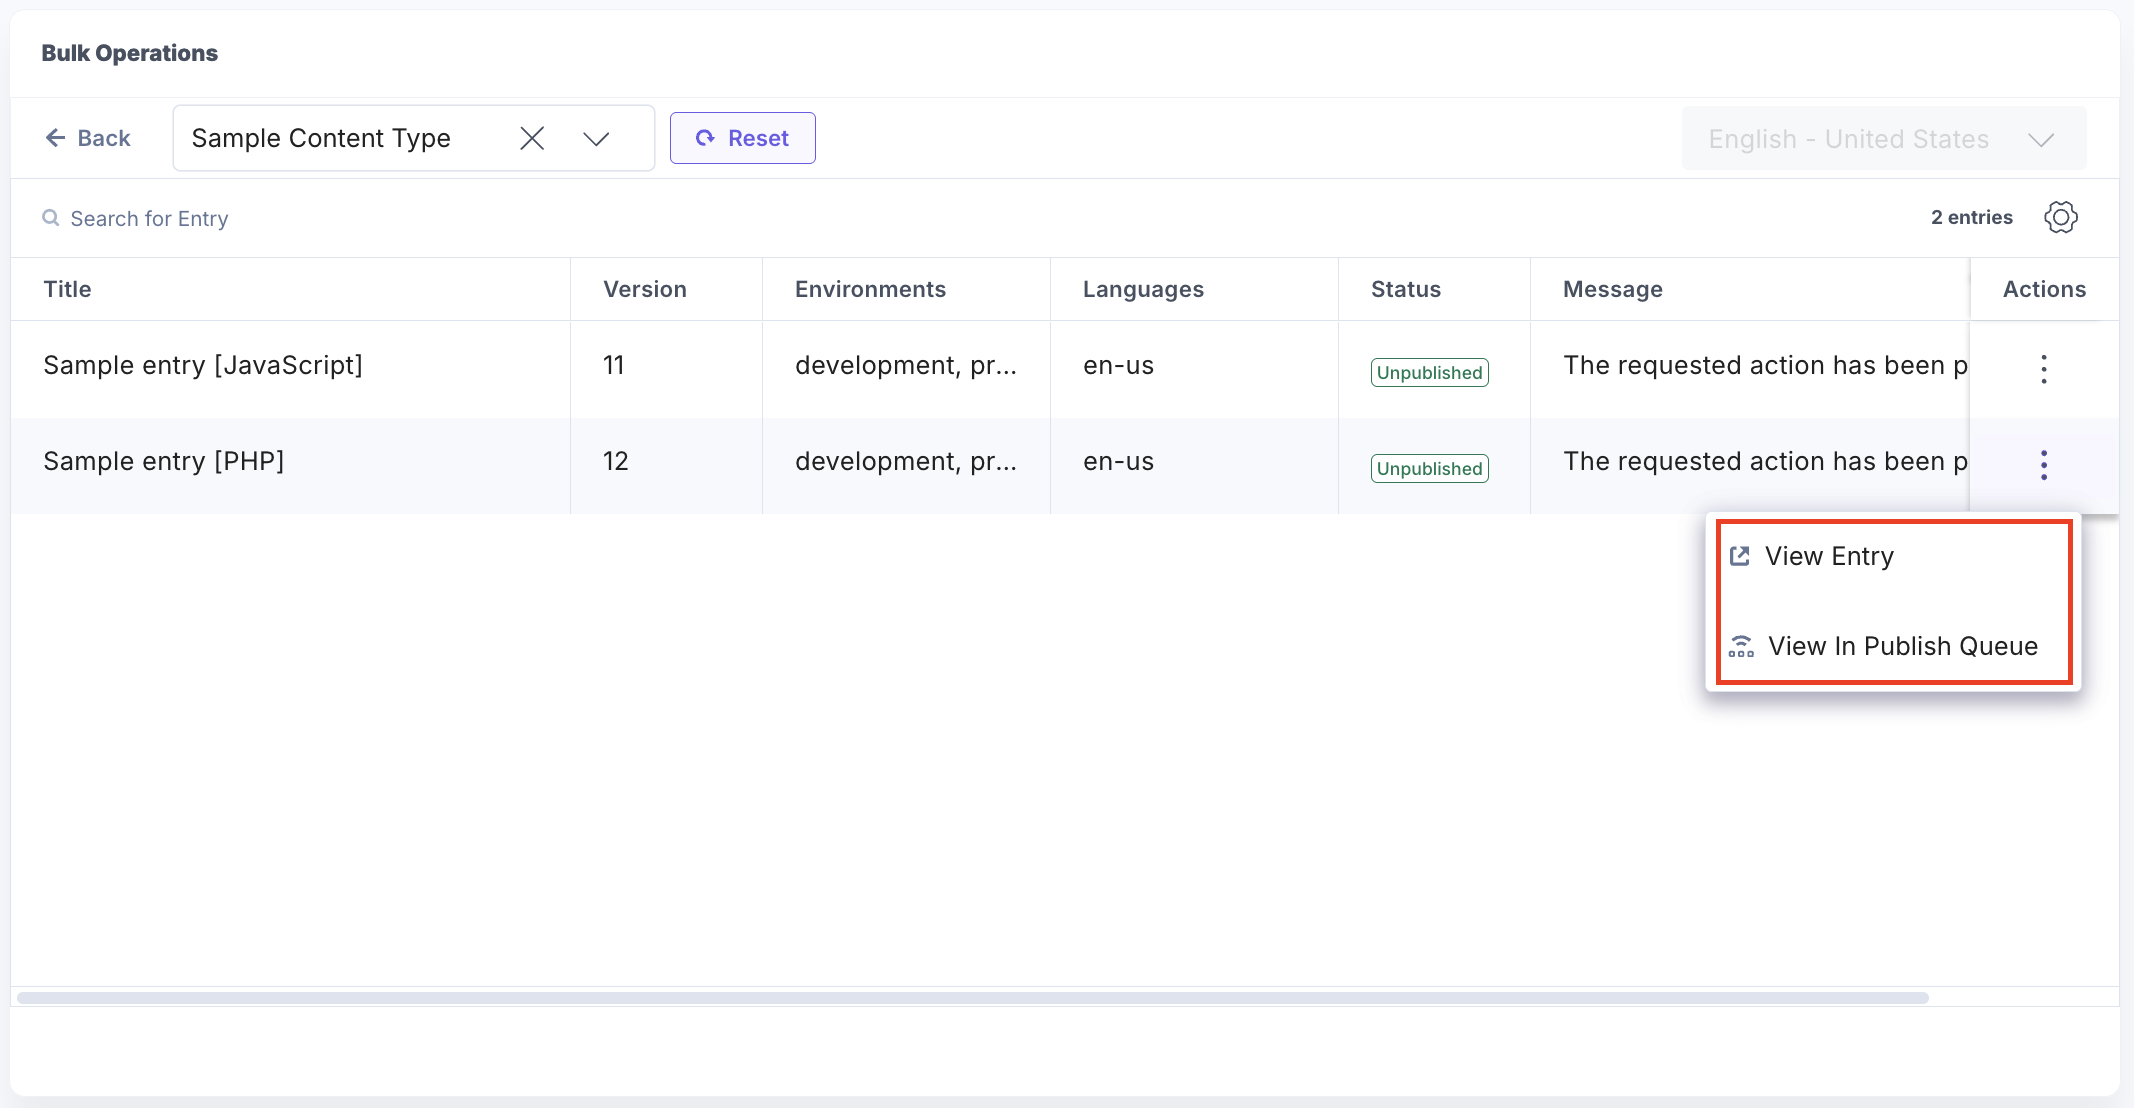
Click the vertical ellipsis under Actions next to an entry and select View Entry to open the entry editor. Alternatively, you can click View in Publish Queue to view the status in the publish queue.
- The Delete button allows you to delete all the selected entries of the respective locale and move them to trash.
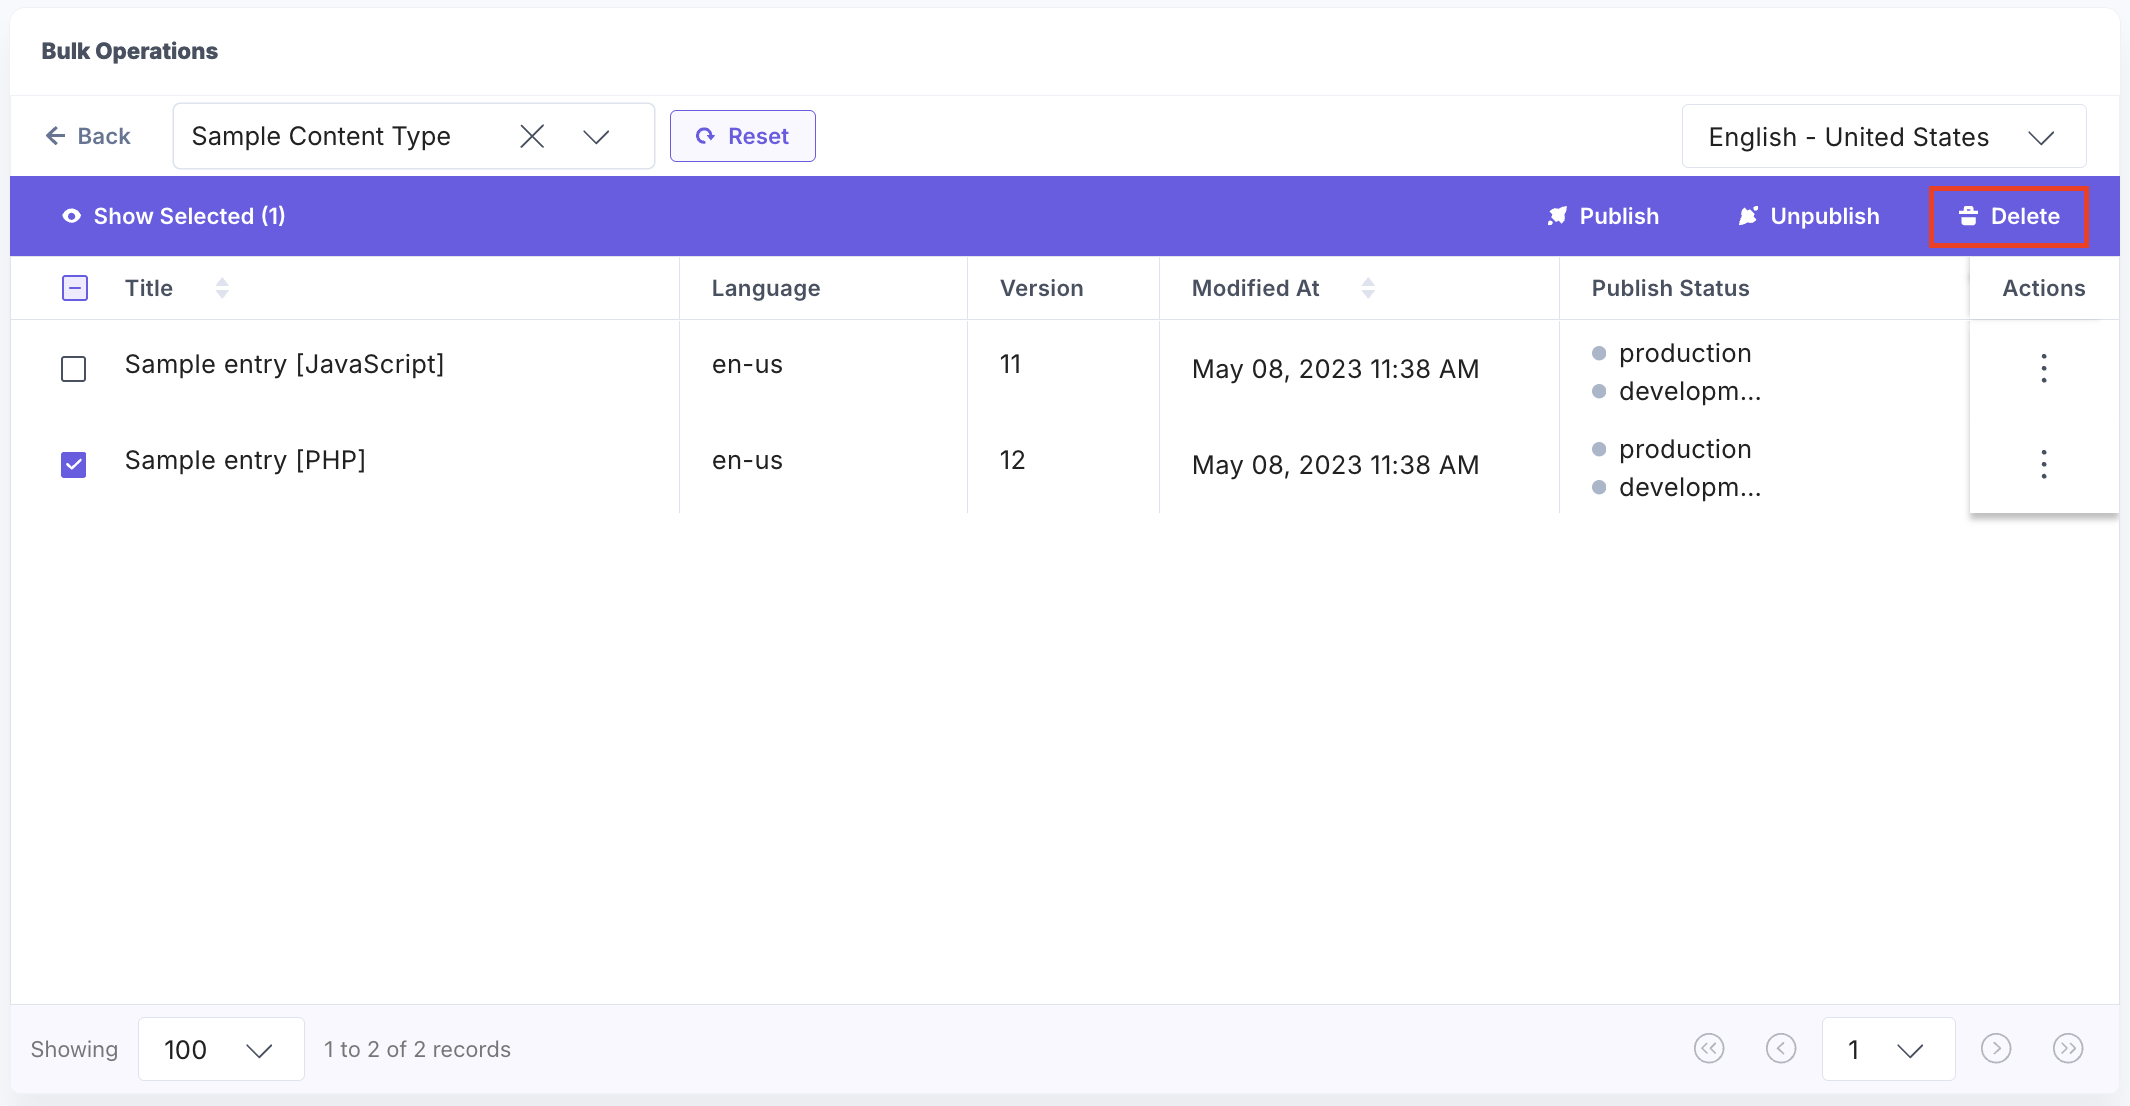
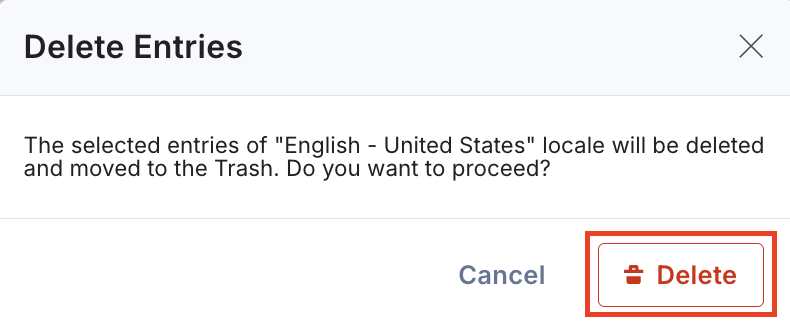
- In the Delete Entries modal, click Delete to delete all the selected entries.
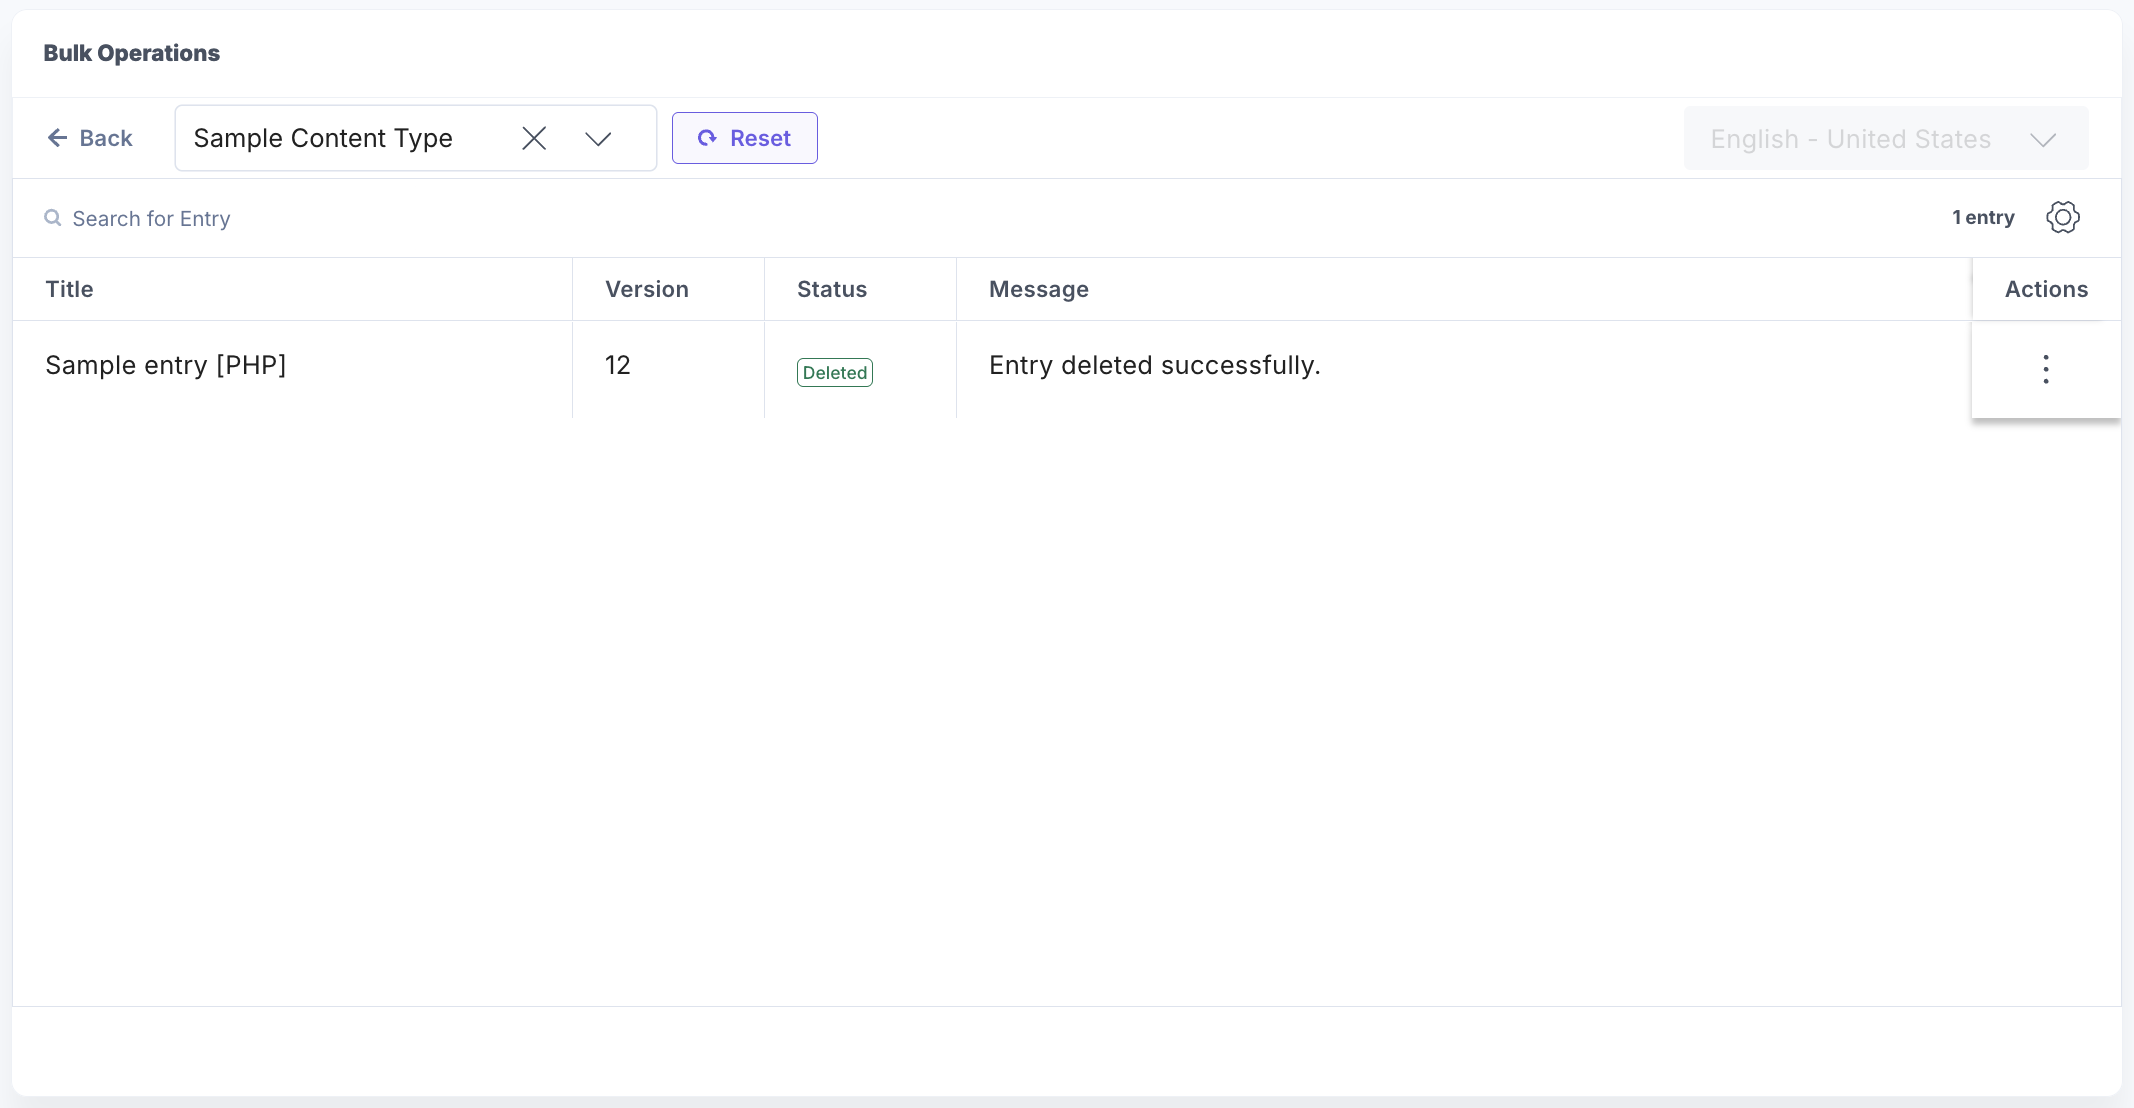
After successful deletion, you can see the status.
Click the vertical ellipsis under Actions next to an entry and select View in Trash to view the entry in trash.
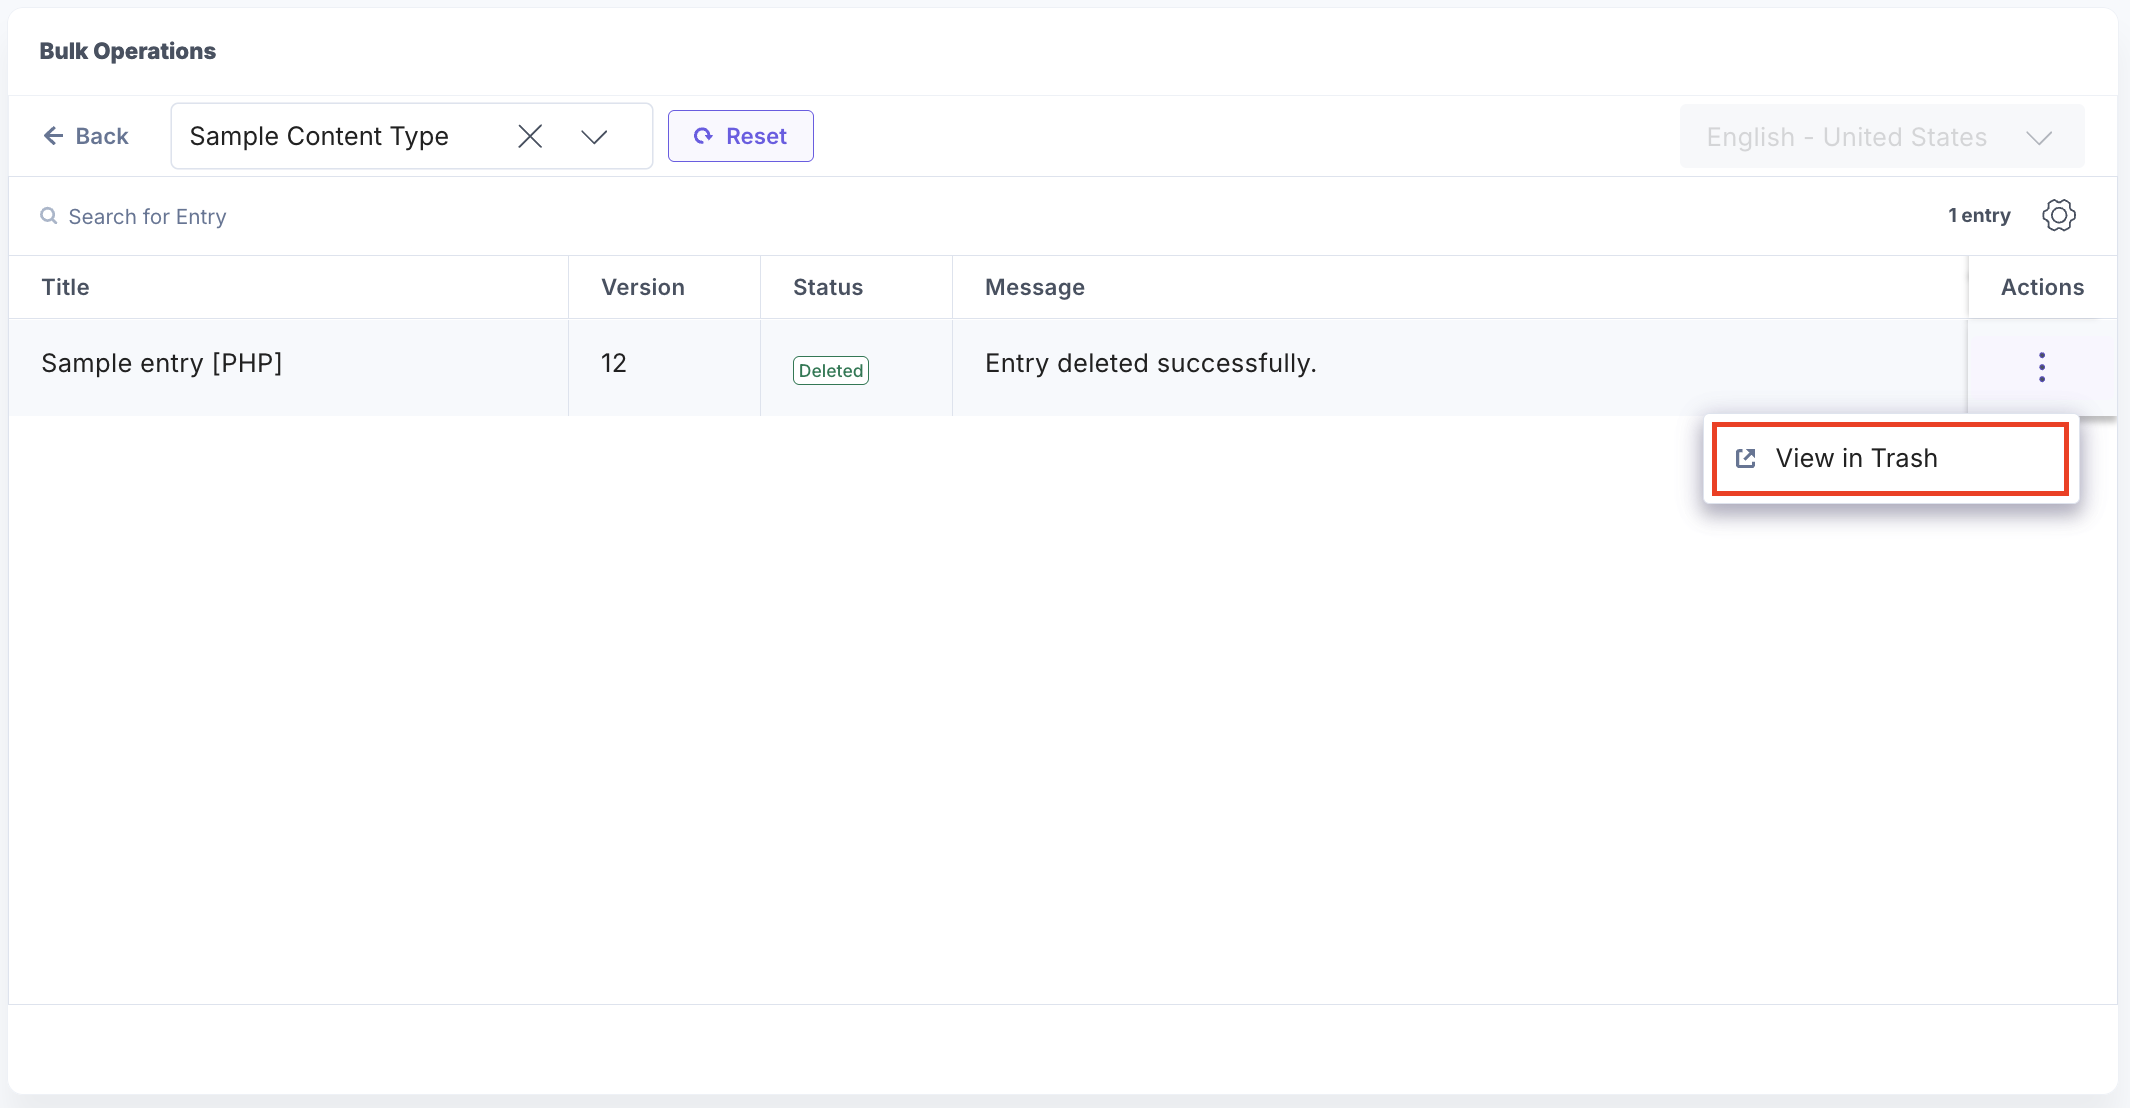
Note: Deleted entries stay in Trash for 14 days before they are permanently removed.
- Click the Reset button to reset the content type field to start a new search.
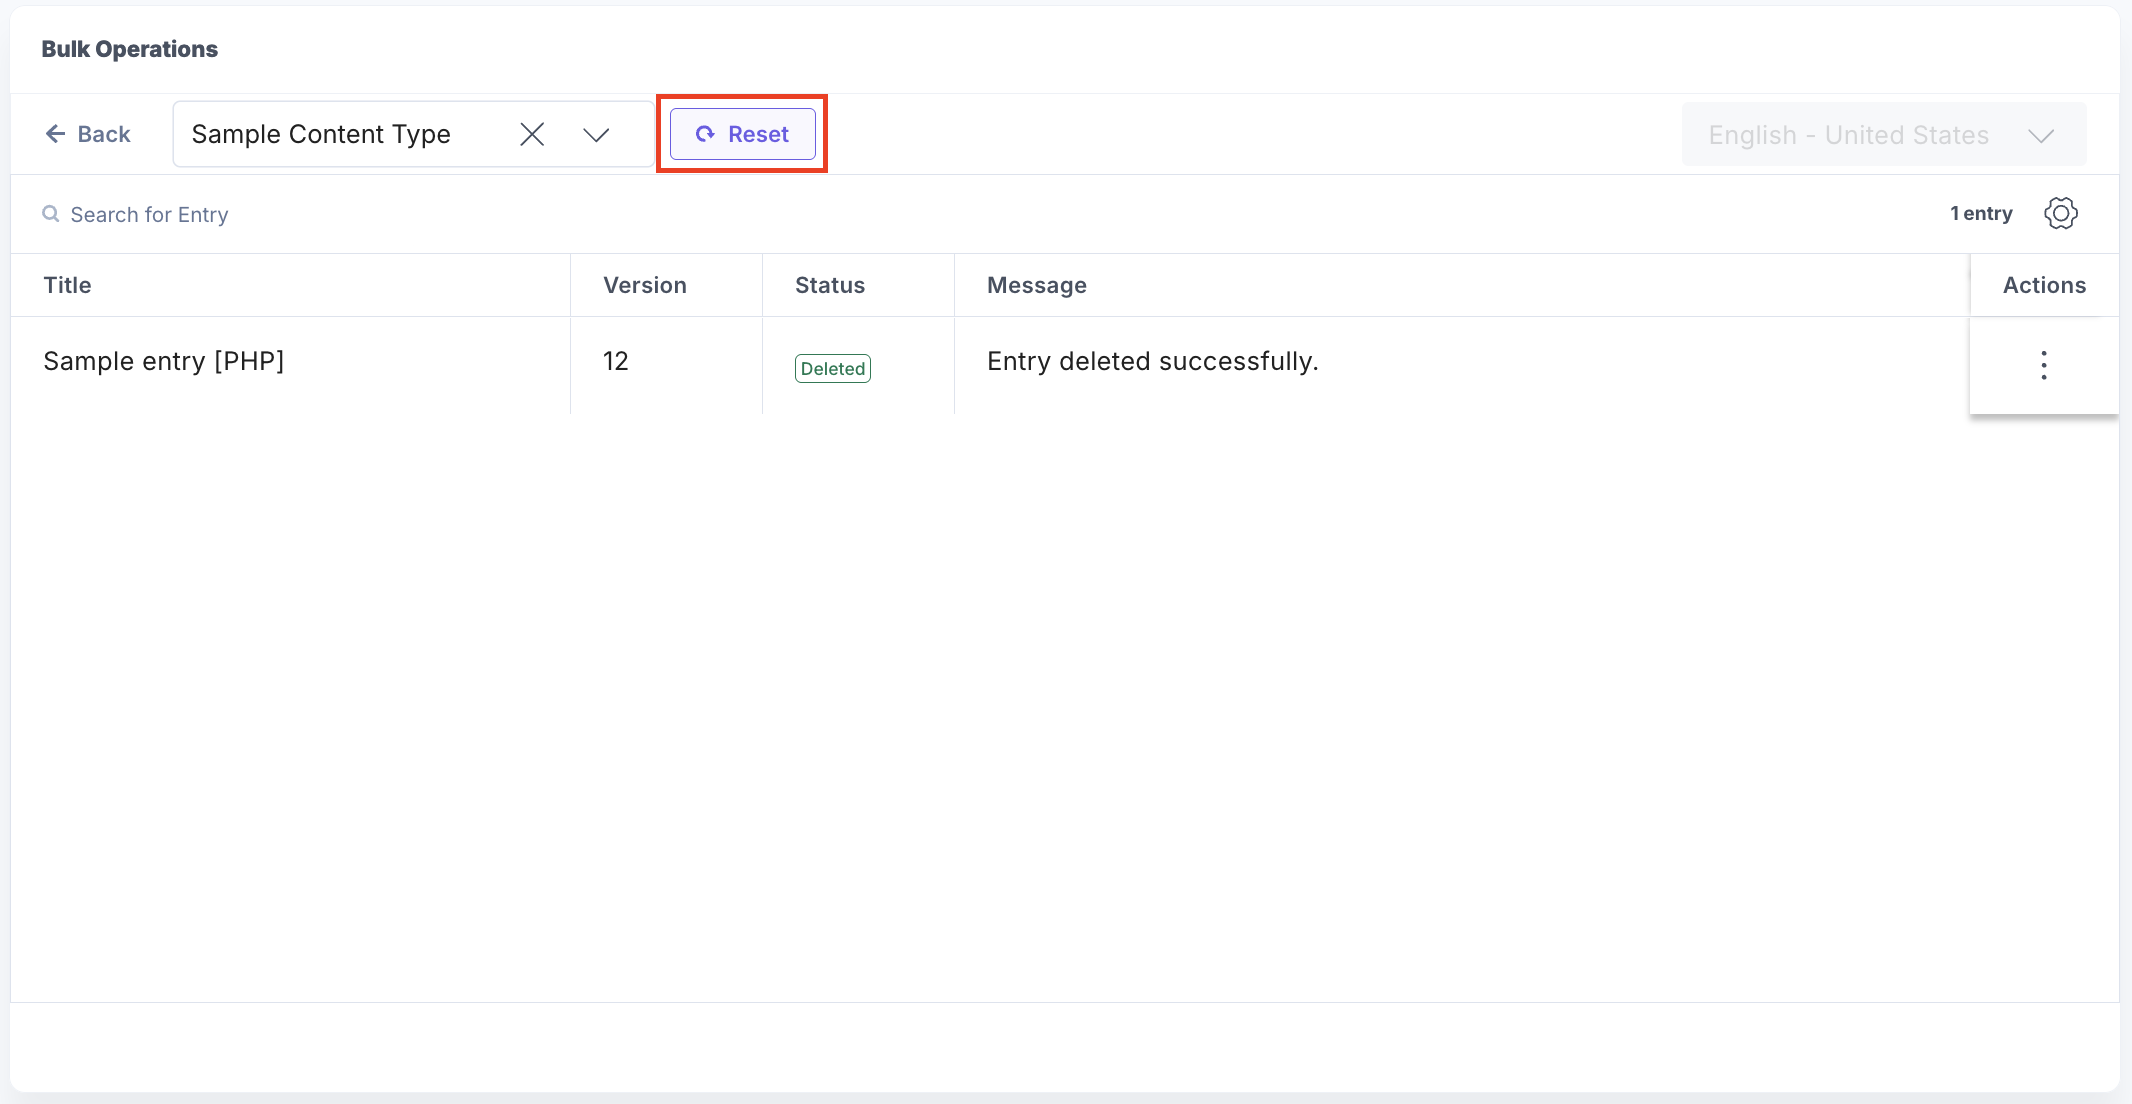
- Confirm and click the Reset button again to reset the content type drop-down.
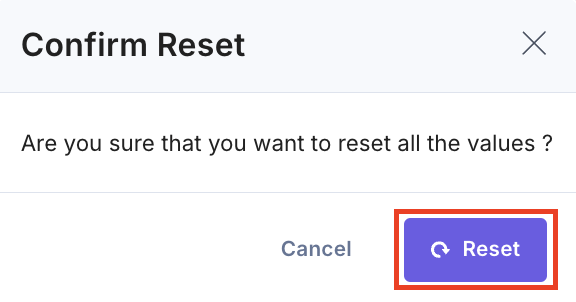
Note: You can publish, unpublish, or delete up to 1000 entries at a time.
Assets Operation
- Click Assets to upload, publish, unpublish, and delete assets.
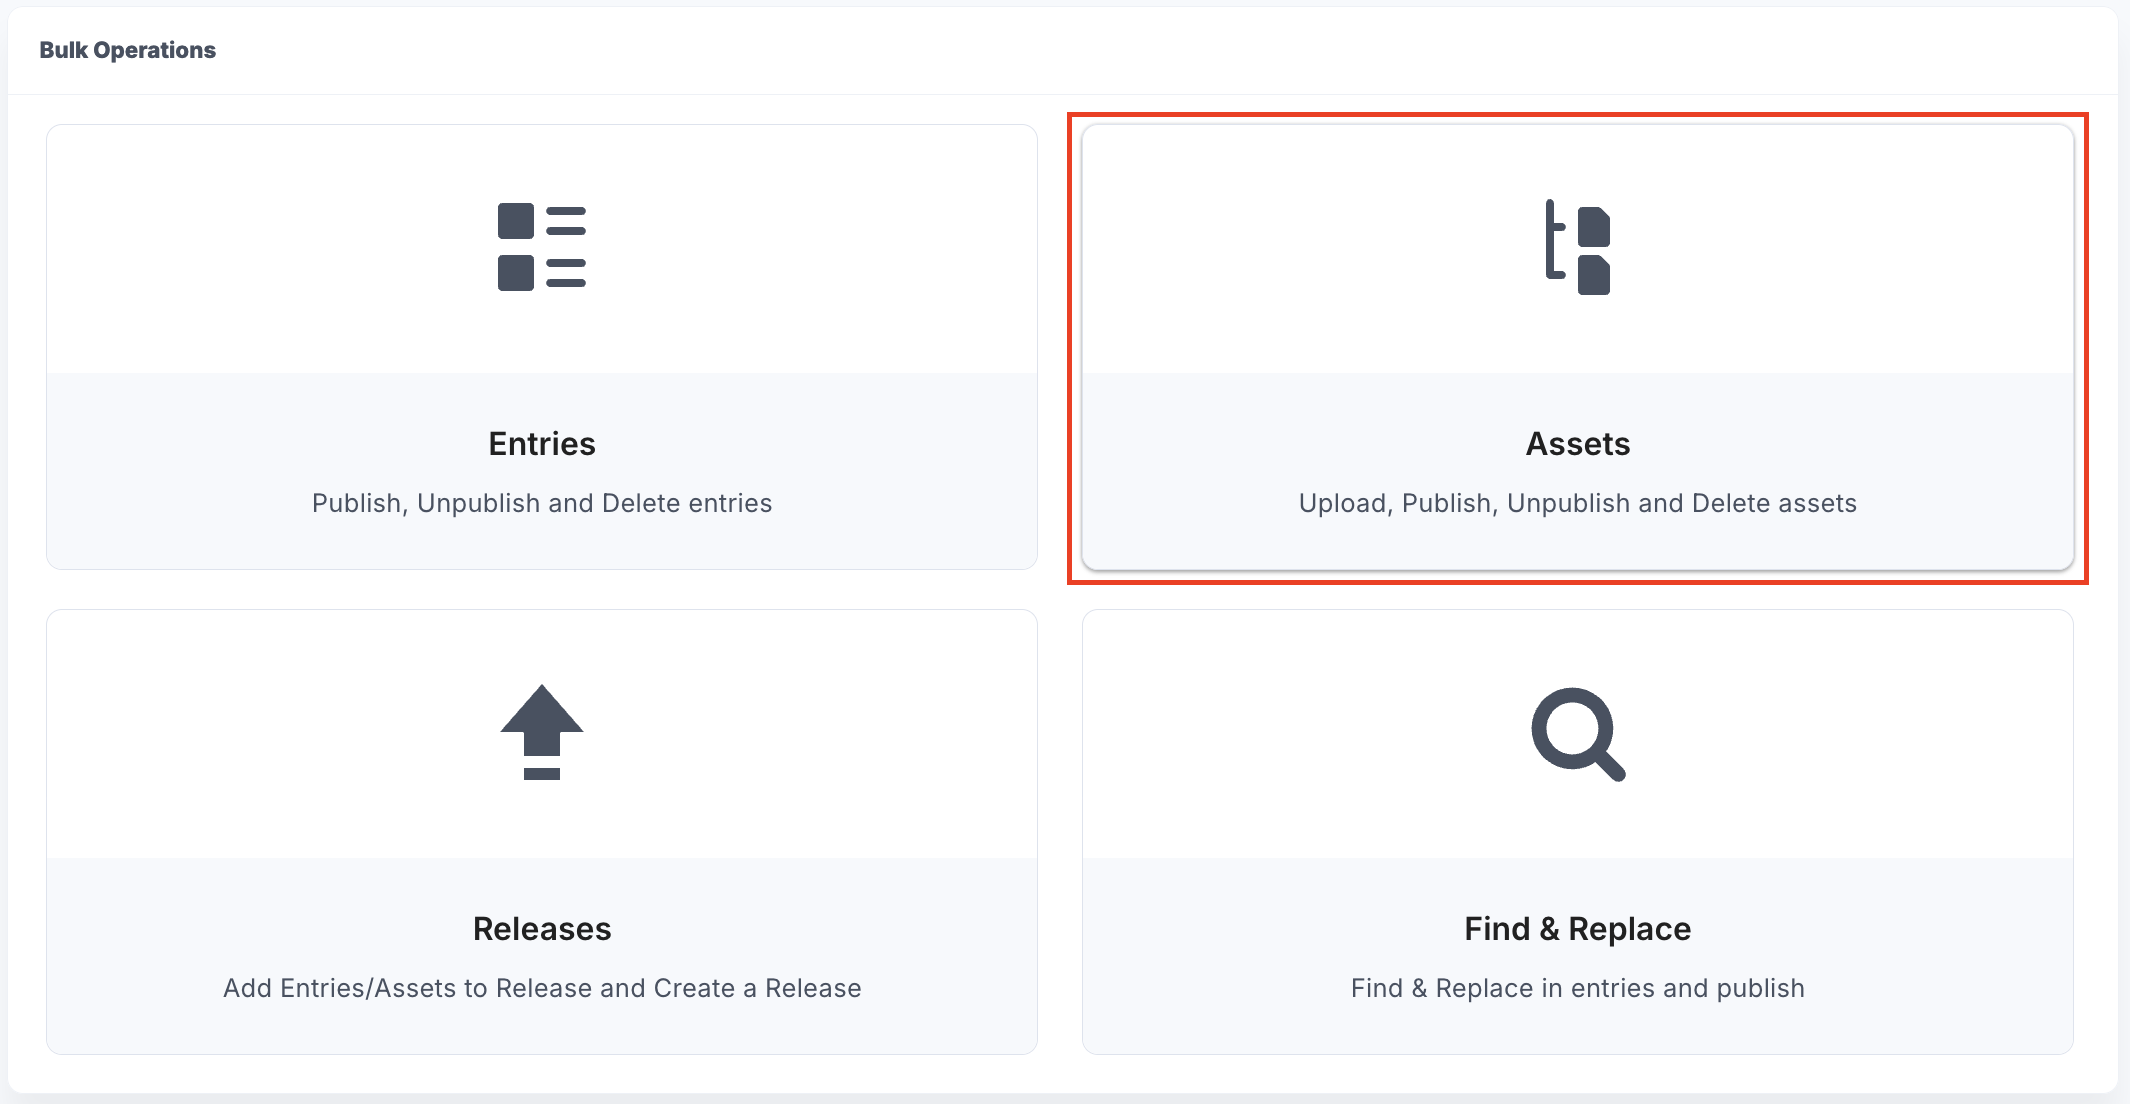
- In the Dashboard, you can see all the assets and assets folders. Click the + New Asset button for adding new assets in your stack.
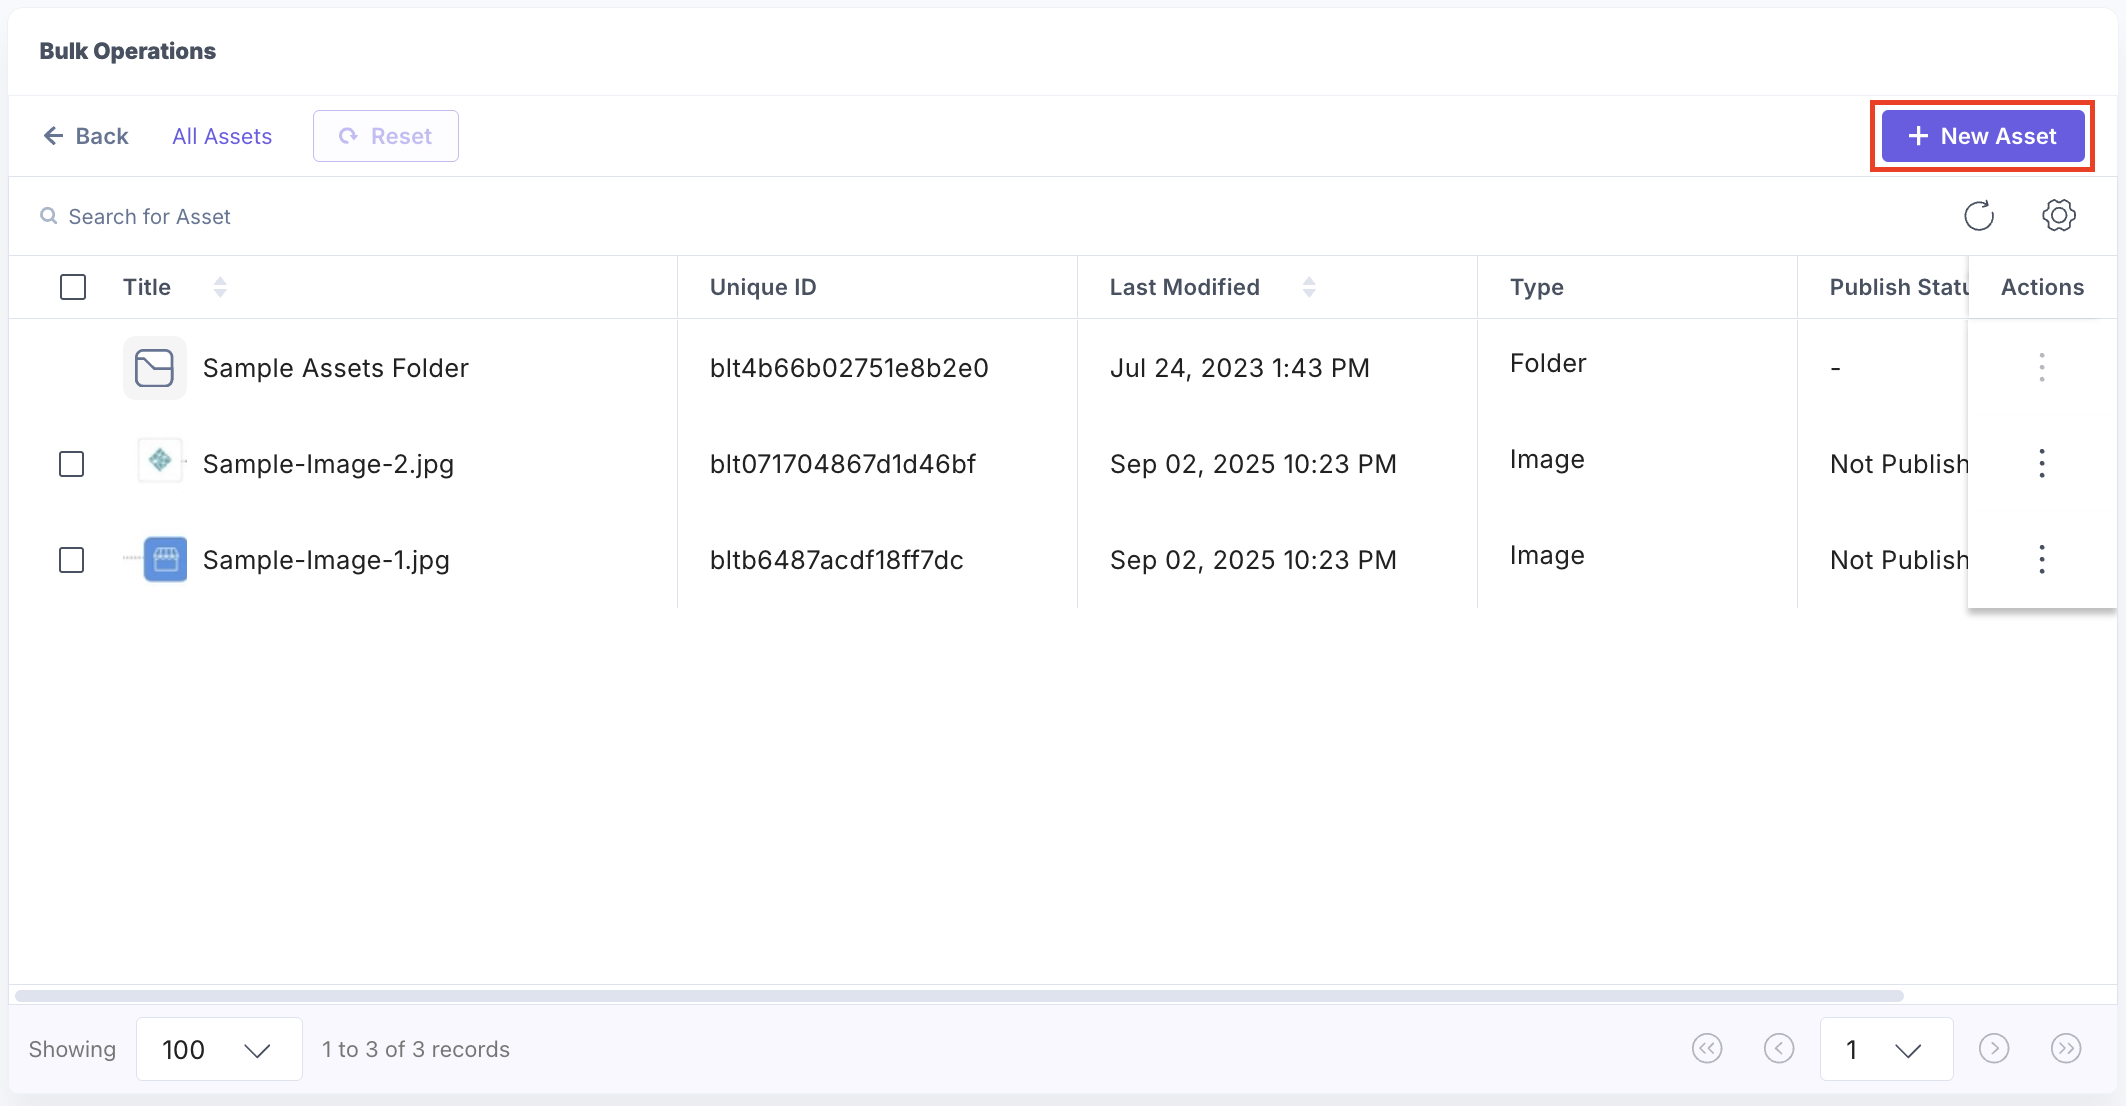
- You can directly upload assets or you can create a folder and upload assets by clicking the Upload Here button.
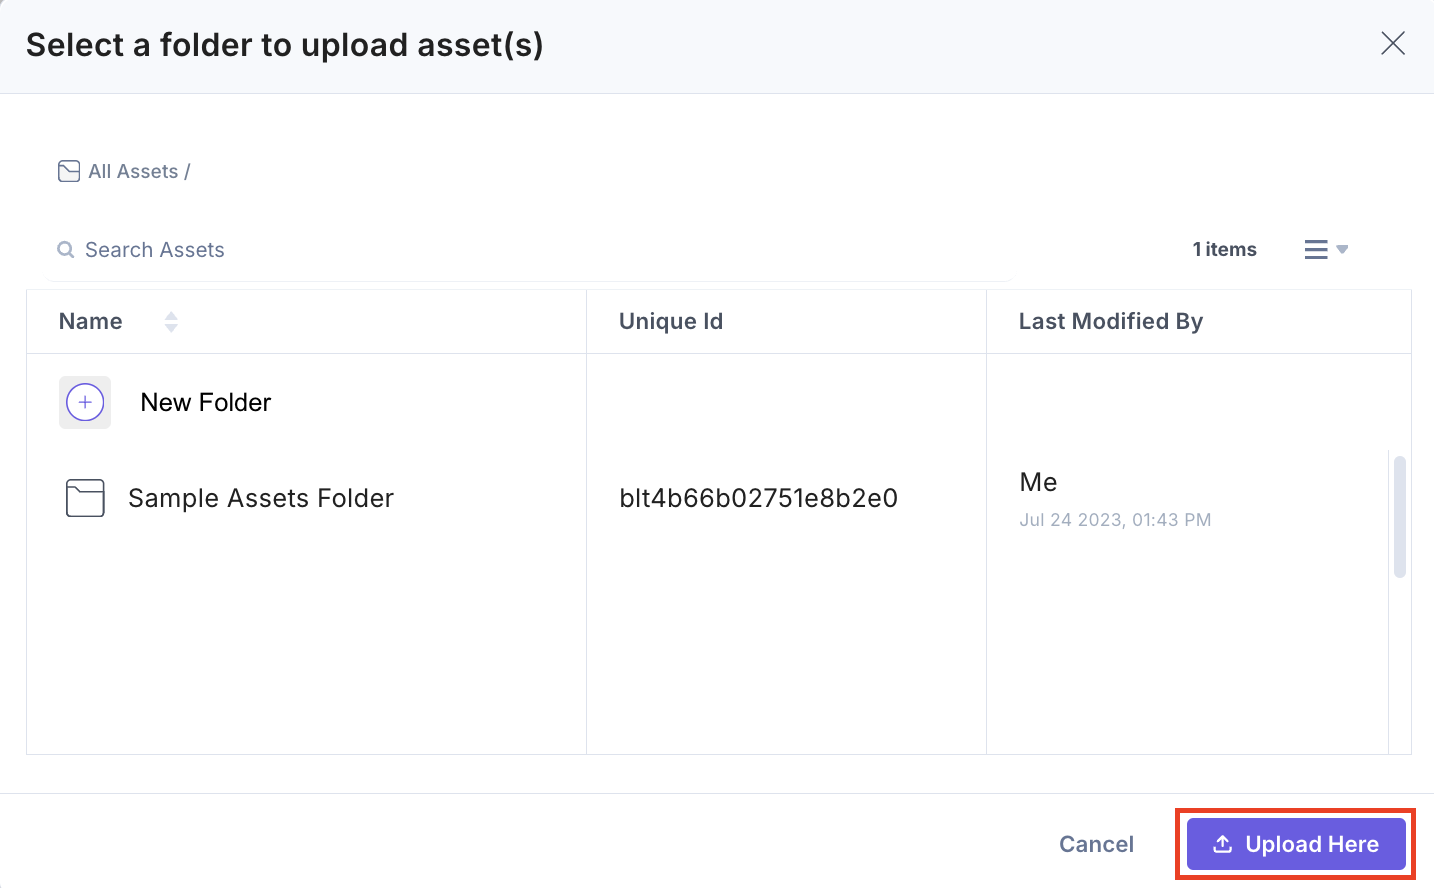
Note: You can create a nested folder structure with up to 5 levels.
A confirmation message appears after successful upload of assets.
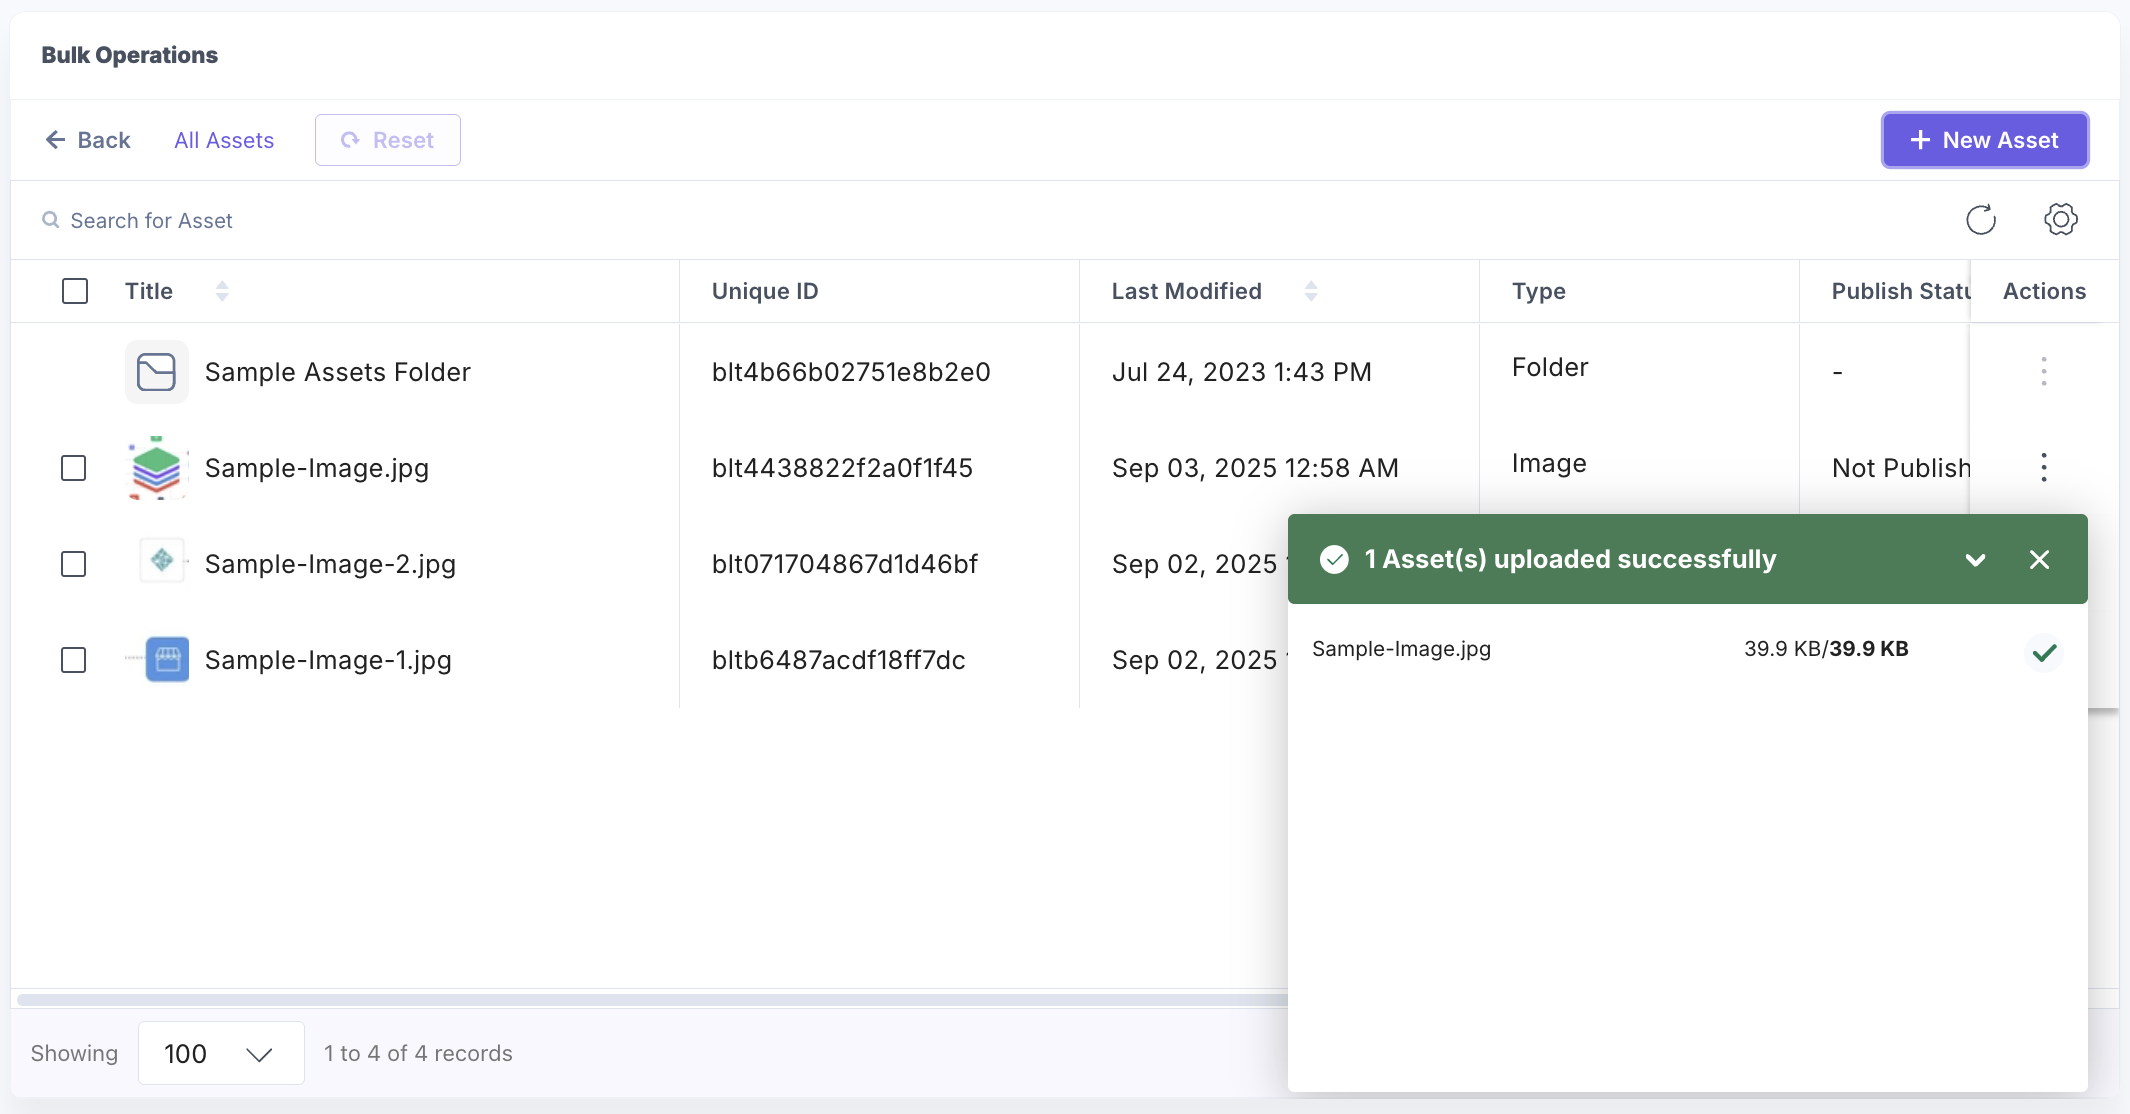
Note: You can upload the maximum number of assets based on your organization’s limit.
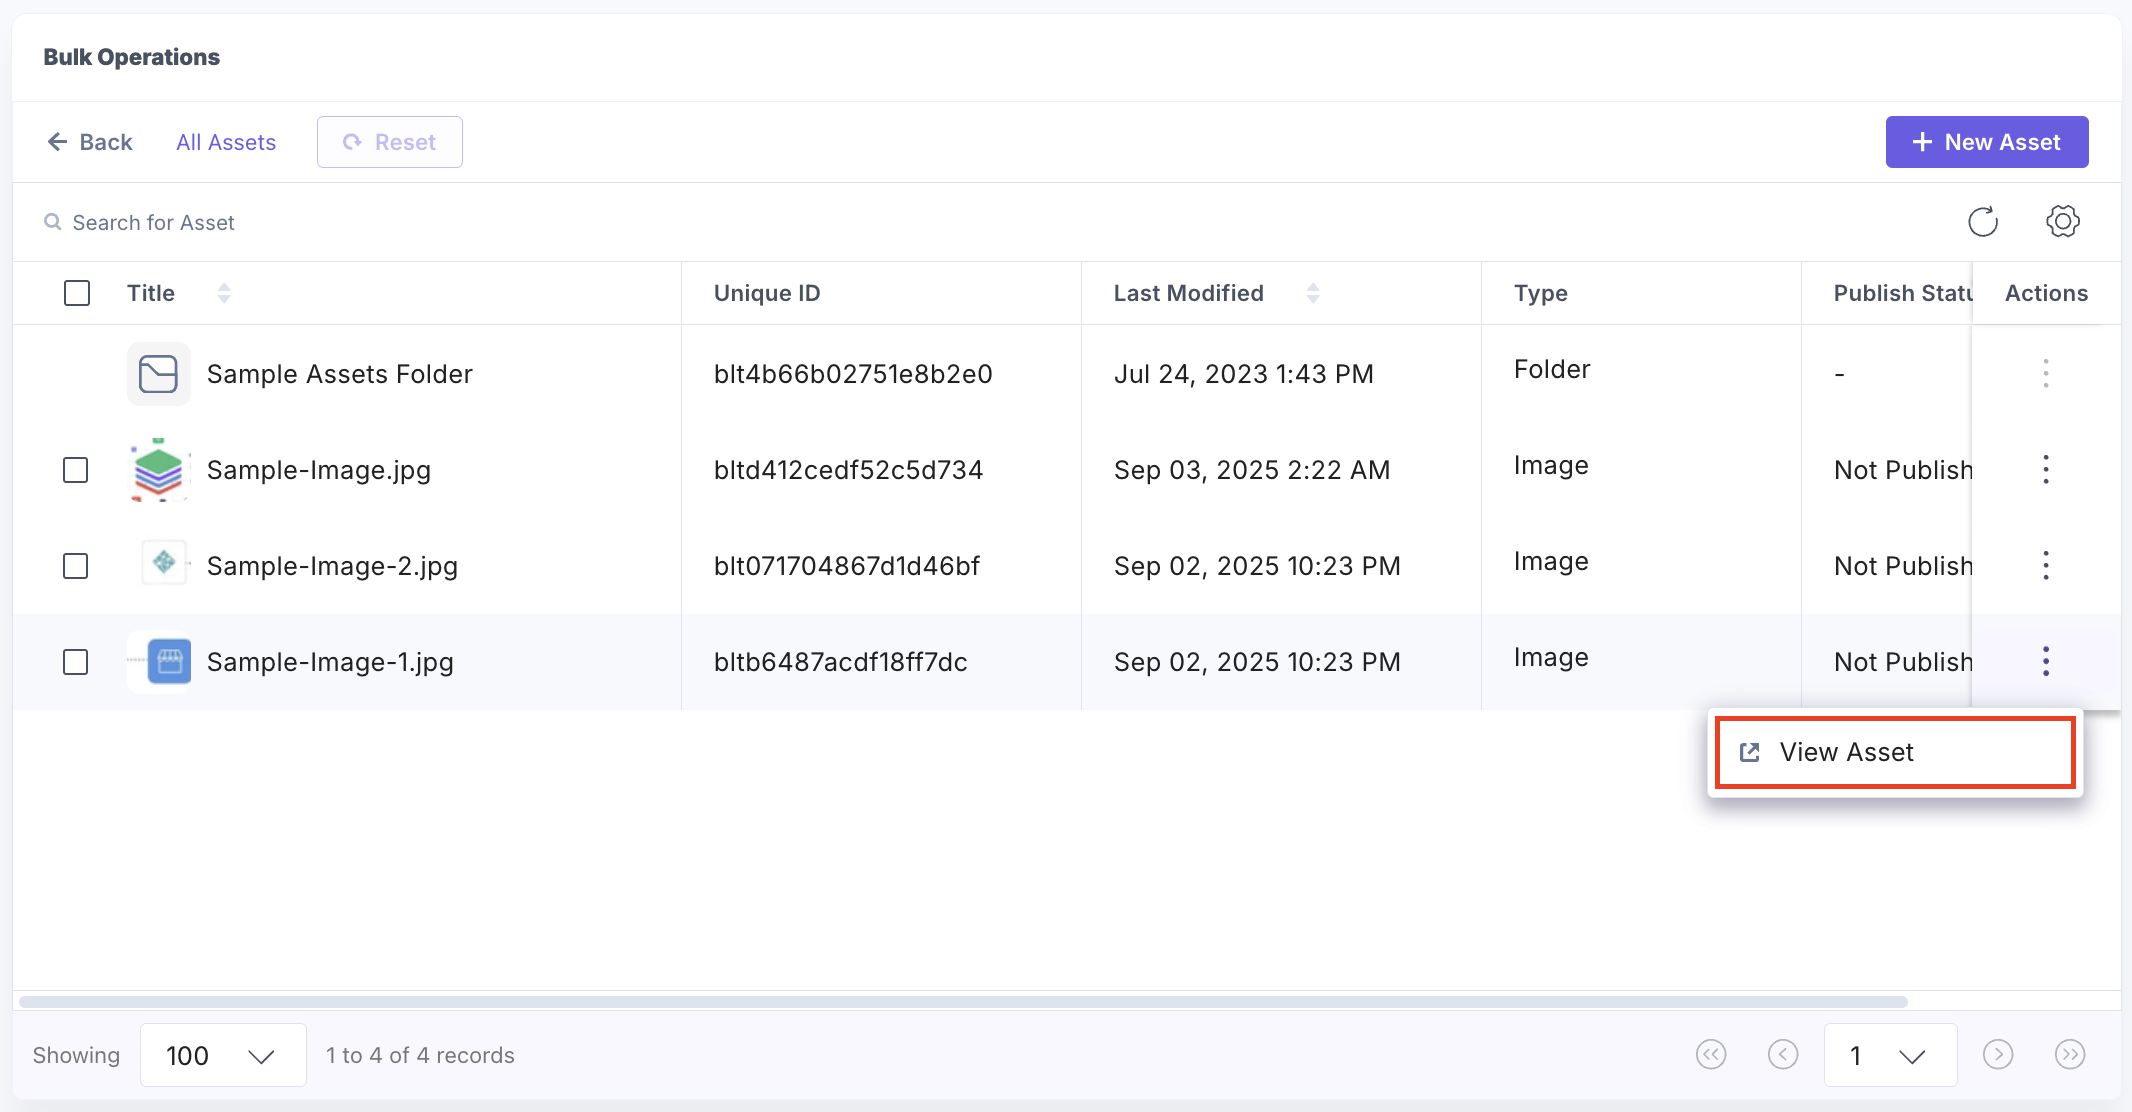
Click the vertical ellipsis under Actions next to an asset and select View Asset to view it in CMS.
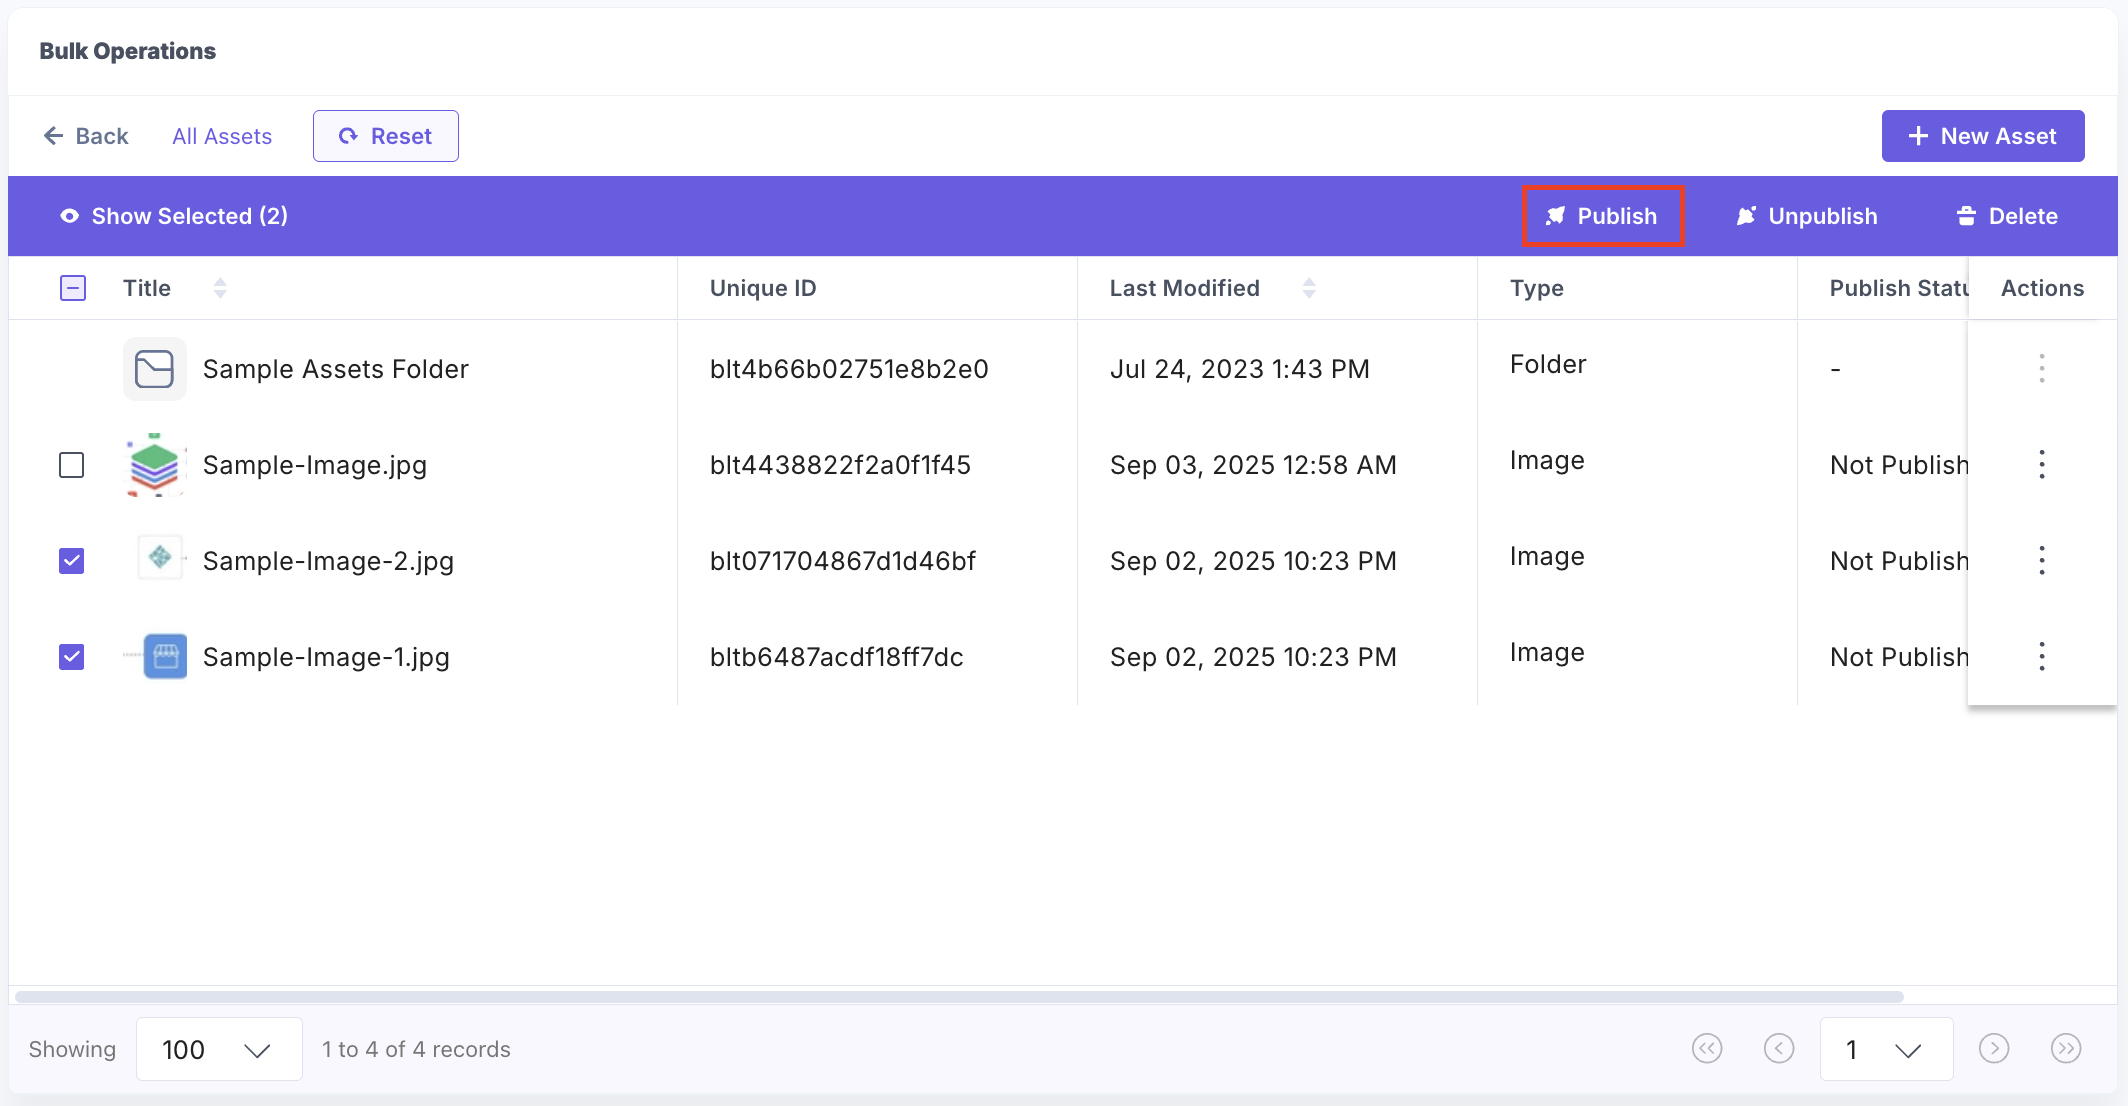
- Select the assets and click Publish to publish all the selected assets at once.
- In the Publish Assets modal, select the Environment(s) where you want to publish the assets. The stack Language is selected, by default; you can add more languages if needed. Choose the option to publish now or schedule it for later, then click Publish to continue.
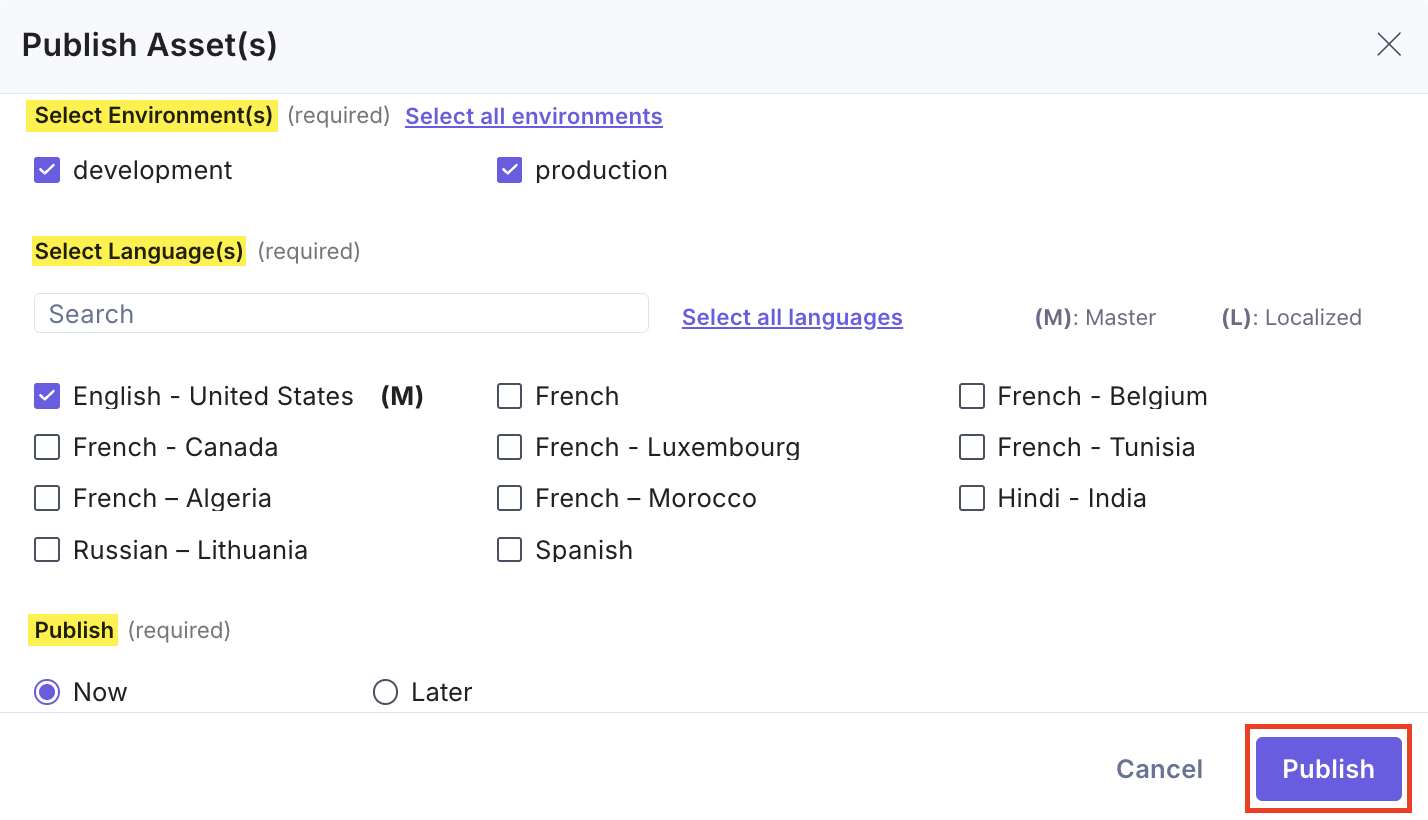
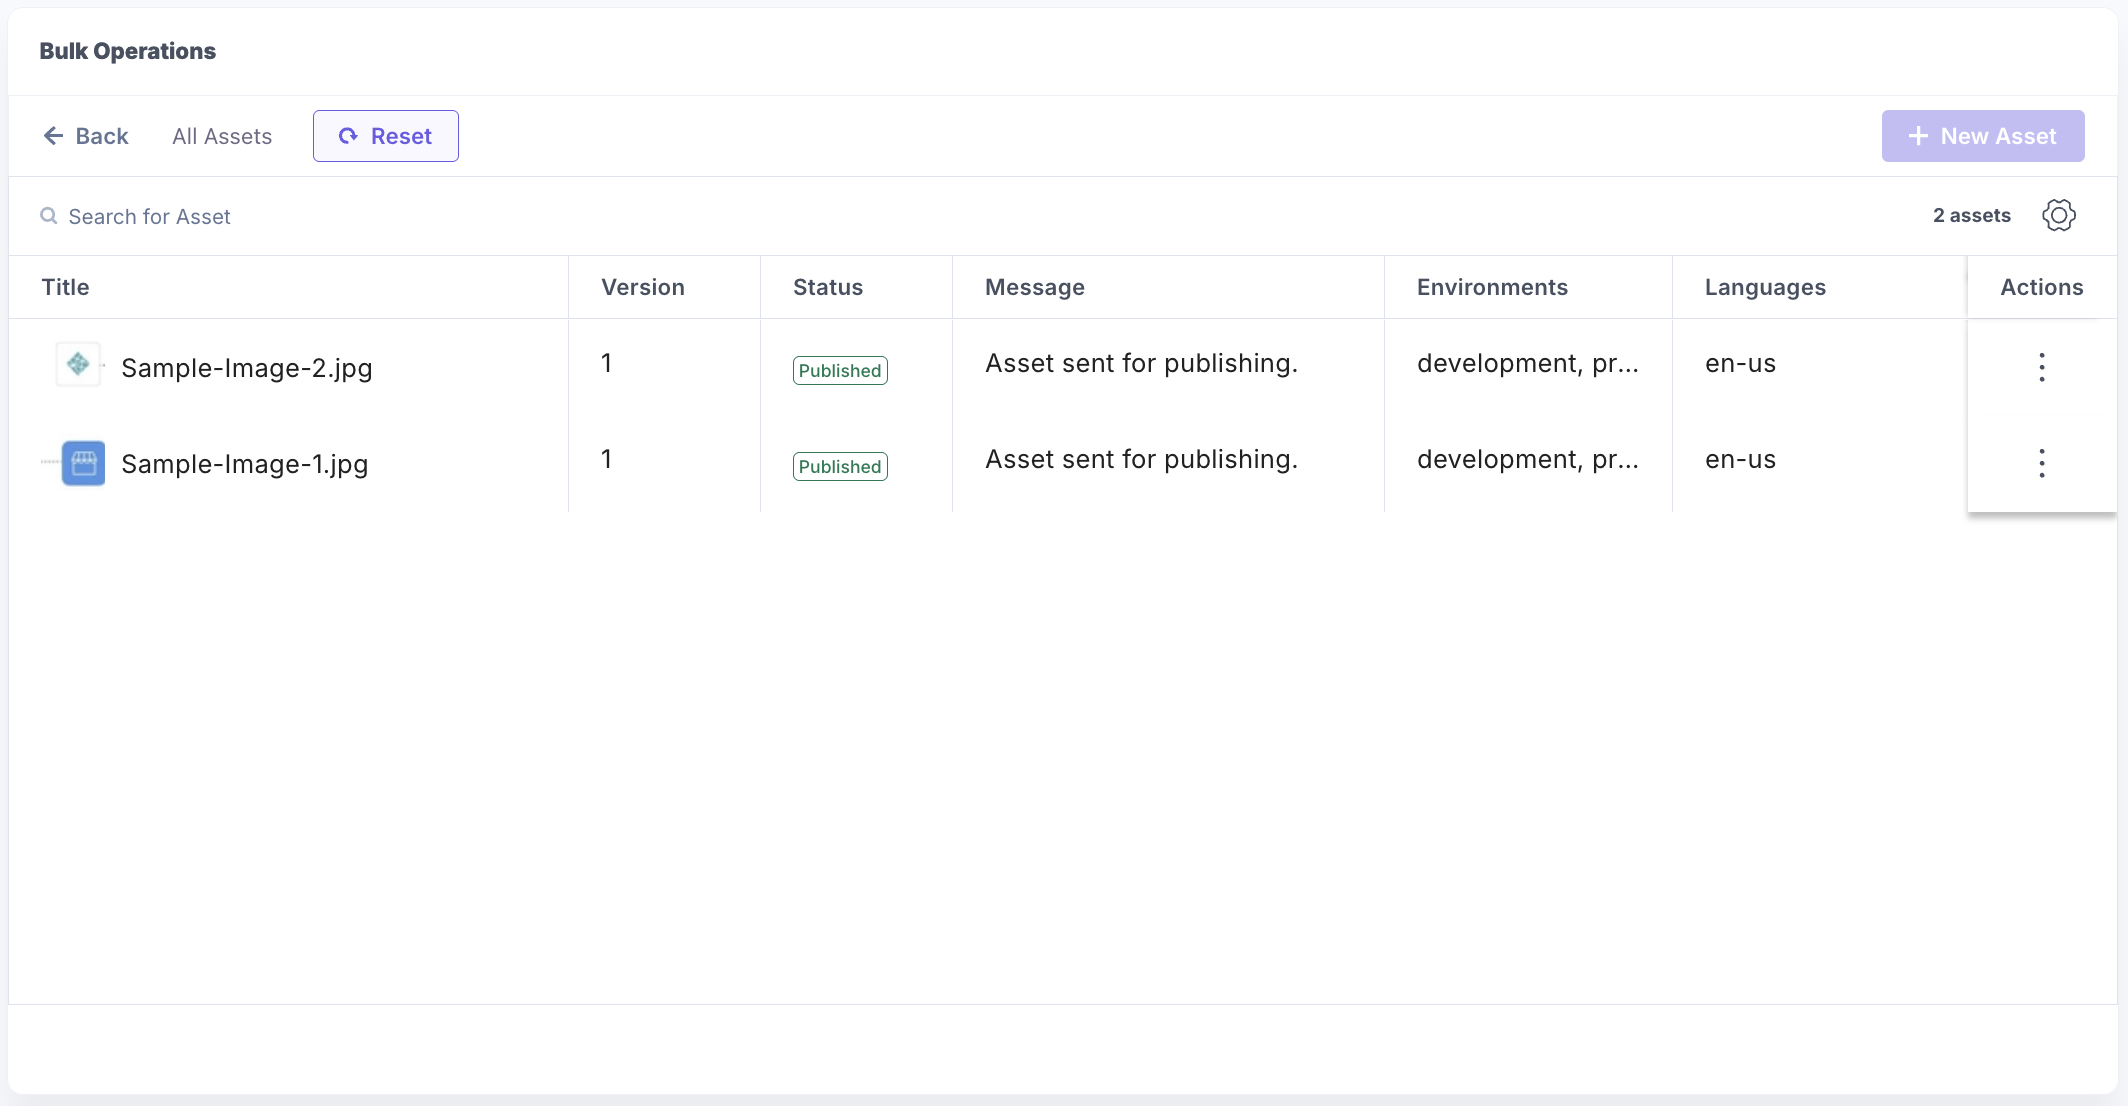
After successful publishing of assets, you can see the published status.
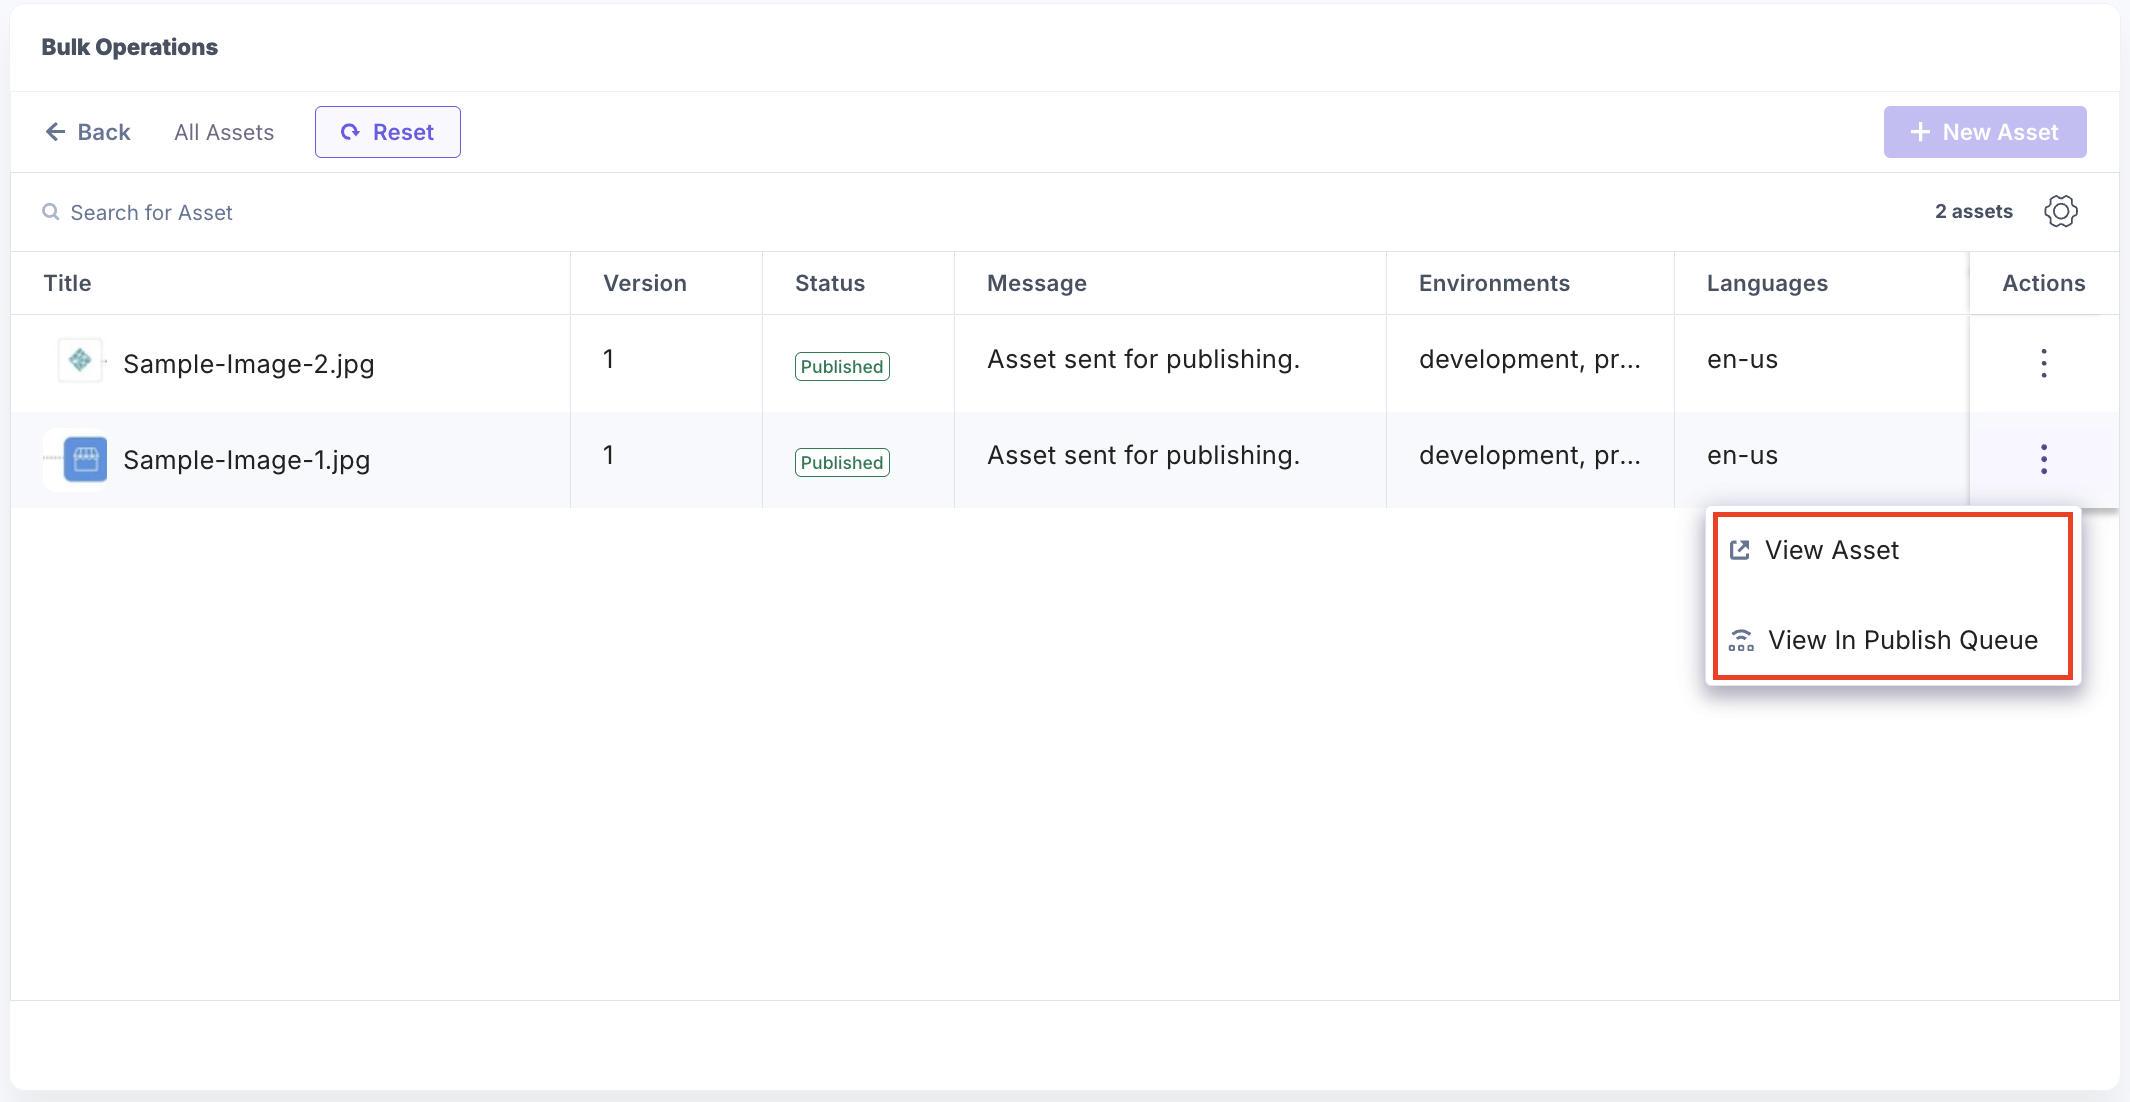
Click the vertical ellipsis under Actions next to an asset and select View Asset to view it in CMS. Alternatively, you can click View in Publish Queue to view the status in the publish queue.
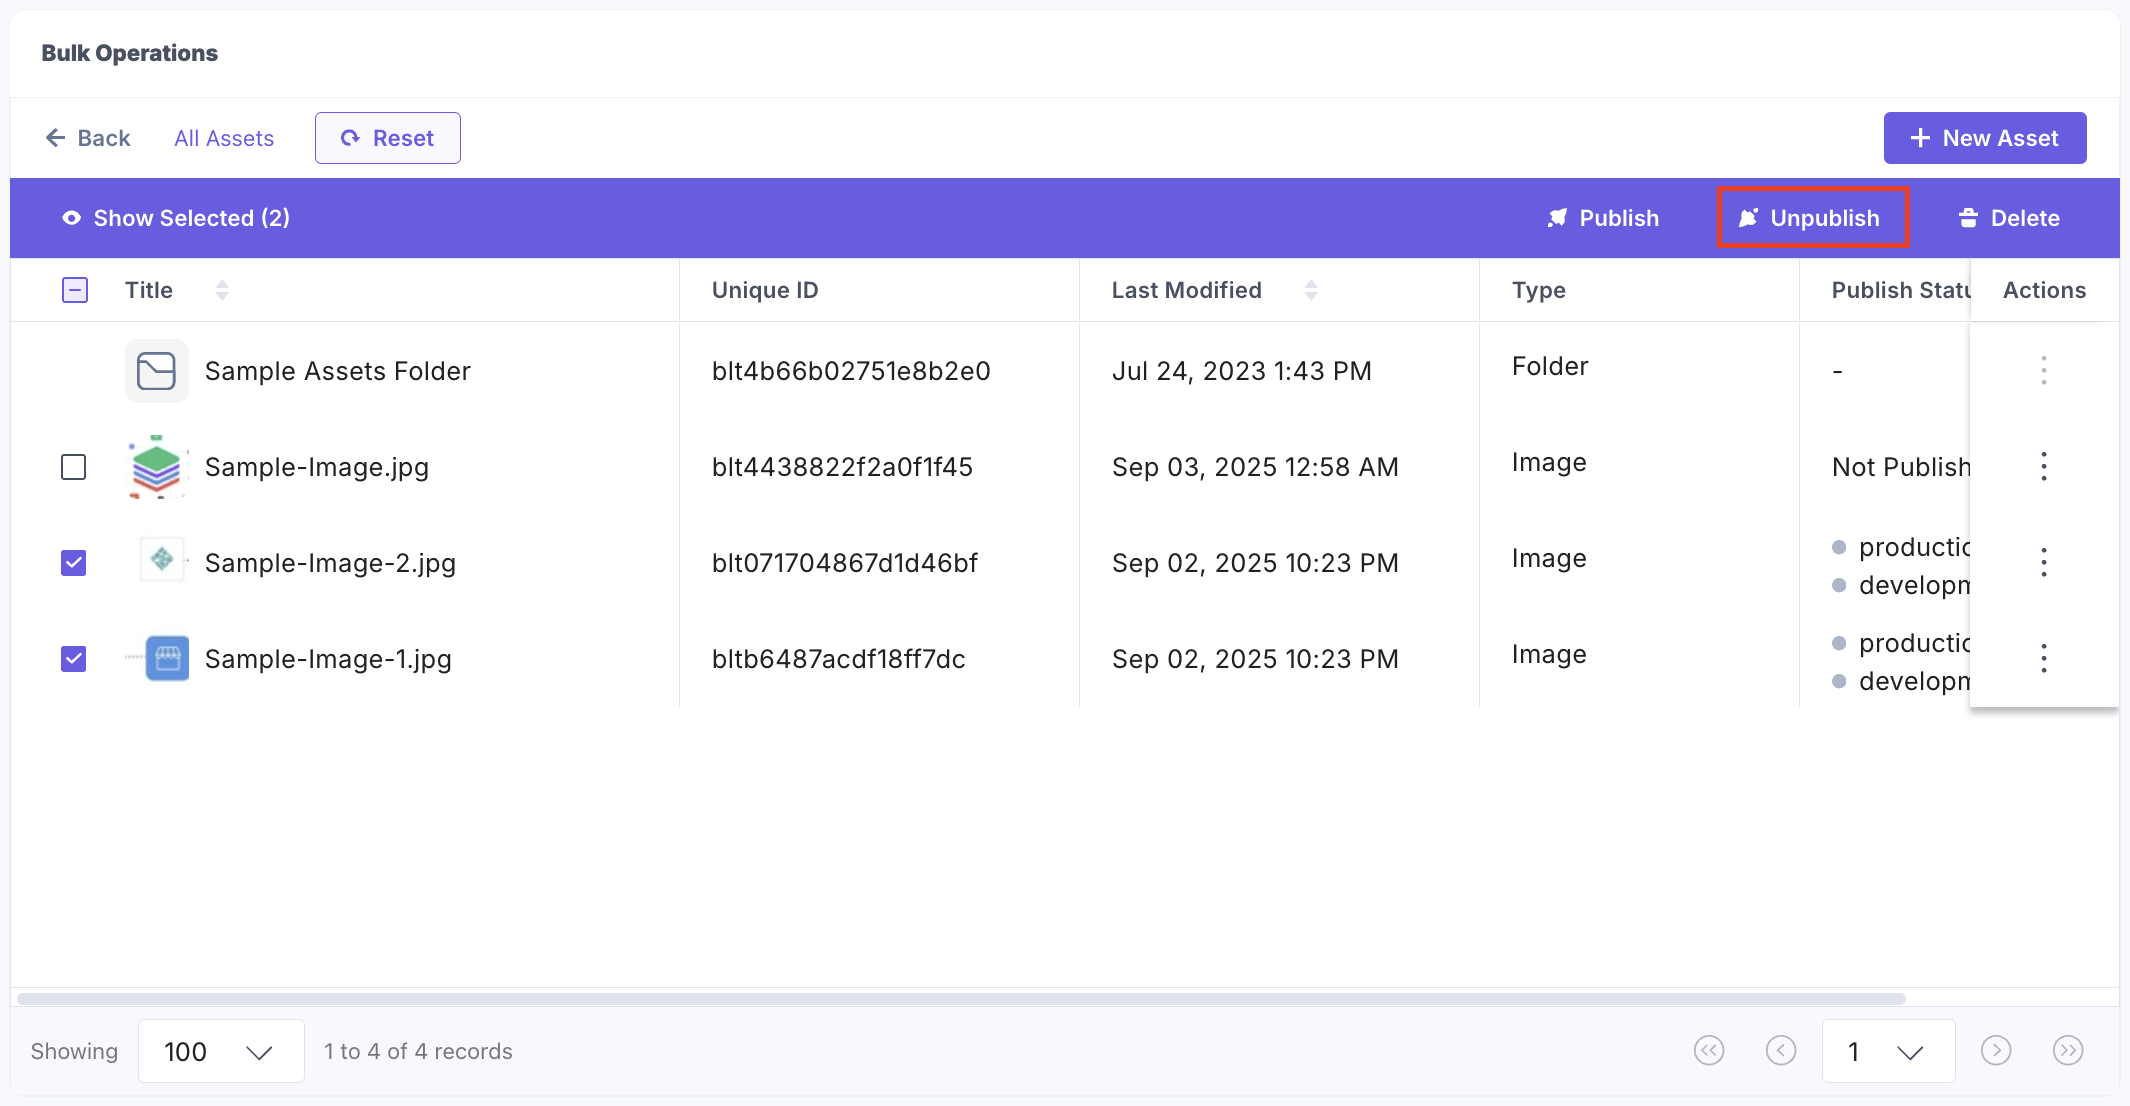
- If you want to unpublish the assets, select assets and click Unpublish.
- In the Unpublish Assets modal, select the Environment(s) where you want to unpublish the assets. The stack Language is selected, by default; you can add more languages if needed. Choose the option to unpublish now or schedule it for later, and then click Unpublish to continue.
After successful unpublishing of assets, you can see the unpublished status.
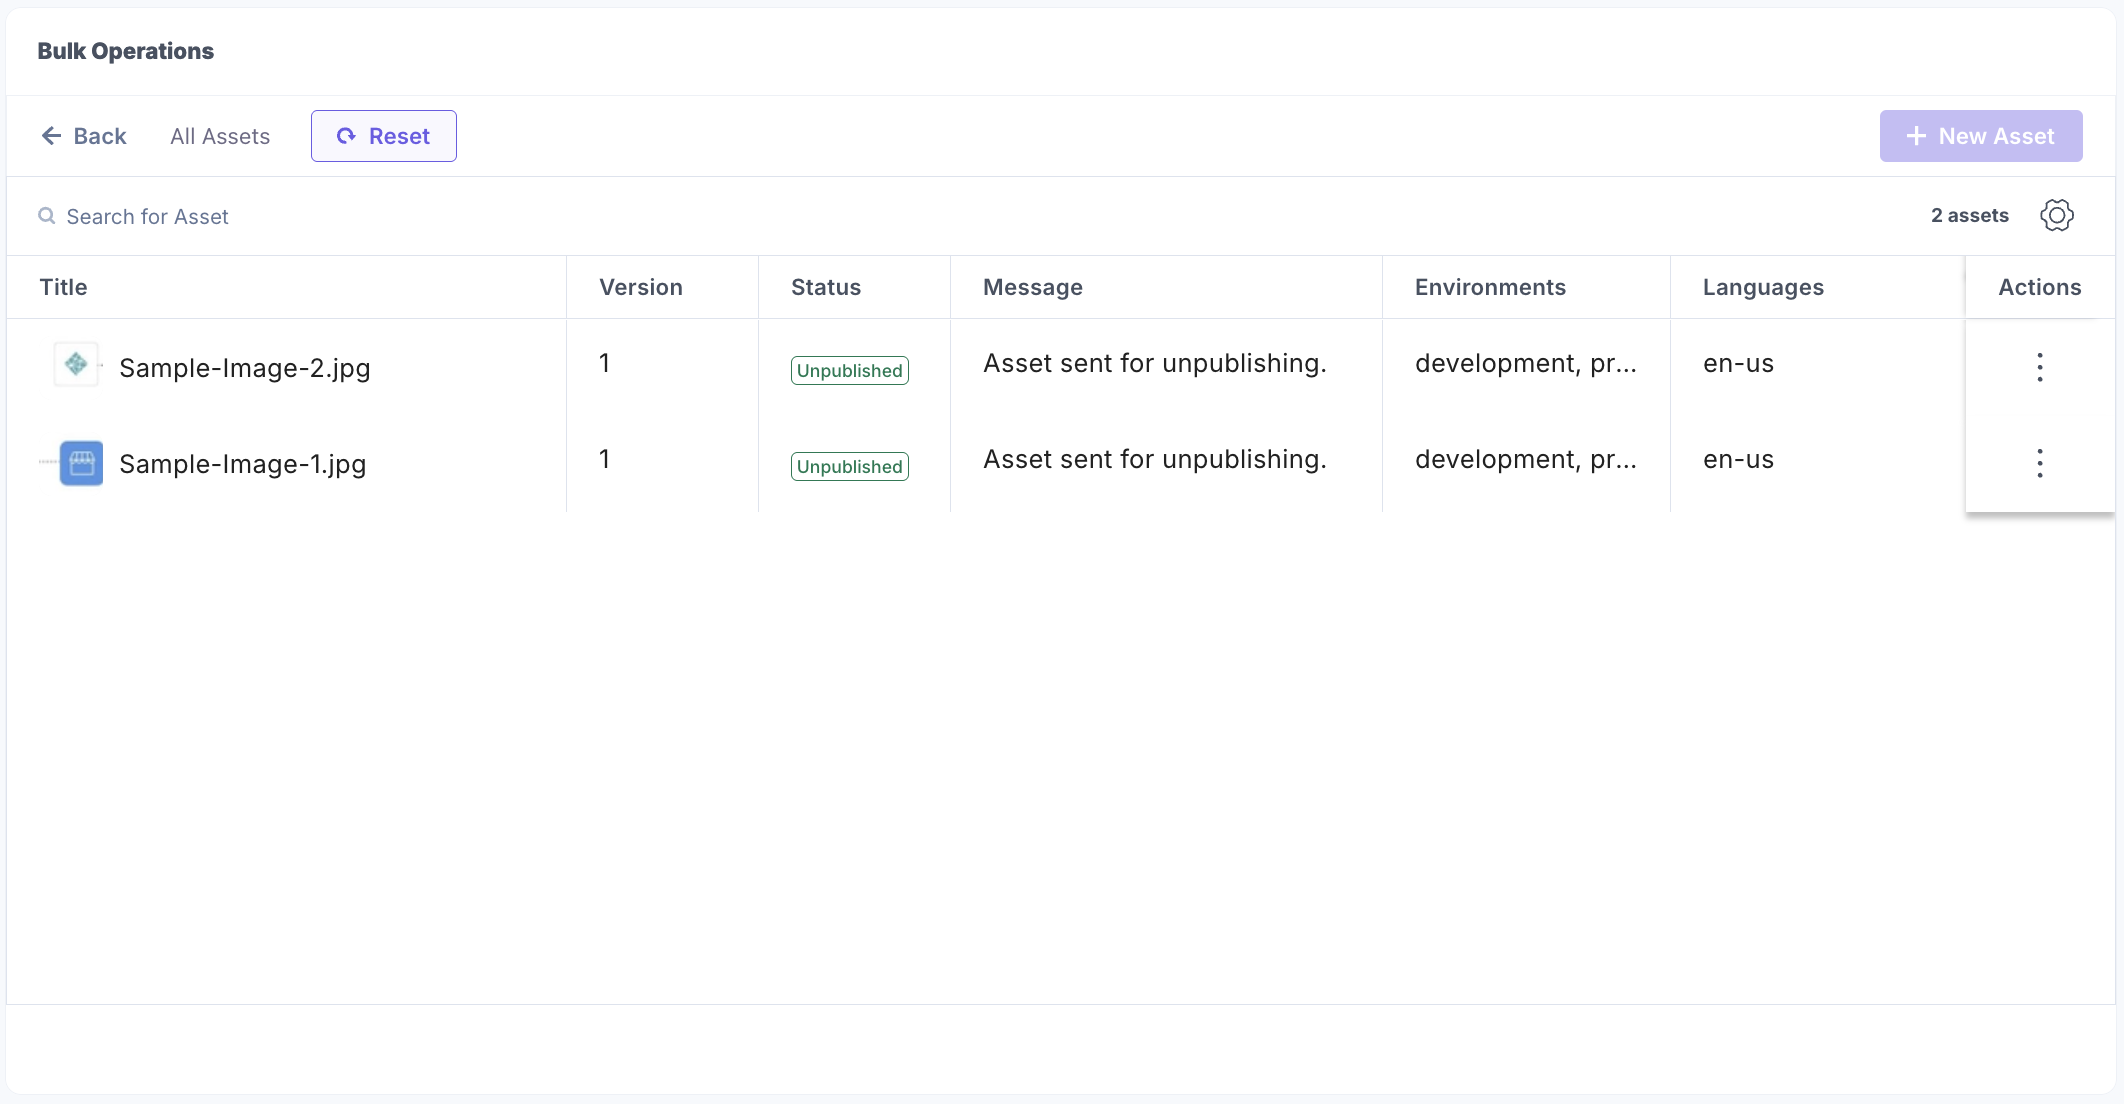
Click the vertical ellipsis under Actions next to an asset and select View Asset to view it in CMS. Alternatively, you can click View in Publish Queue to view the status in the publish queue.
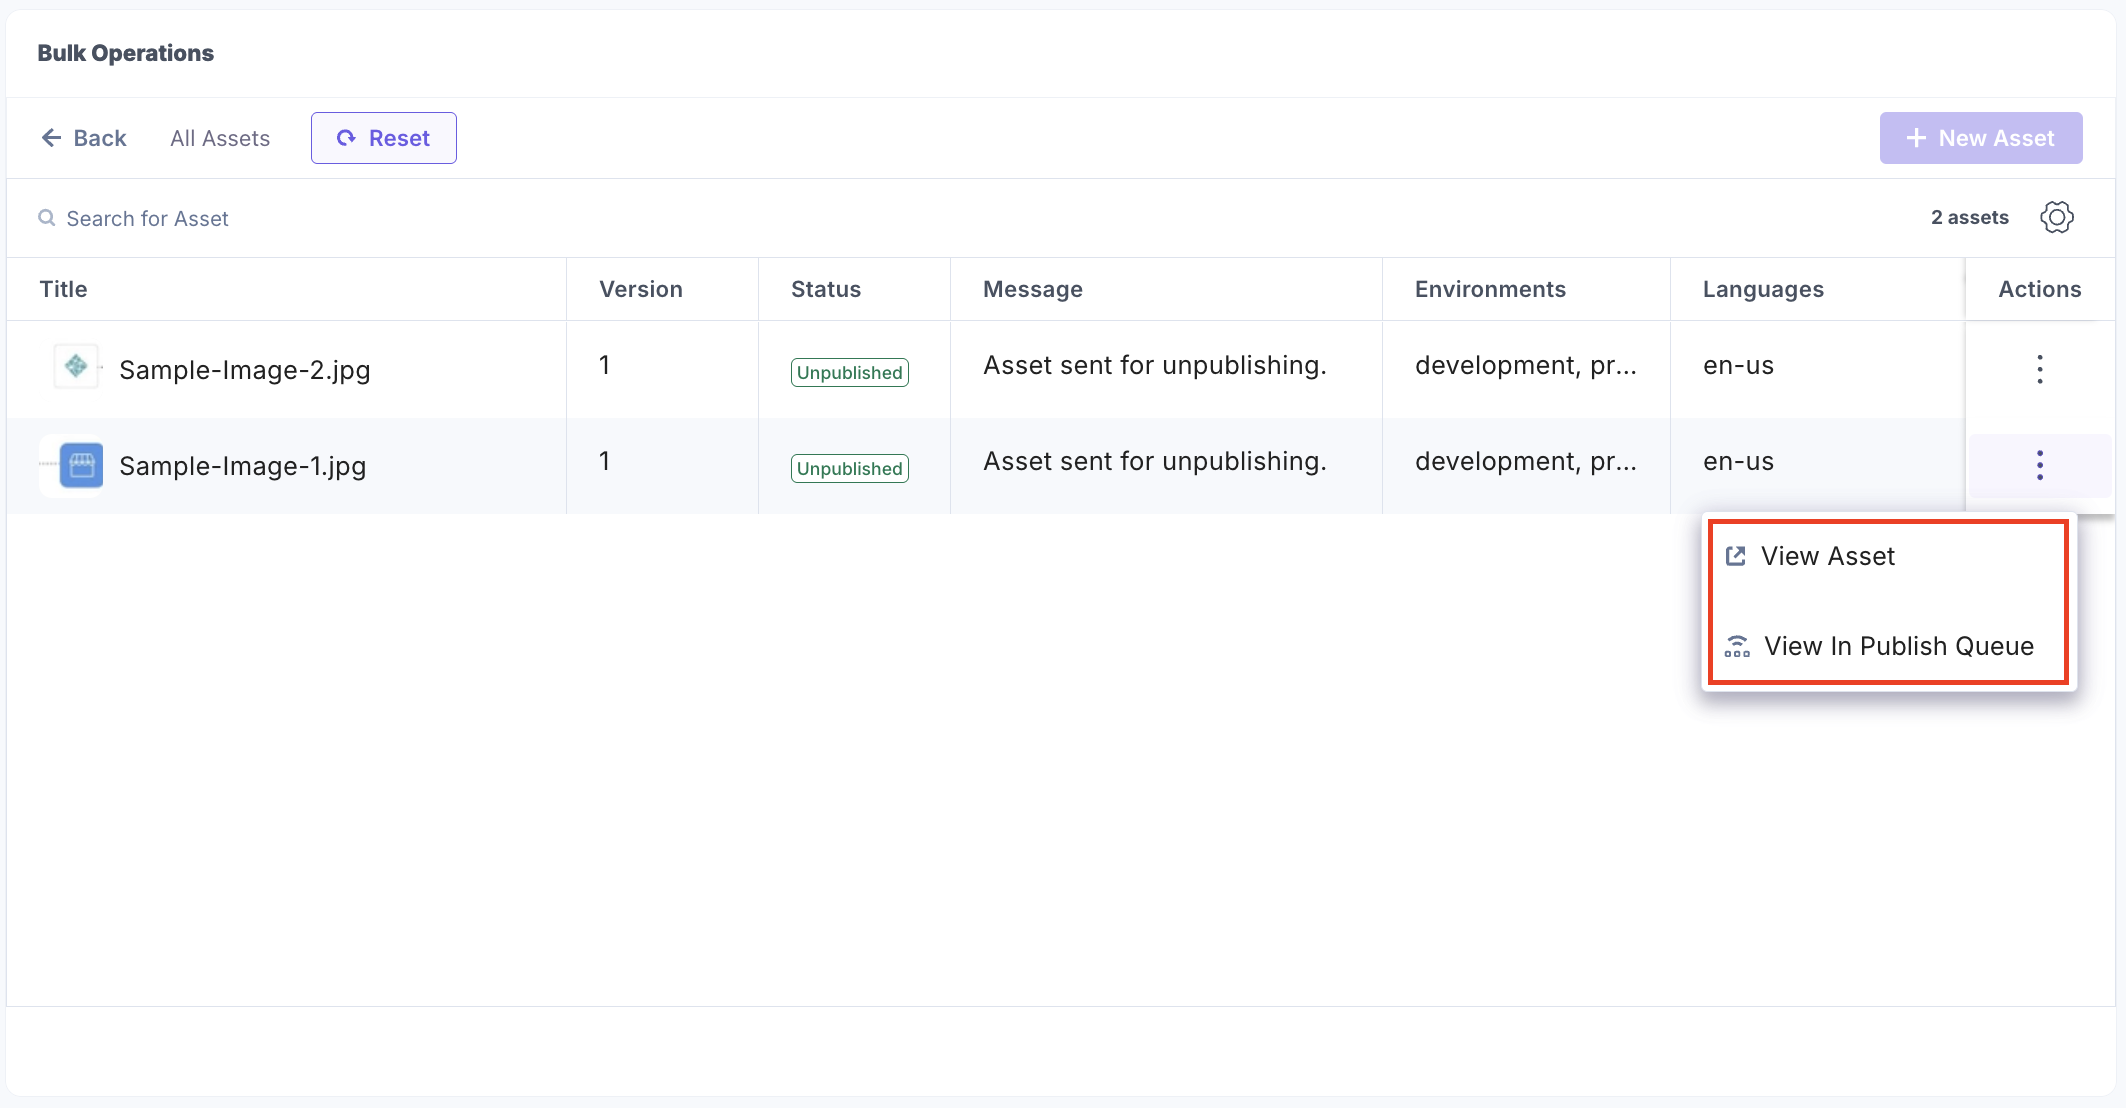
- The Delete button can delete all the selected assets and move them to trash.
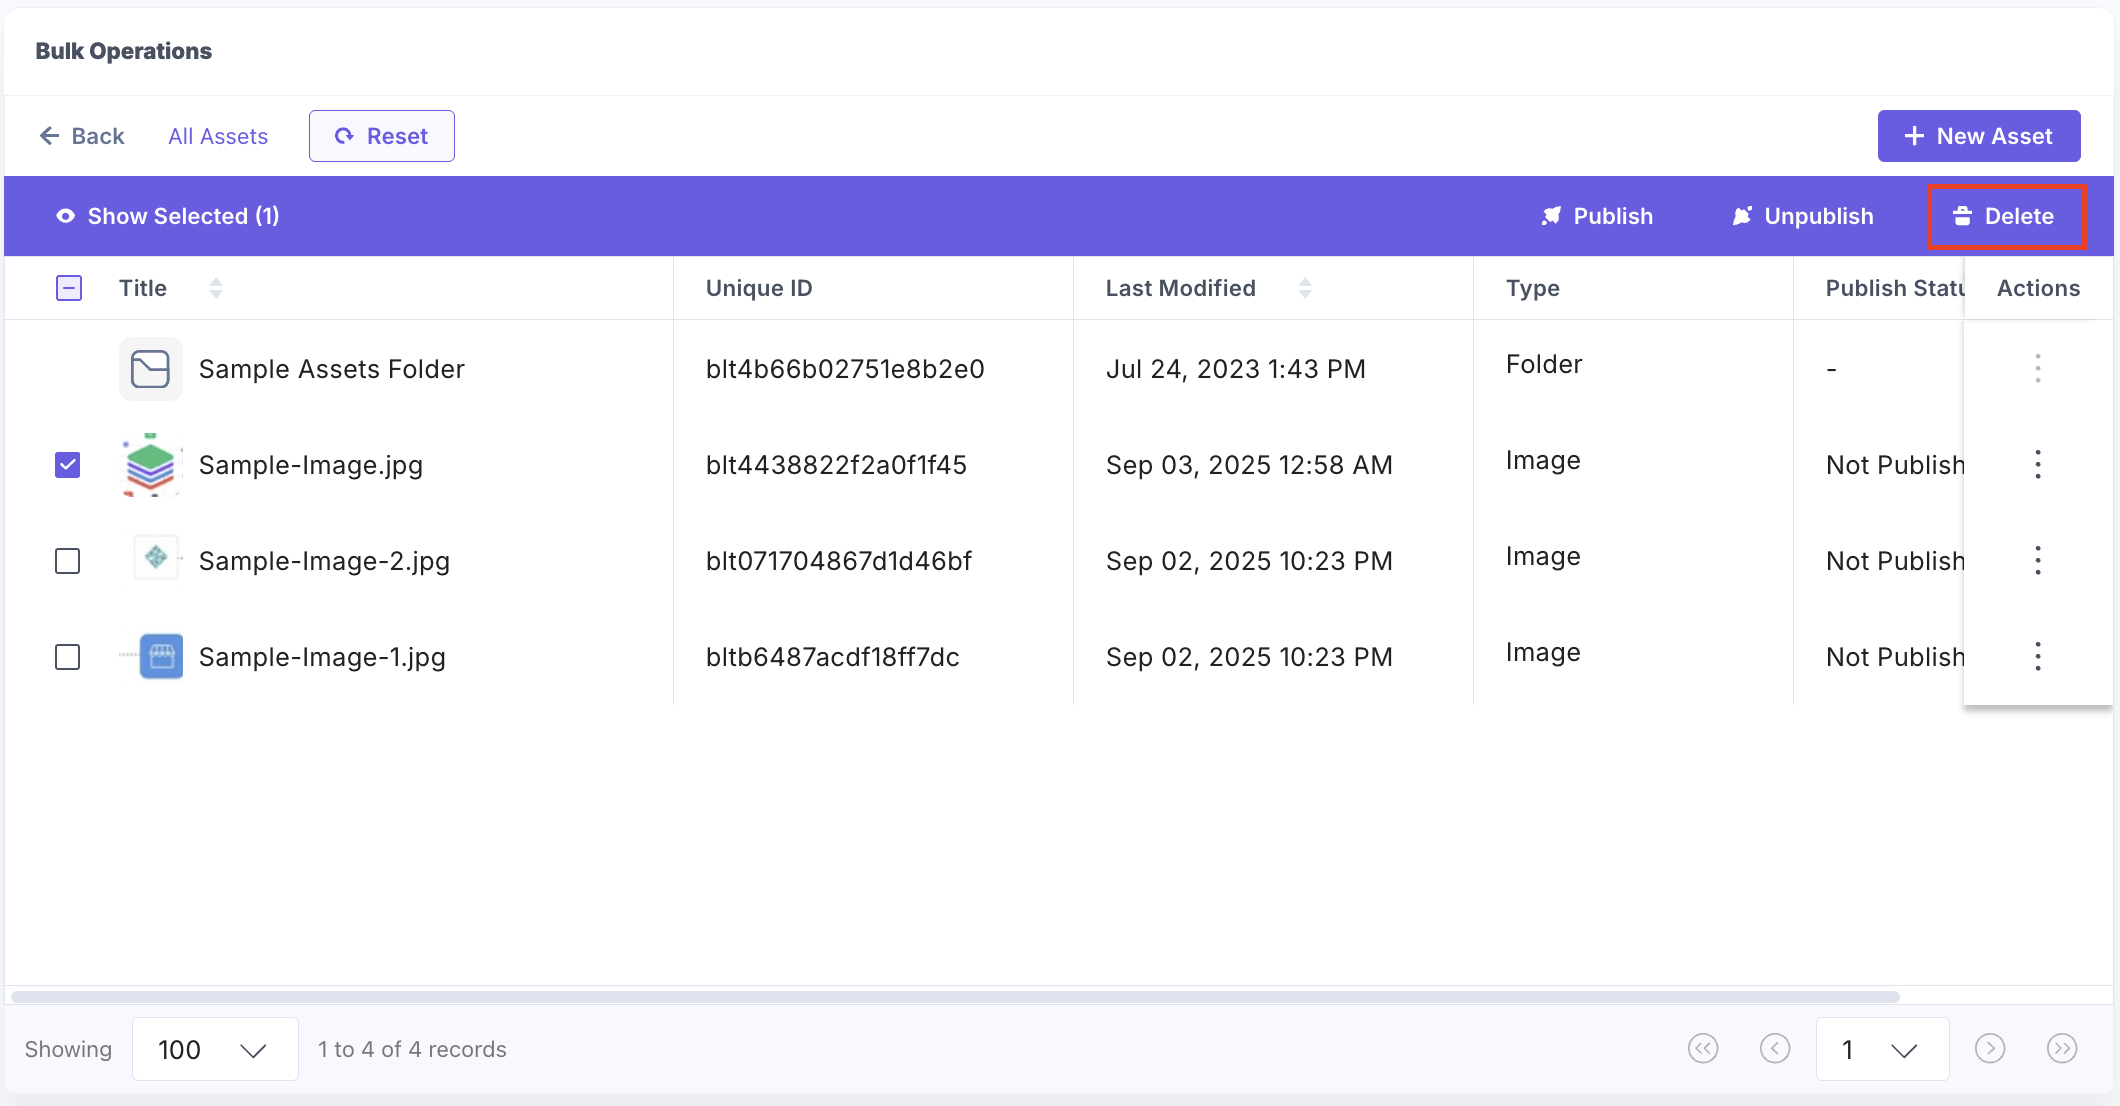
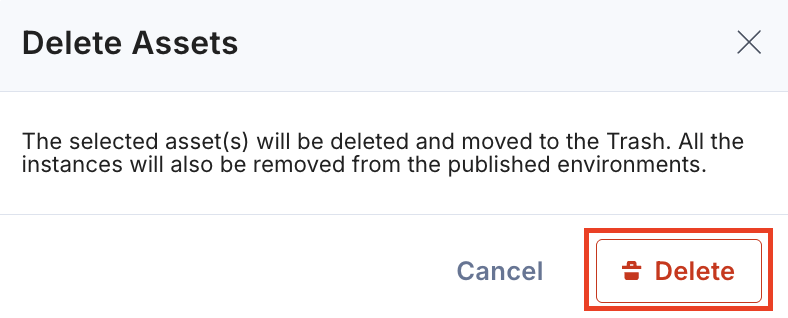
- In the Delete Assets modal, click Delete to delete all the selected assets.
After successful deletion, you can see the status.
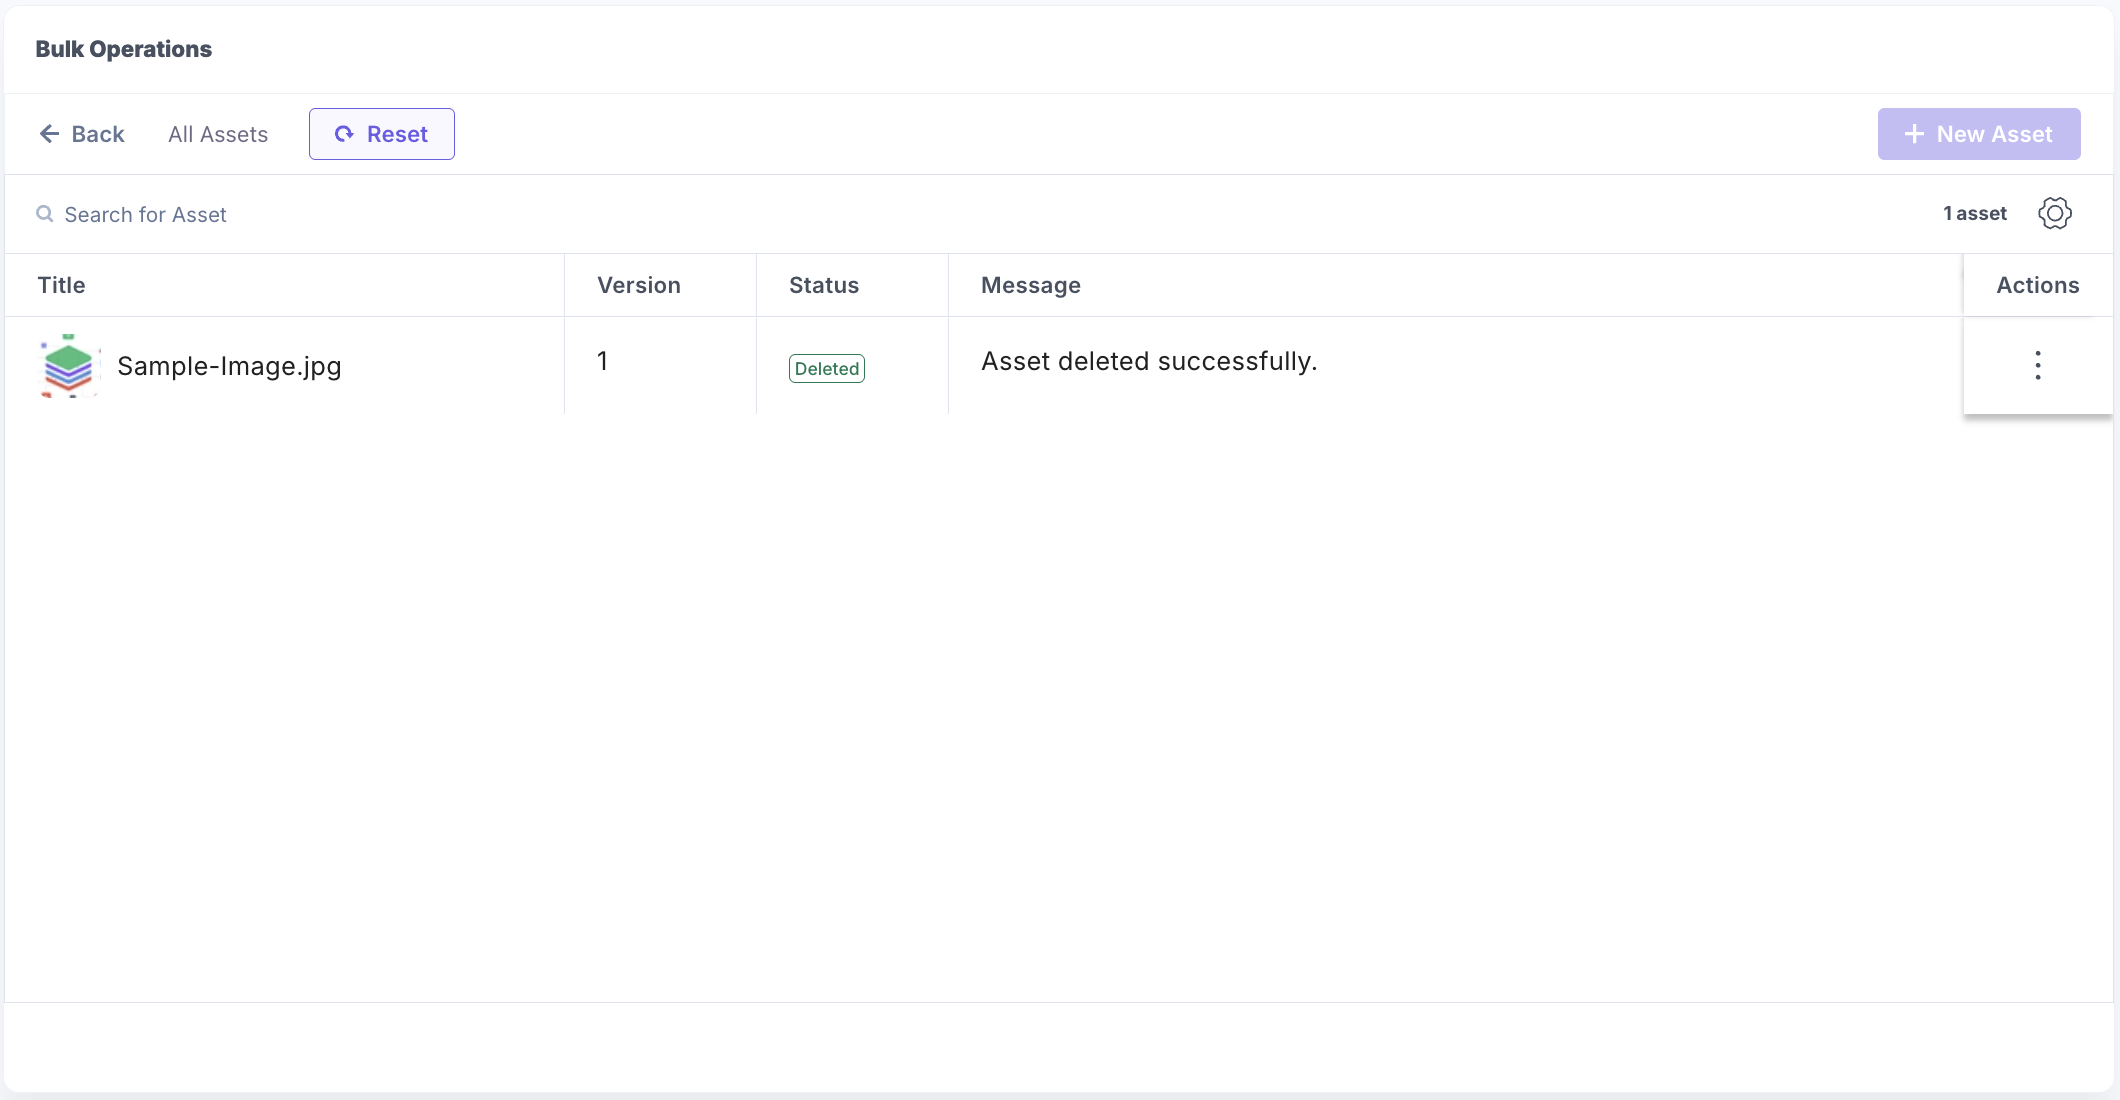
Click the vertical ellipsis under Actions next to an asset and select View in Trash to view the asset in trash.
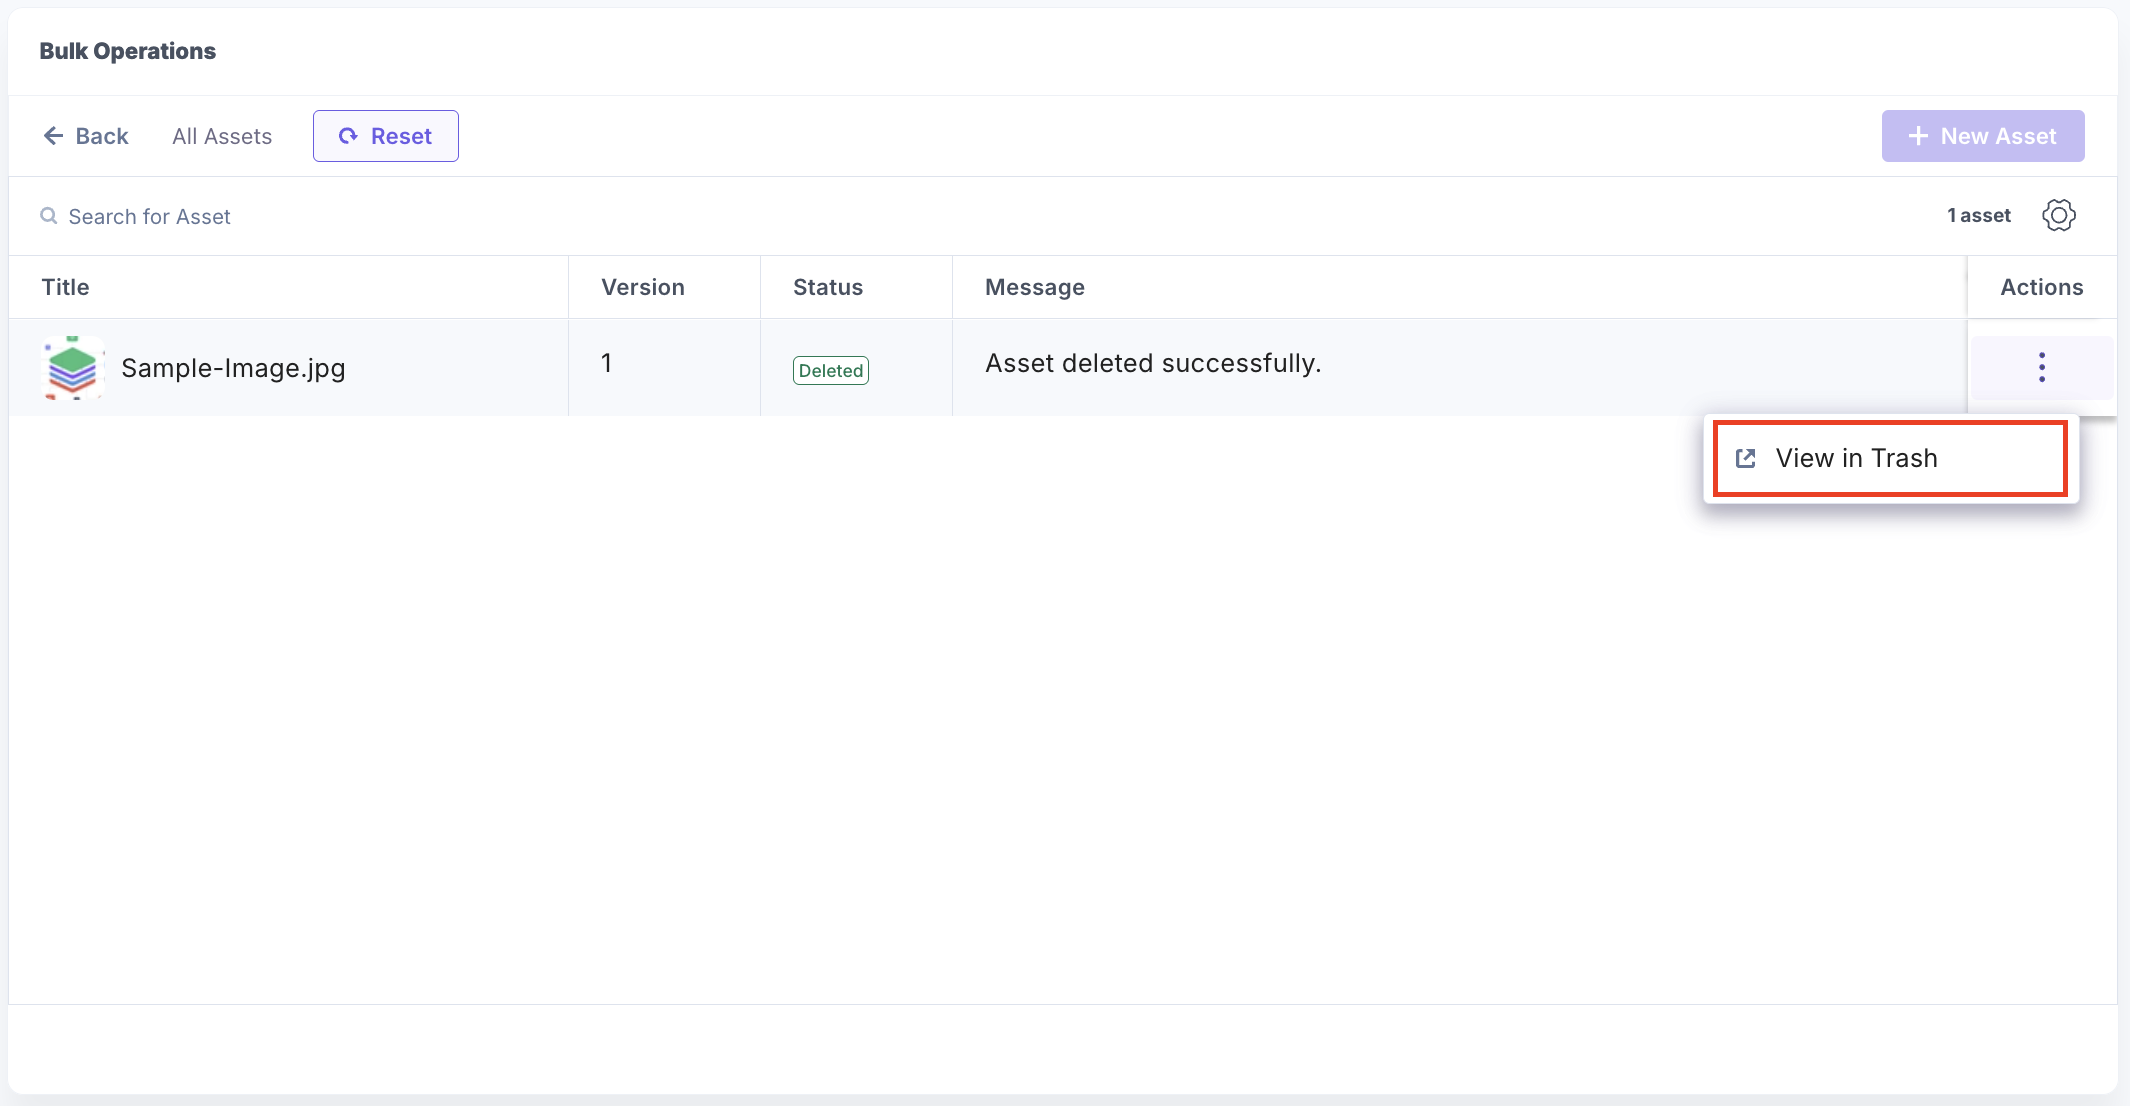
Note: Deleted assets stay in Trash for 14 days before they are permanently removed.
- You can click the folder path links to move between folders.
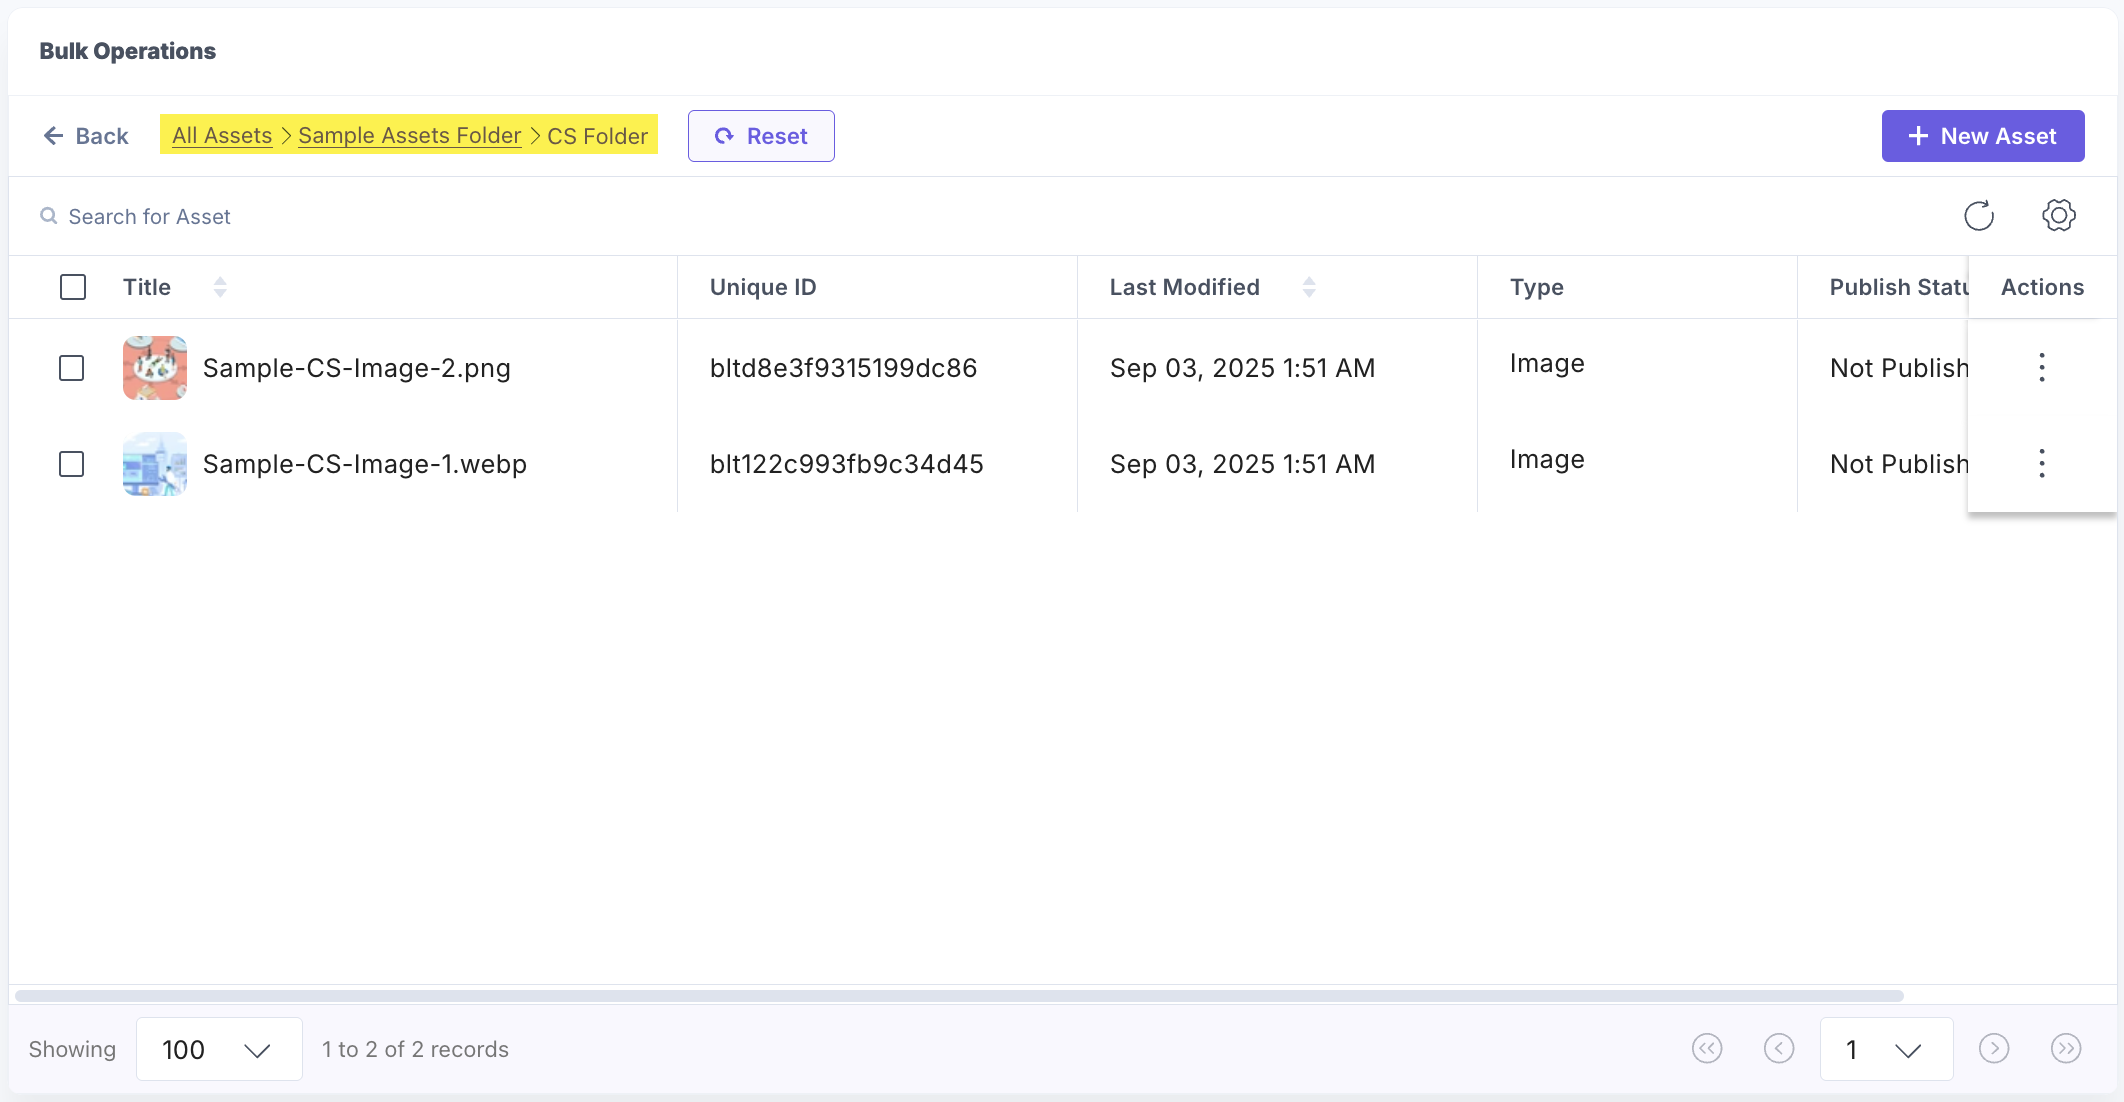
- Click the Reset button to reset the dashboard to start a new search.
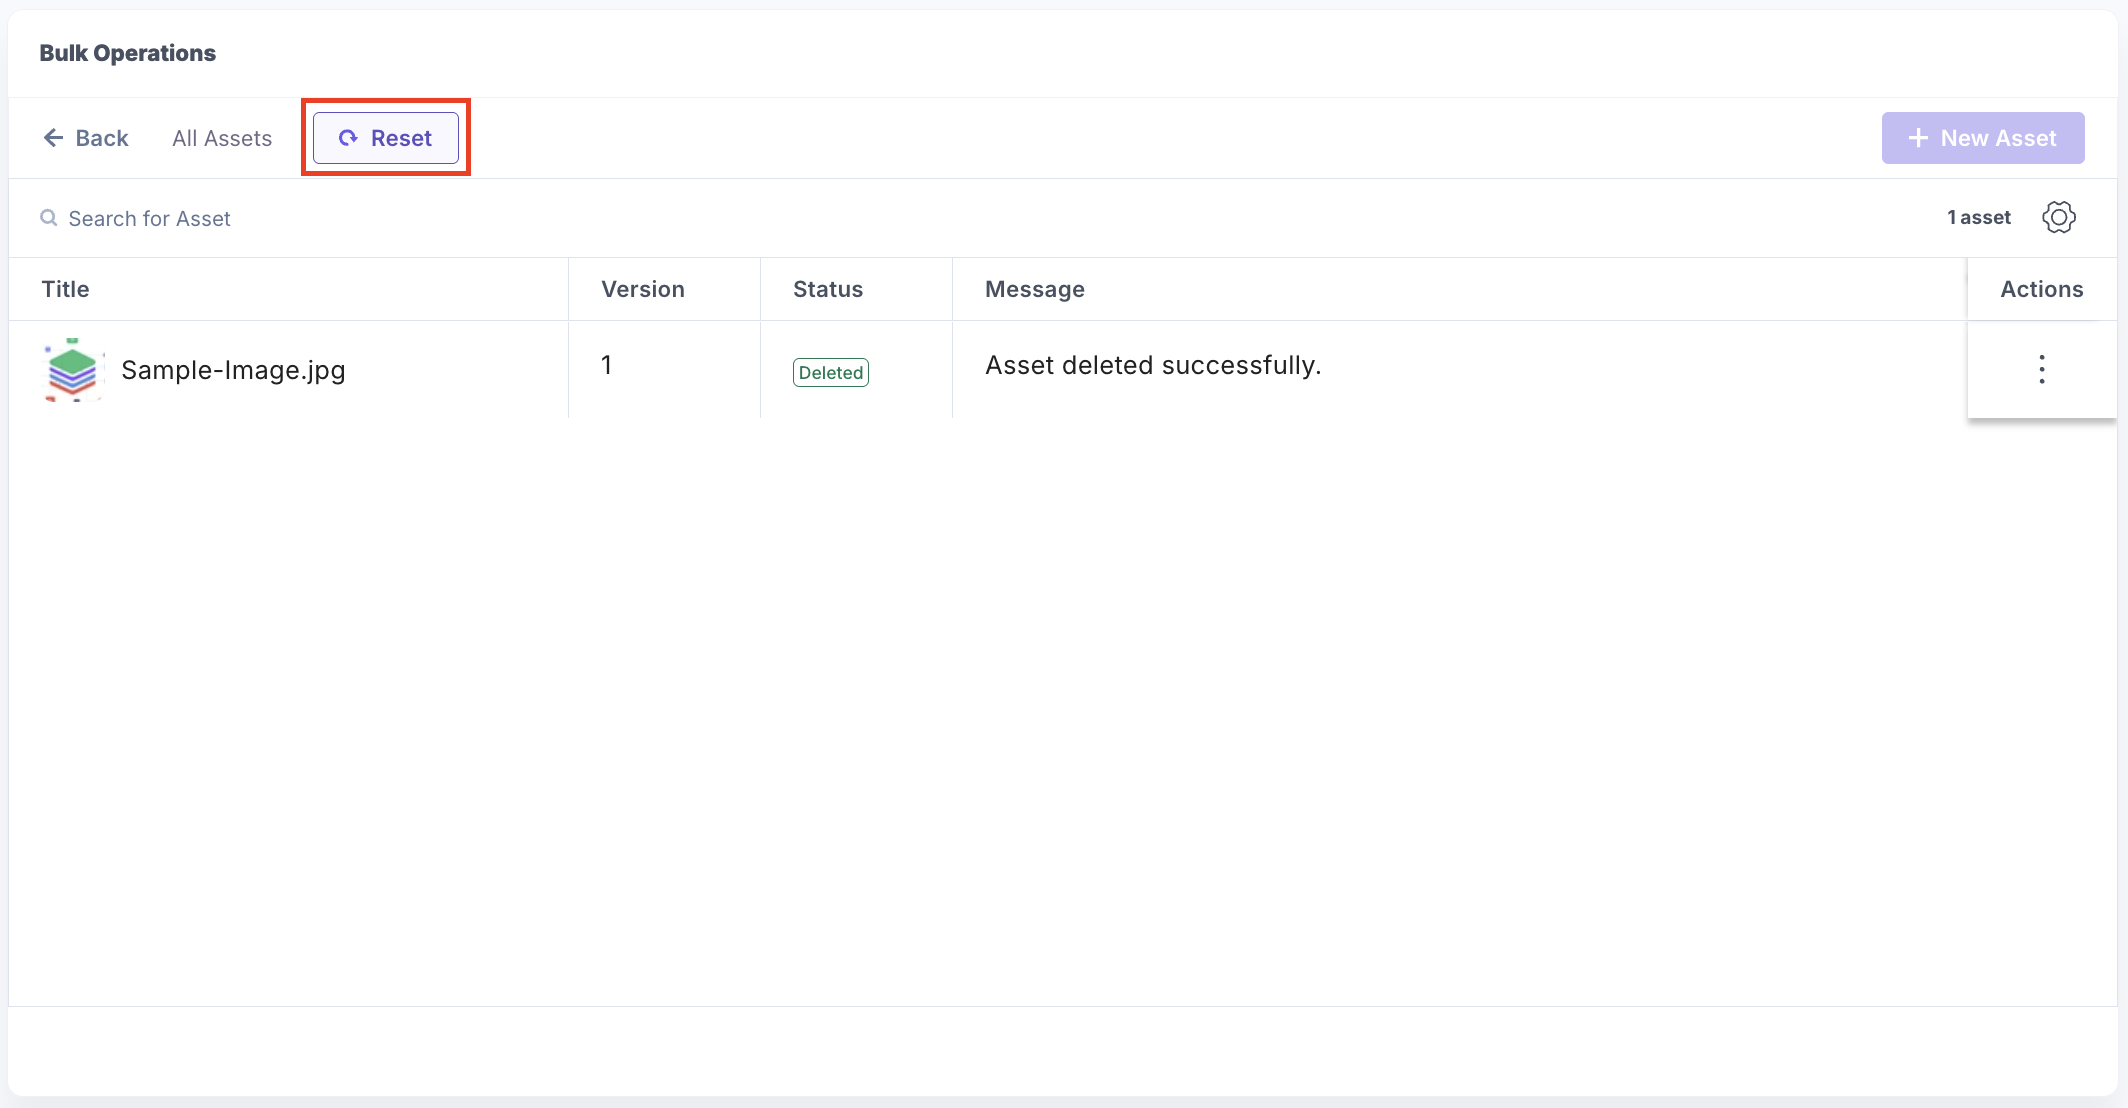
- Confirm and click the Reset button again to reset the dashboard view.
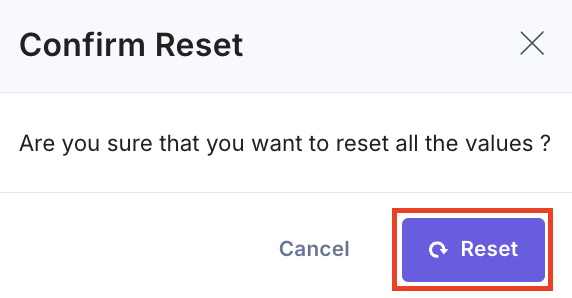
Note: You can publish, unpublish, or delete up to 1000 assets at a time.
Releases Operation
Click Releases to add multiple entries and assets to a release or create a new release.
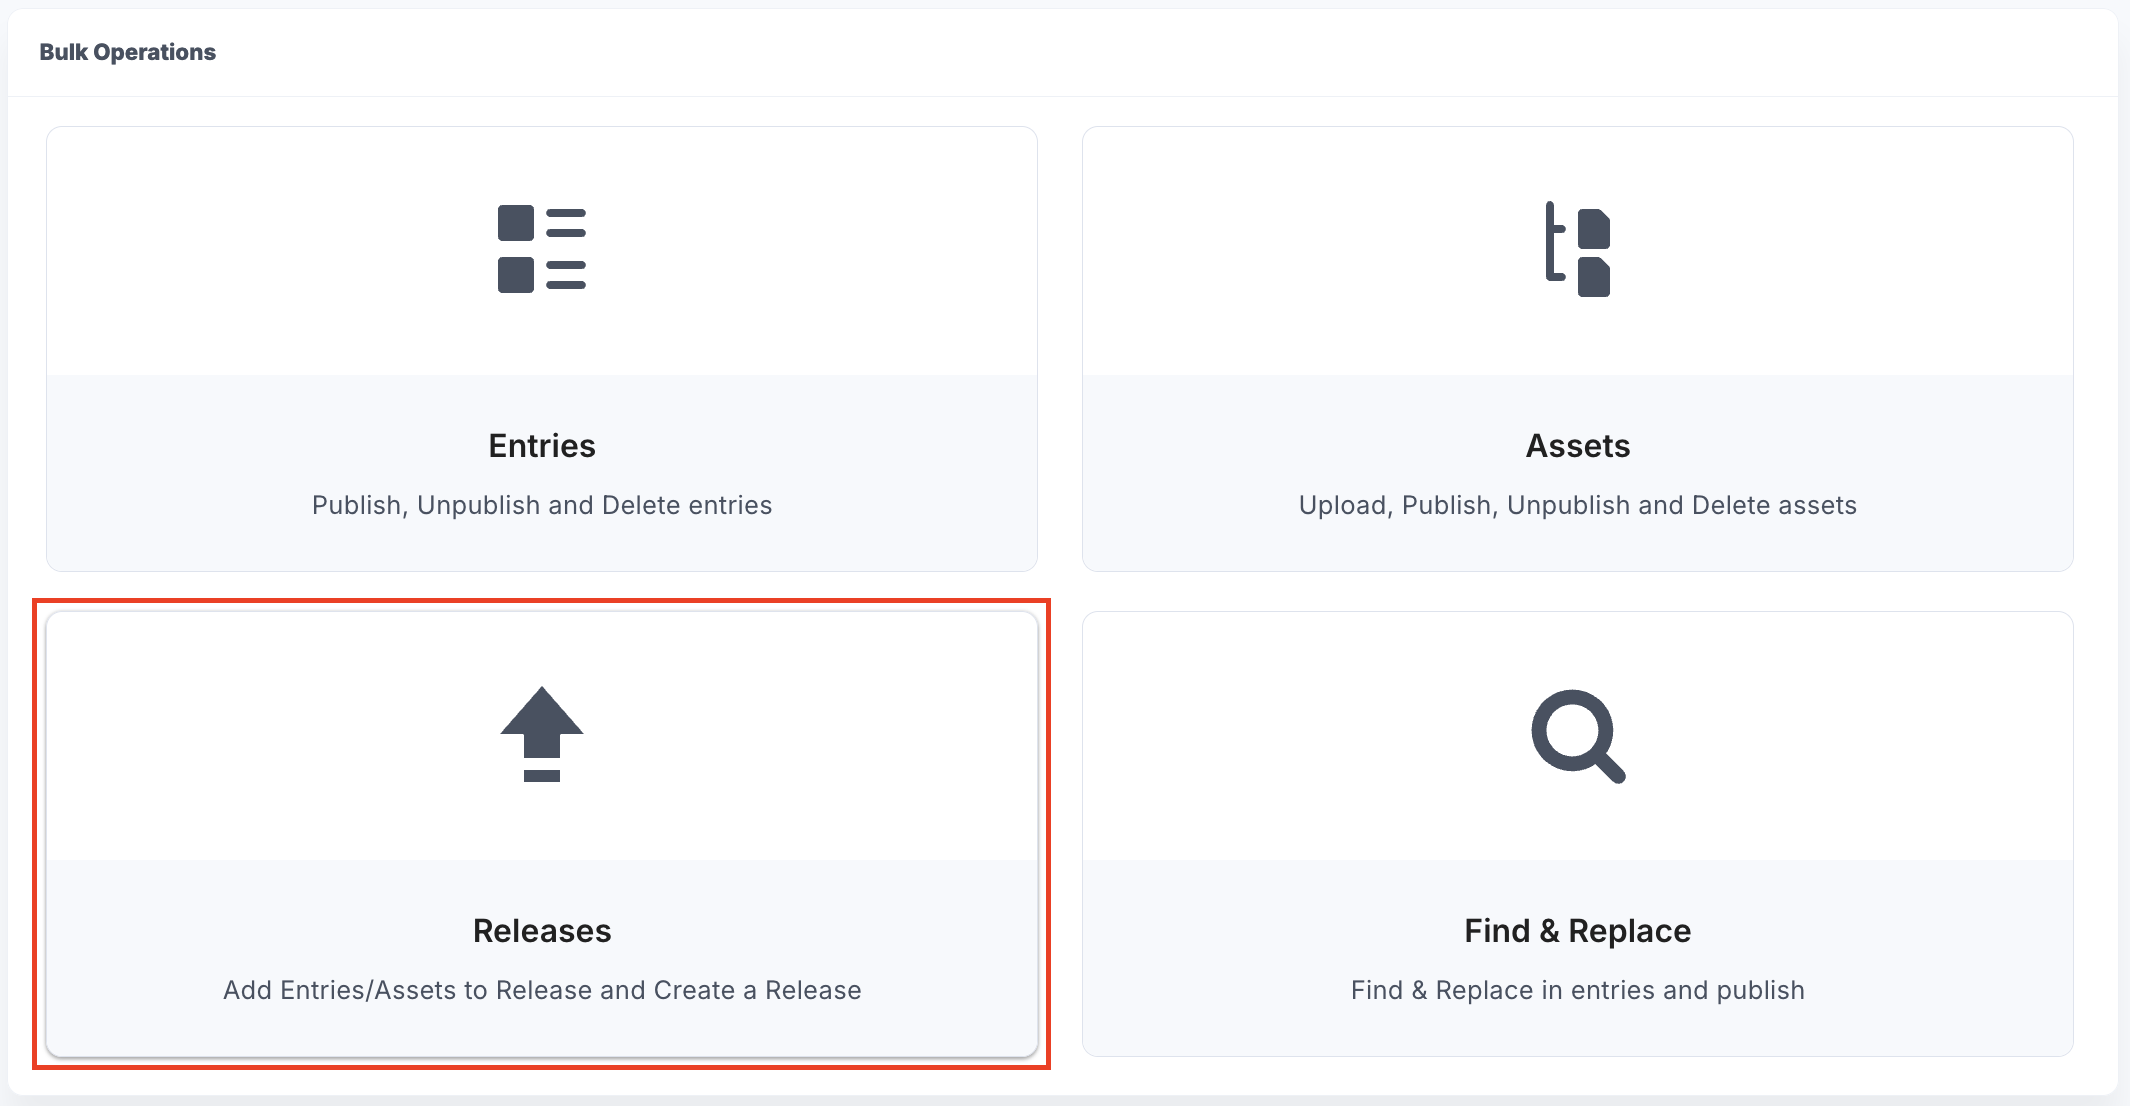
Add Entries to a Release
- In the Dashboard, click Entries to add entries to a release.
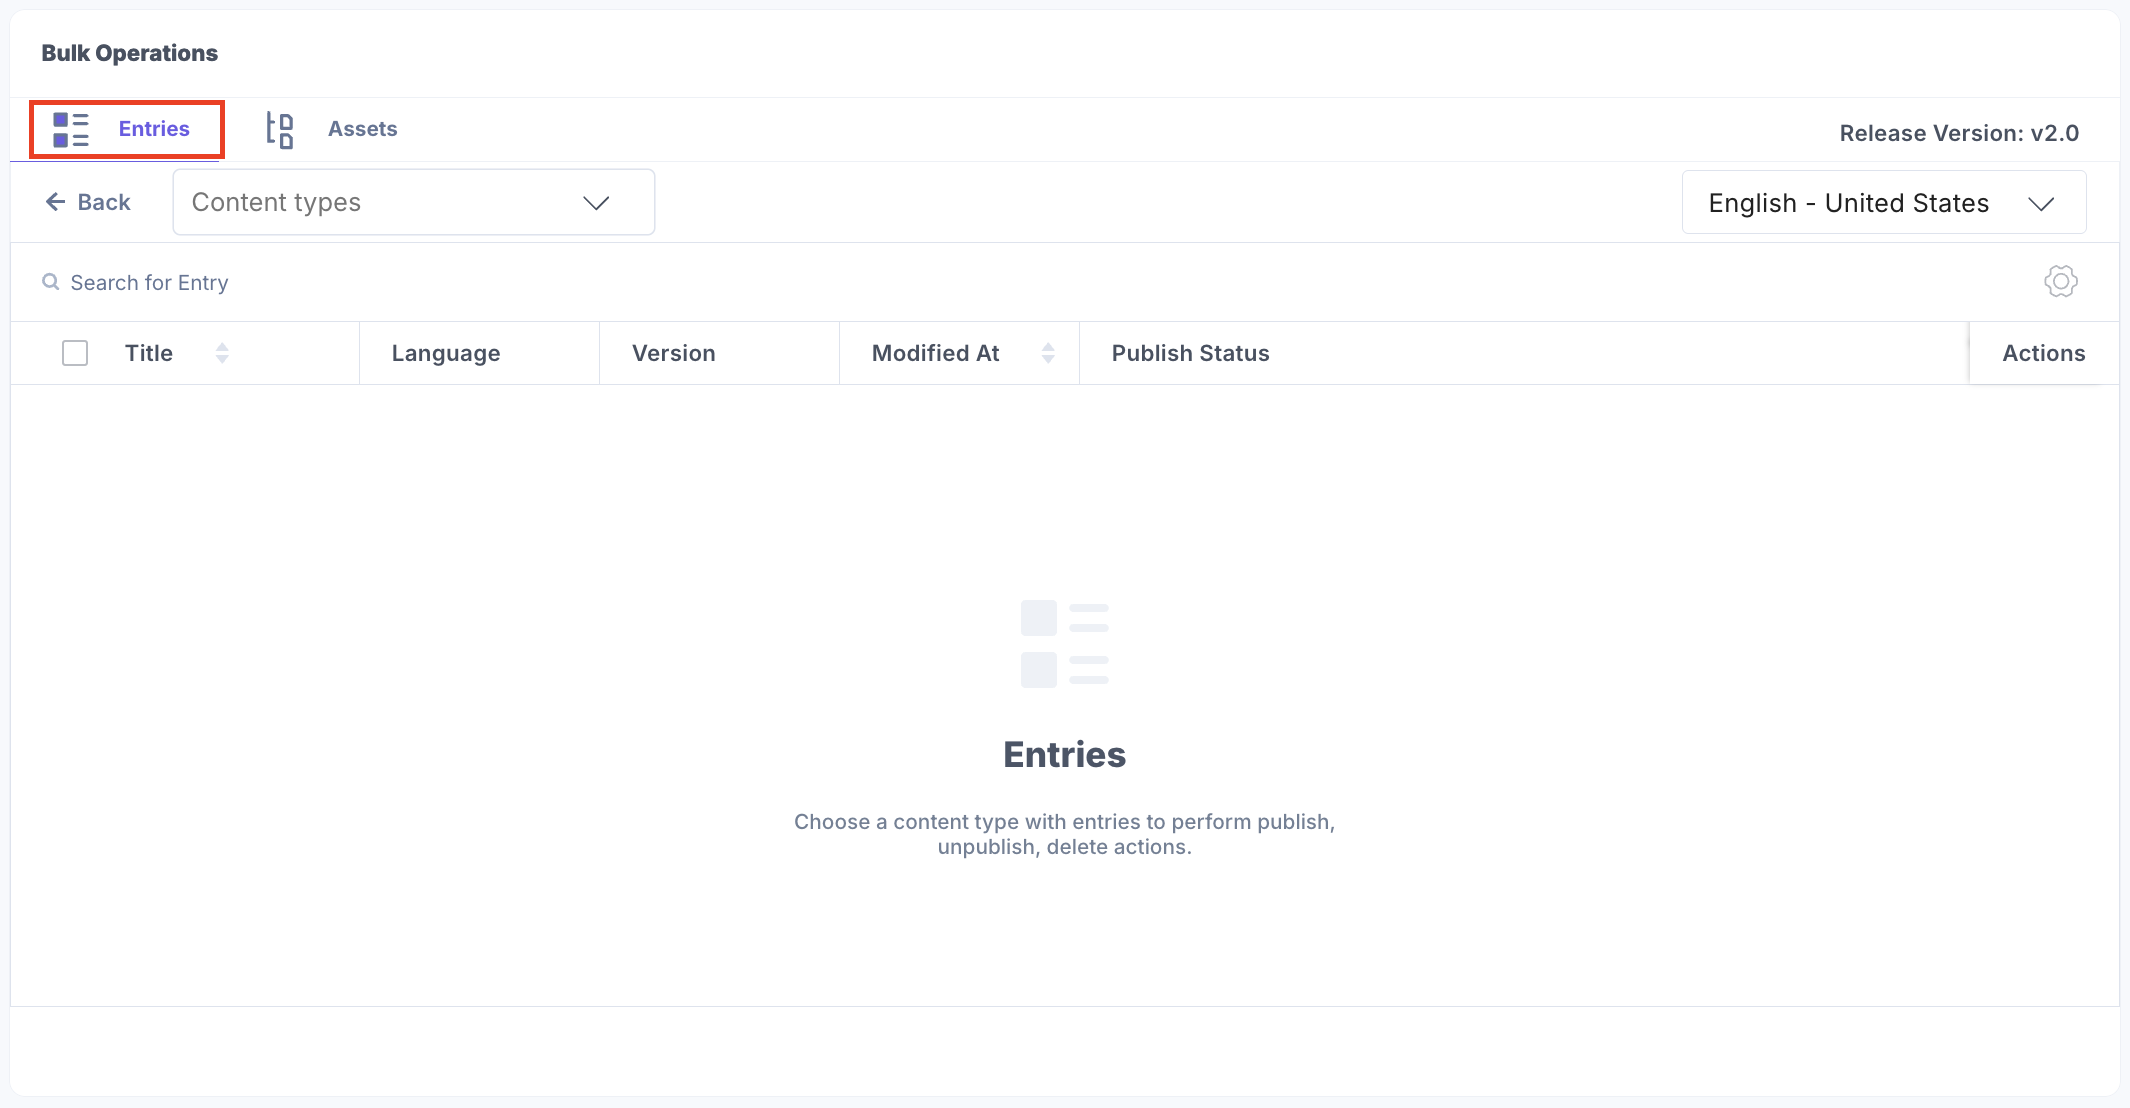
- Choose the Content Type from all the available content types of your stack.
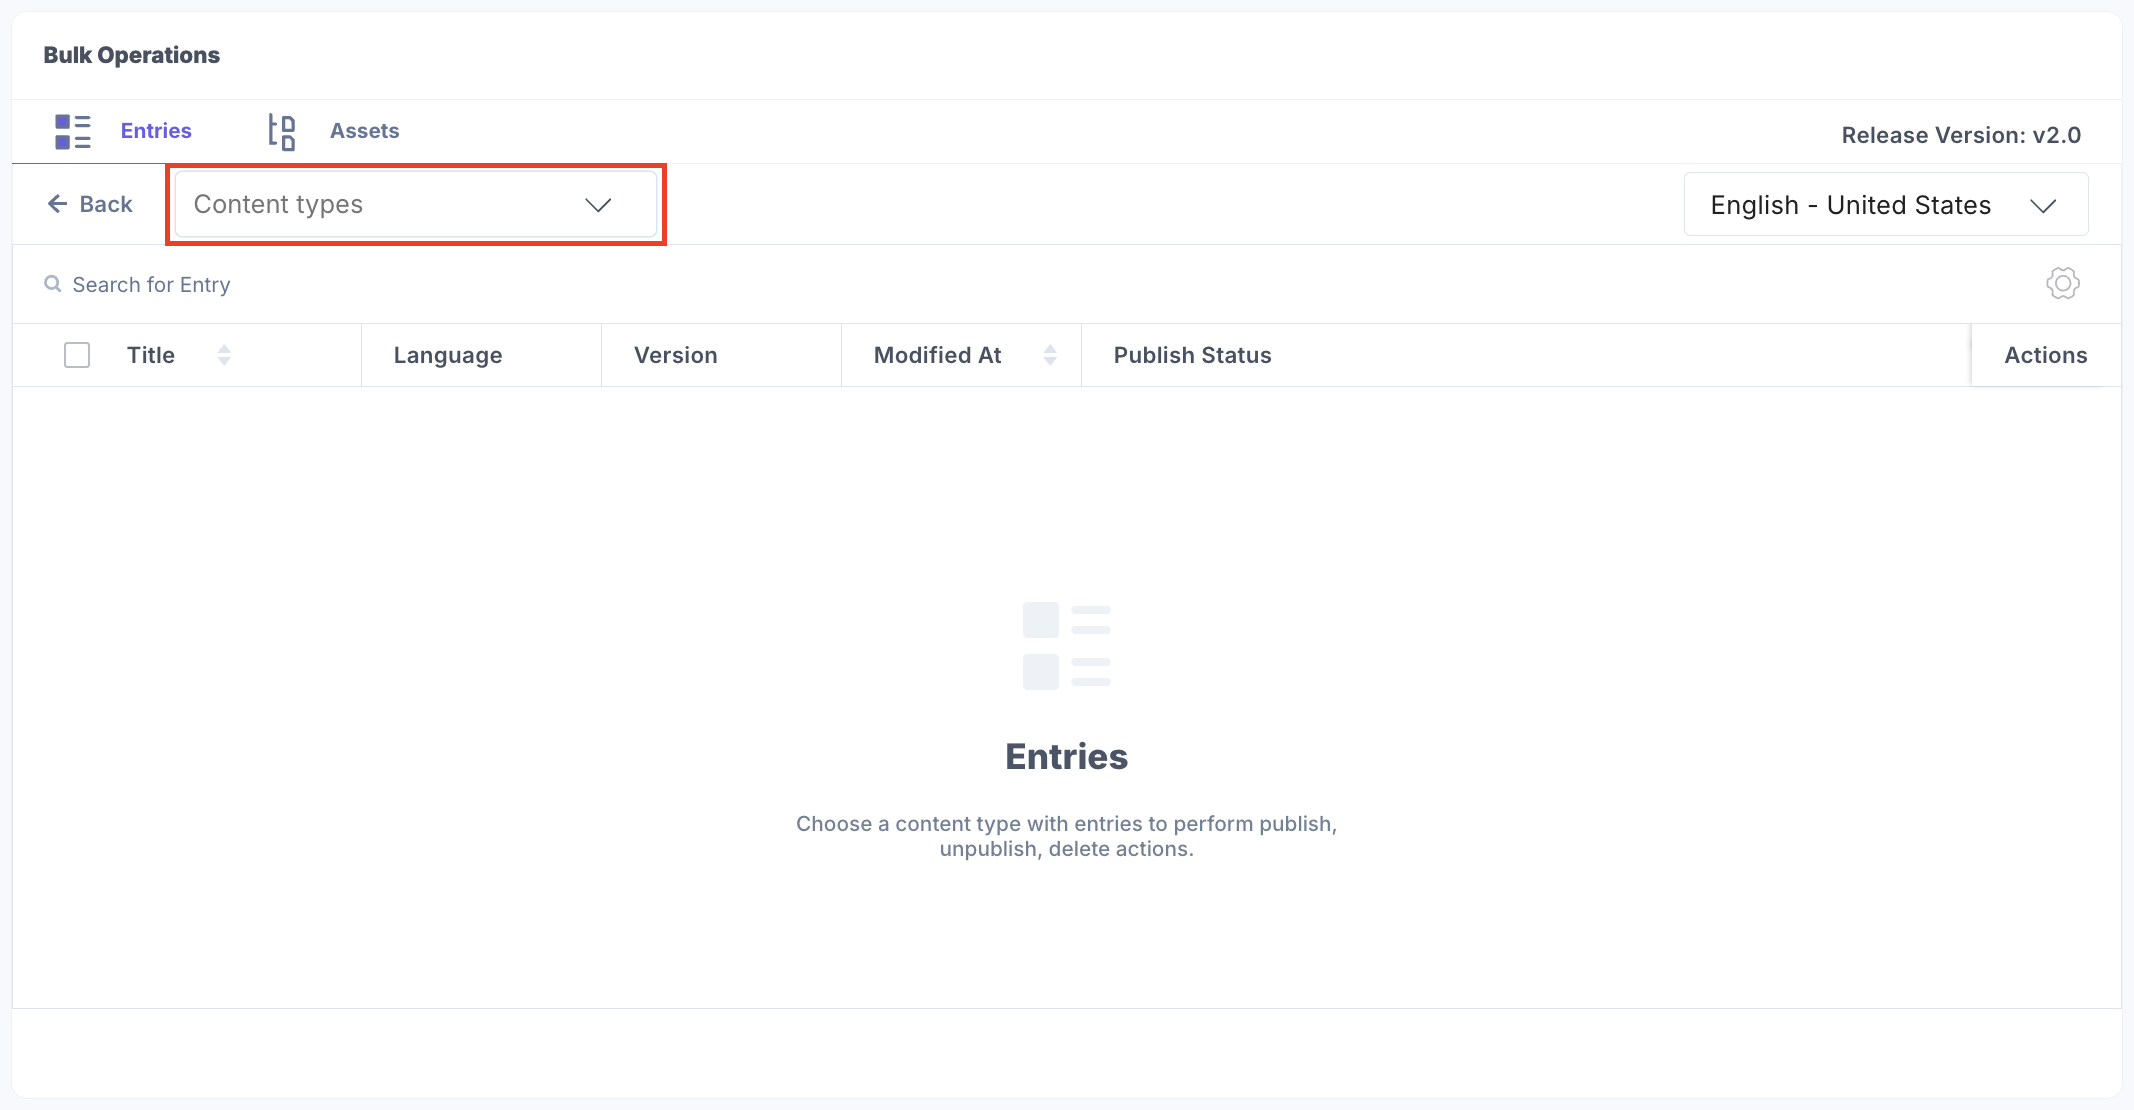
You can see all the entries of the selected content type.
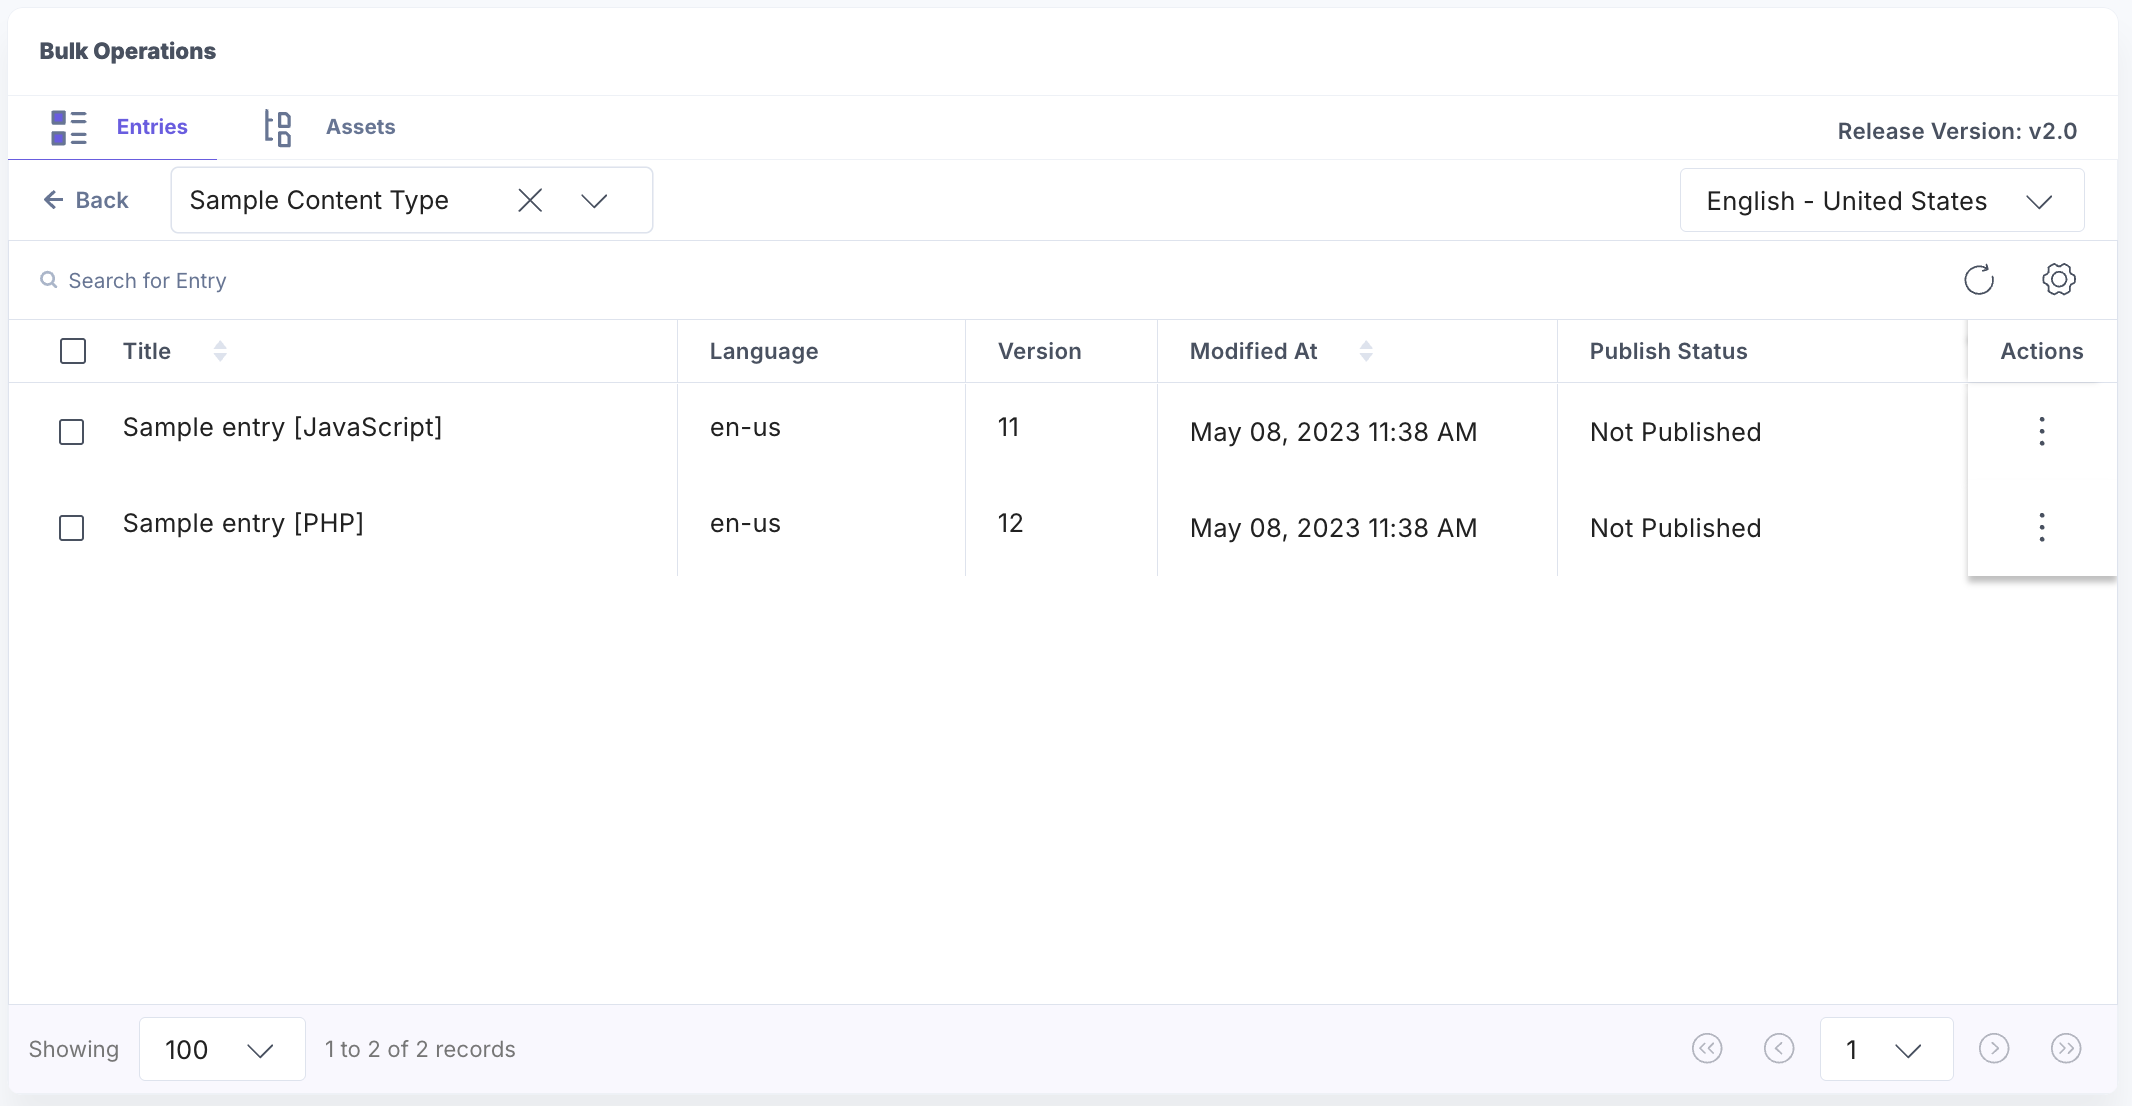
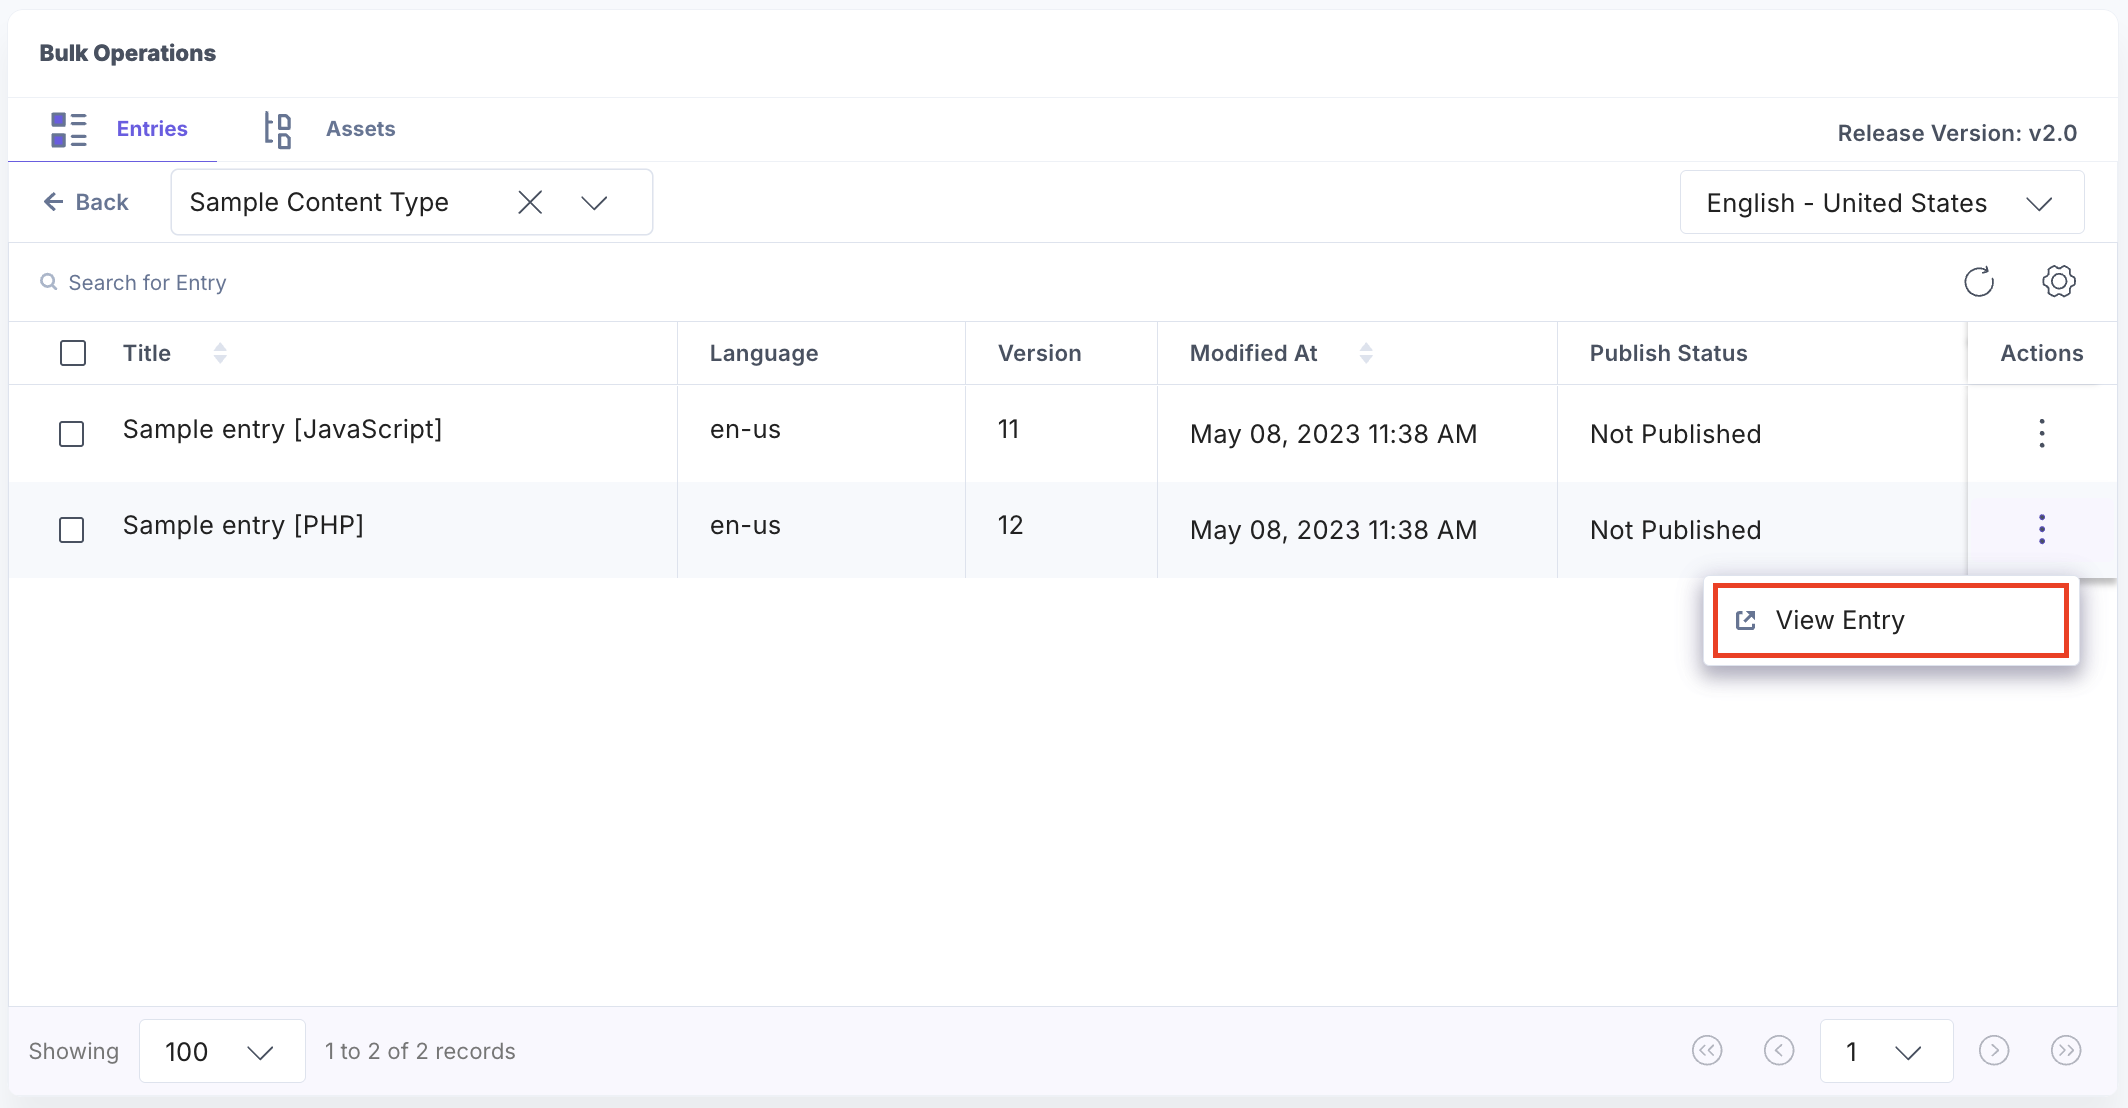
Click the vertical ellipsis under Actions next to an entry and select View Entry to open the entry editor.
Note: To change the language, click the Locales drop-down in the top-right corner of the dashboard and choose the required locale.
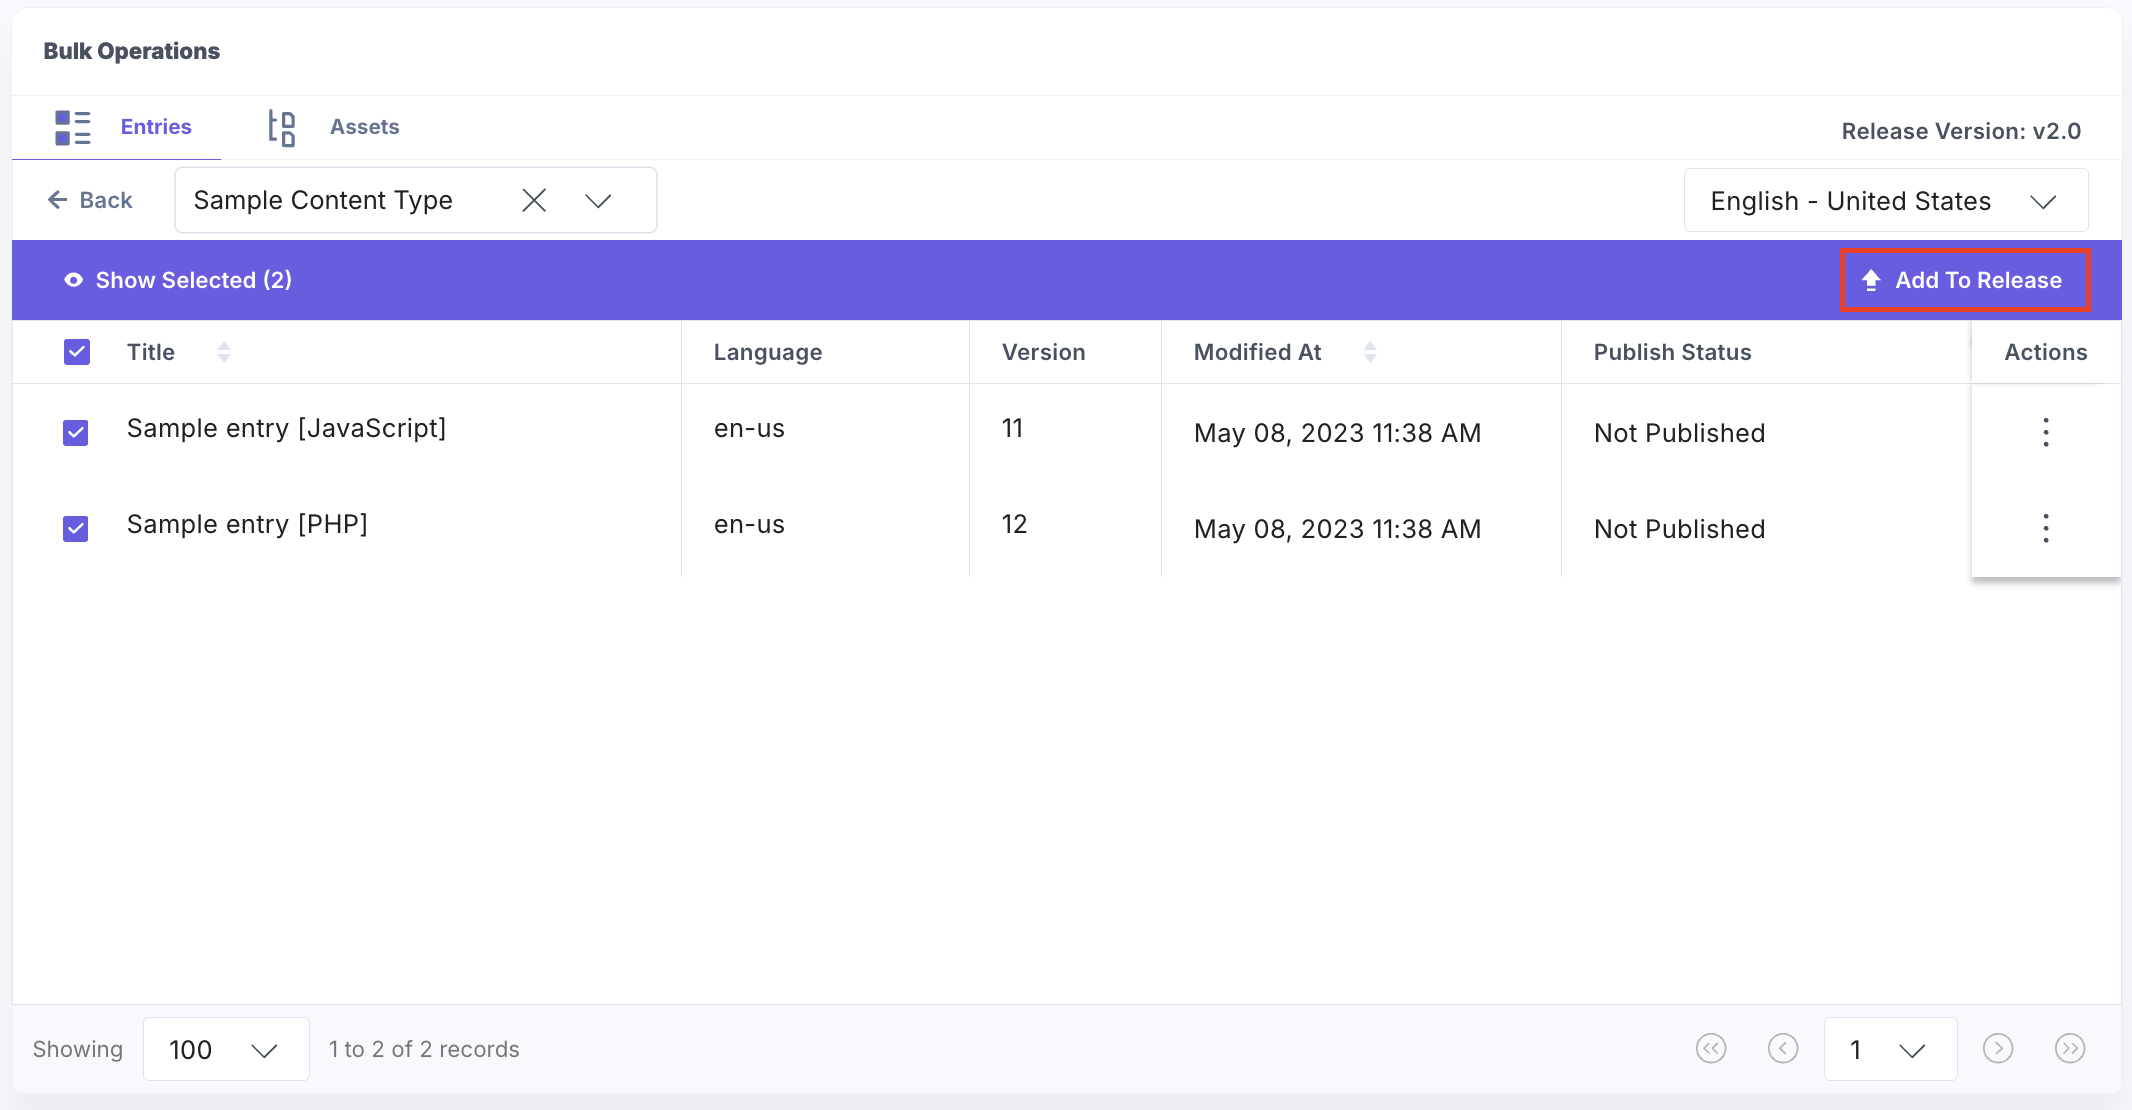
- Select the entries and click Add to Release to add all the selected entries to the release at once.
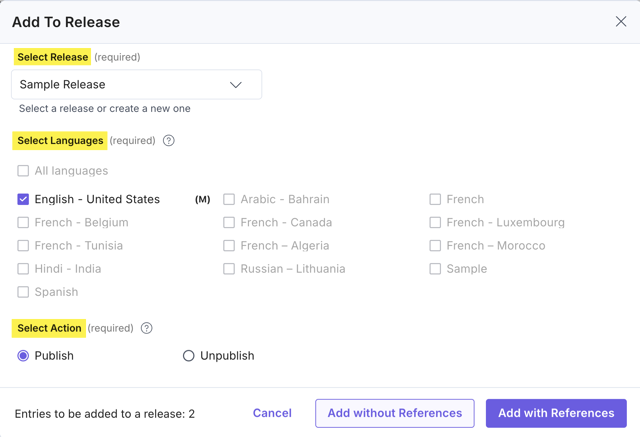
- In the Add to Release modal, select the Release. The stack Language is selected, by default. Choose the Publish or Unpublish action option. And then click Add without References or Add with References to add all the selected entries without or with references to the release.
Note:
- Release version 1.0 does not support the inclusion of references; only the selected items will be added to the release.
- Release version 2.0 automatically includes nested references based on your organization plan, with a default of 5 nesting levels.
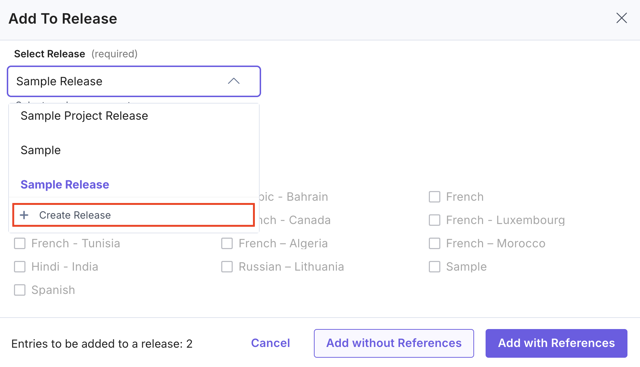
- Alternatively, click + Create Release in the Select Release drop-down to create a new release.
- In the Create A New Release modal, enter the Name and Description of the release and click Create.
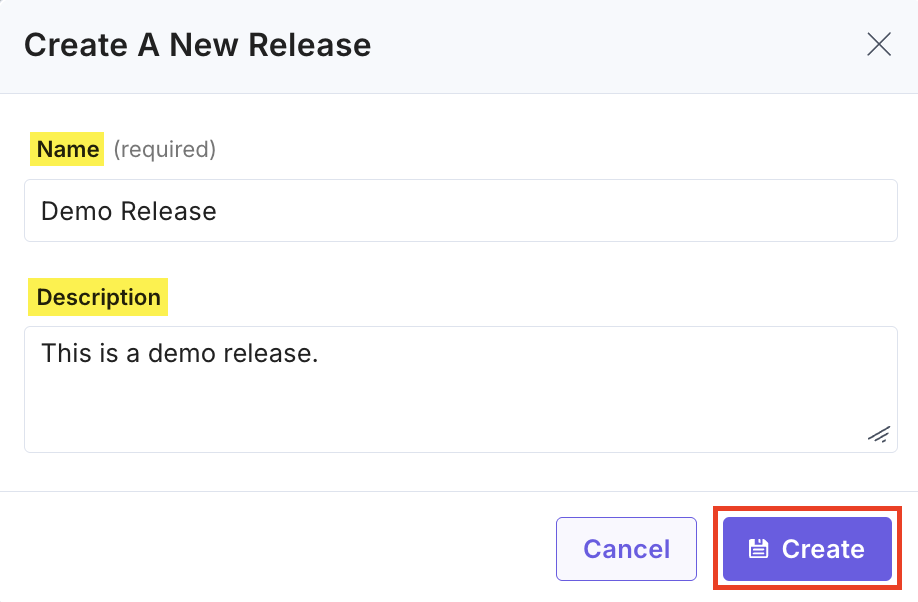
A new release is created and can be seen in the Select Release drop-down options.
Note: You can add up to 500 entries if the release version is v1.0 and 1000 entries if the release version is v2.0.
Add Assets to a Release
- In the Dashboard, click Assets to add assets to a release.
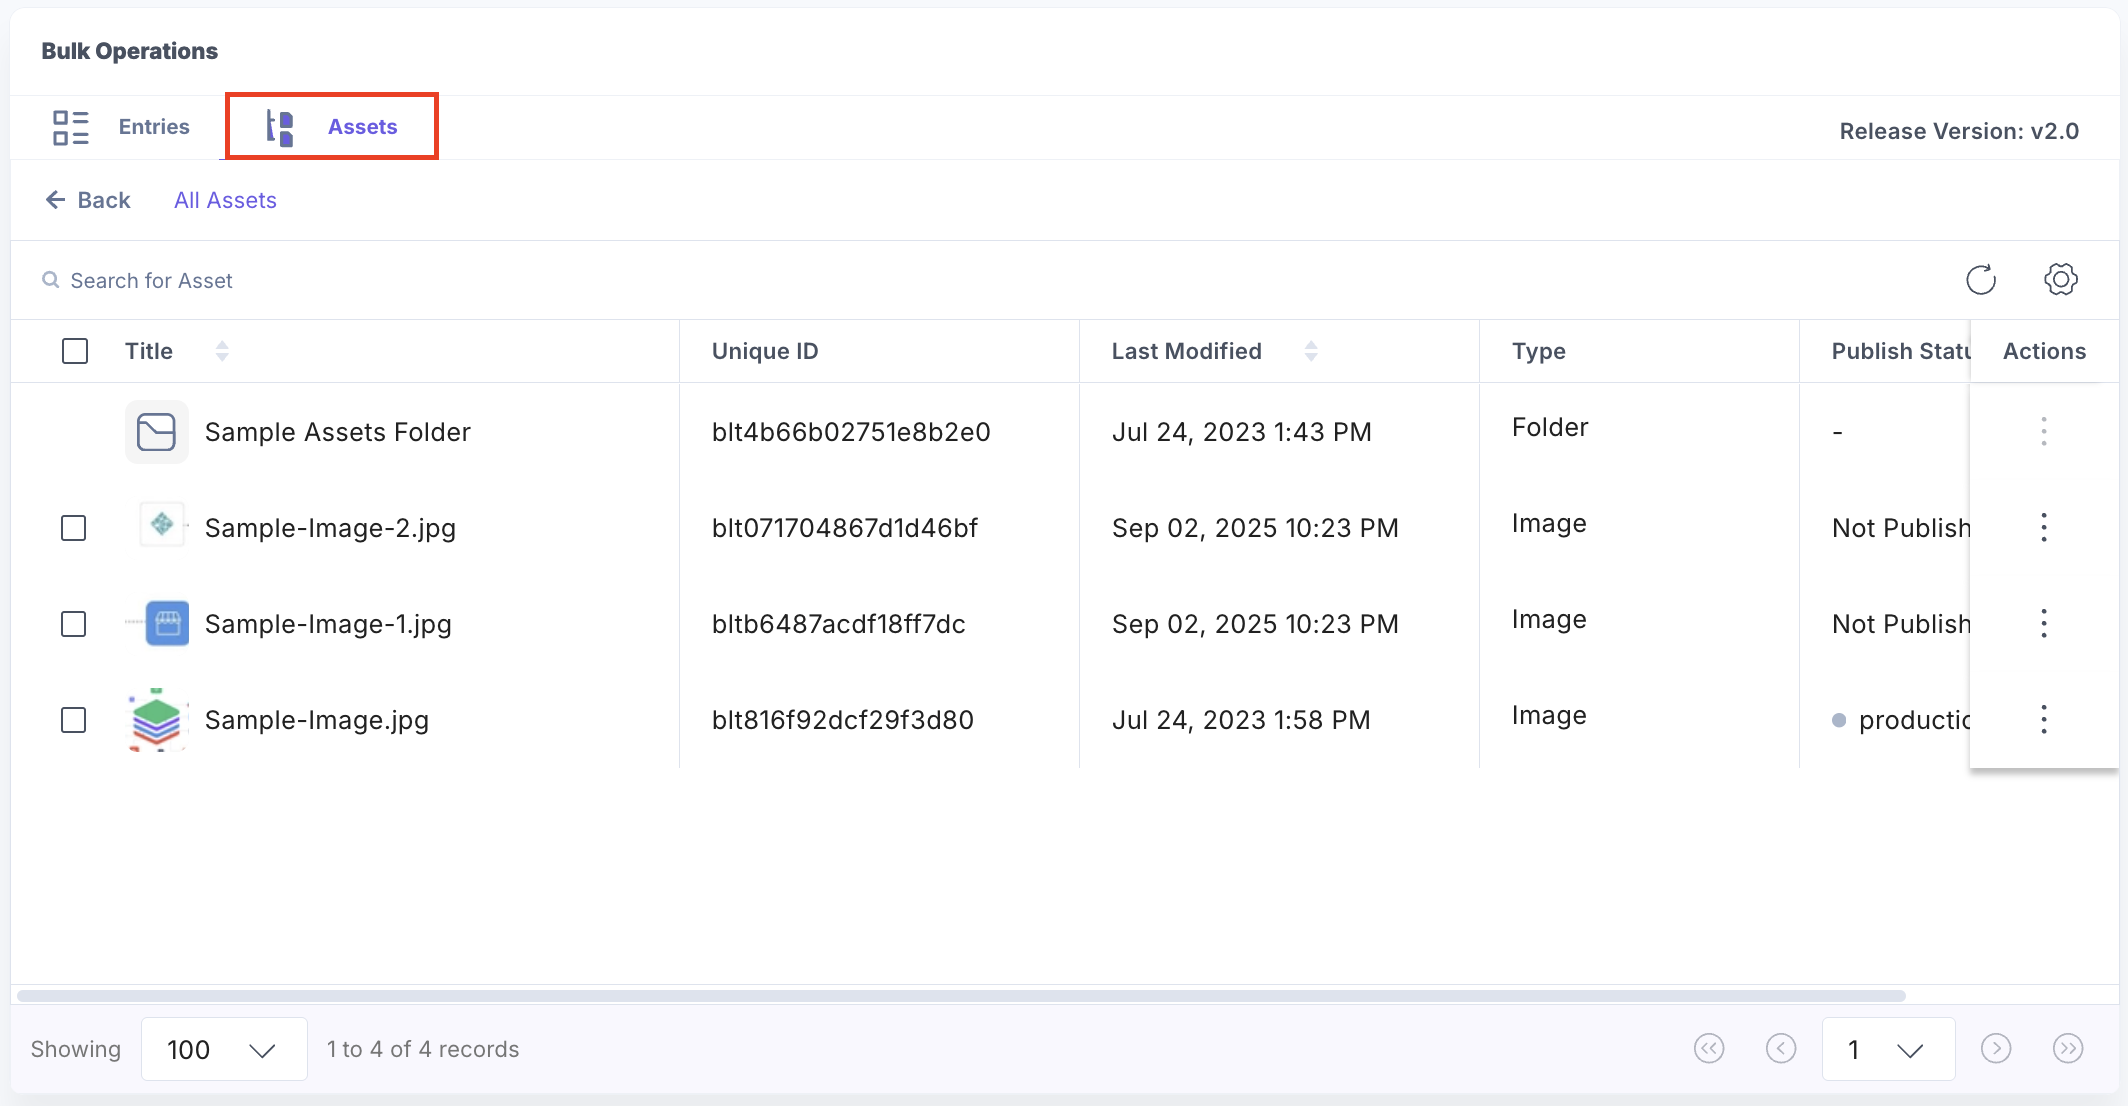
- Choose any Asset from all the available assets and assets folder.
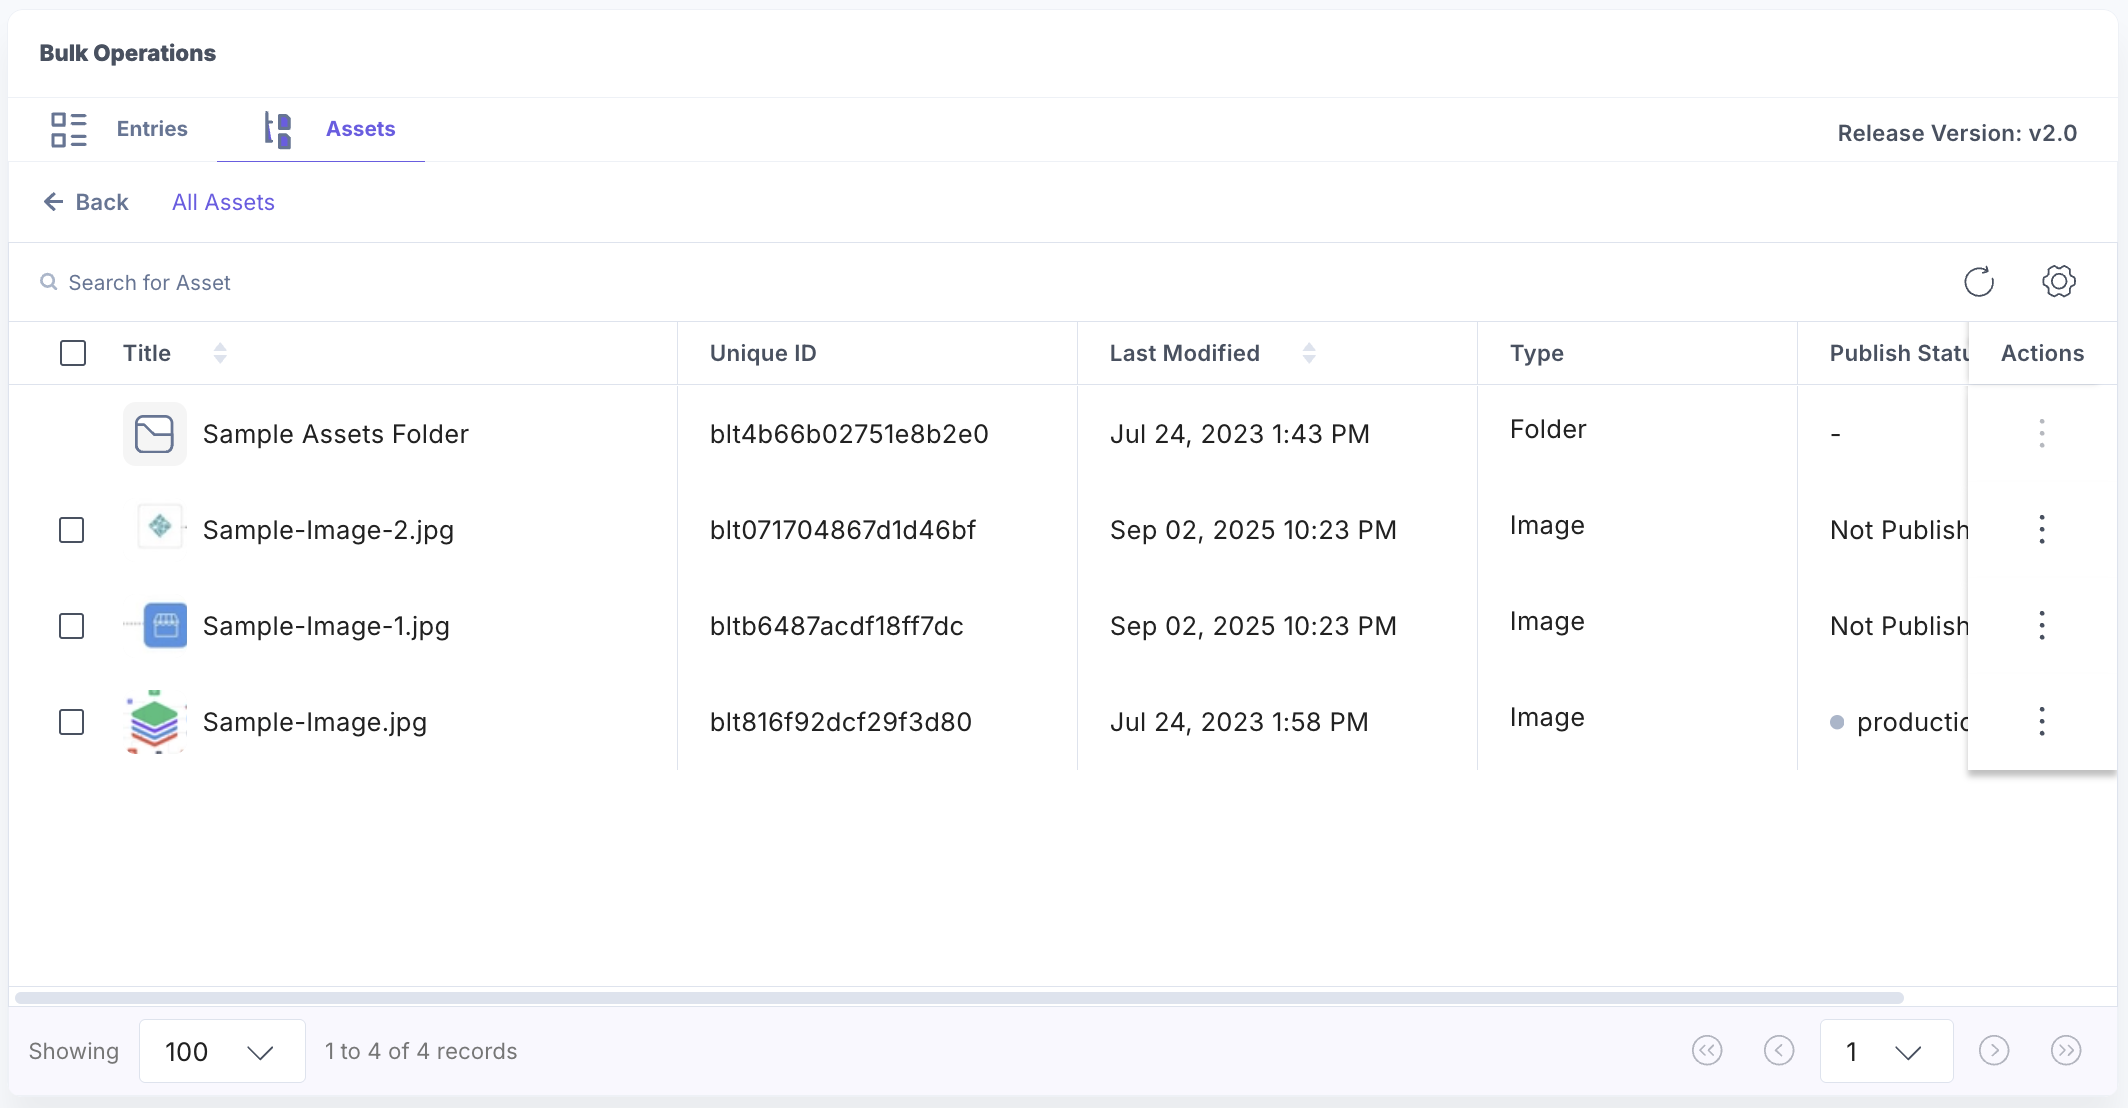
Click the vertical ellipsis under Actions next to an asset and select View Asset to view it in CMS.
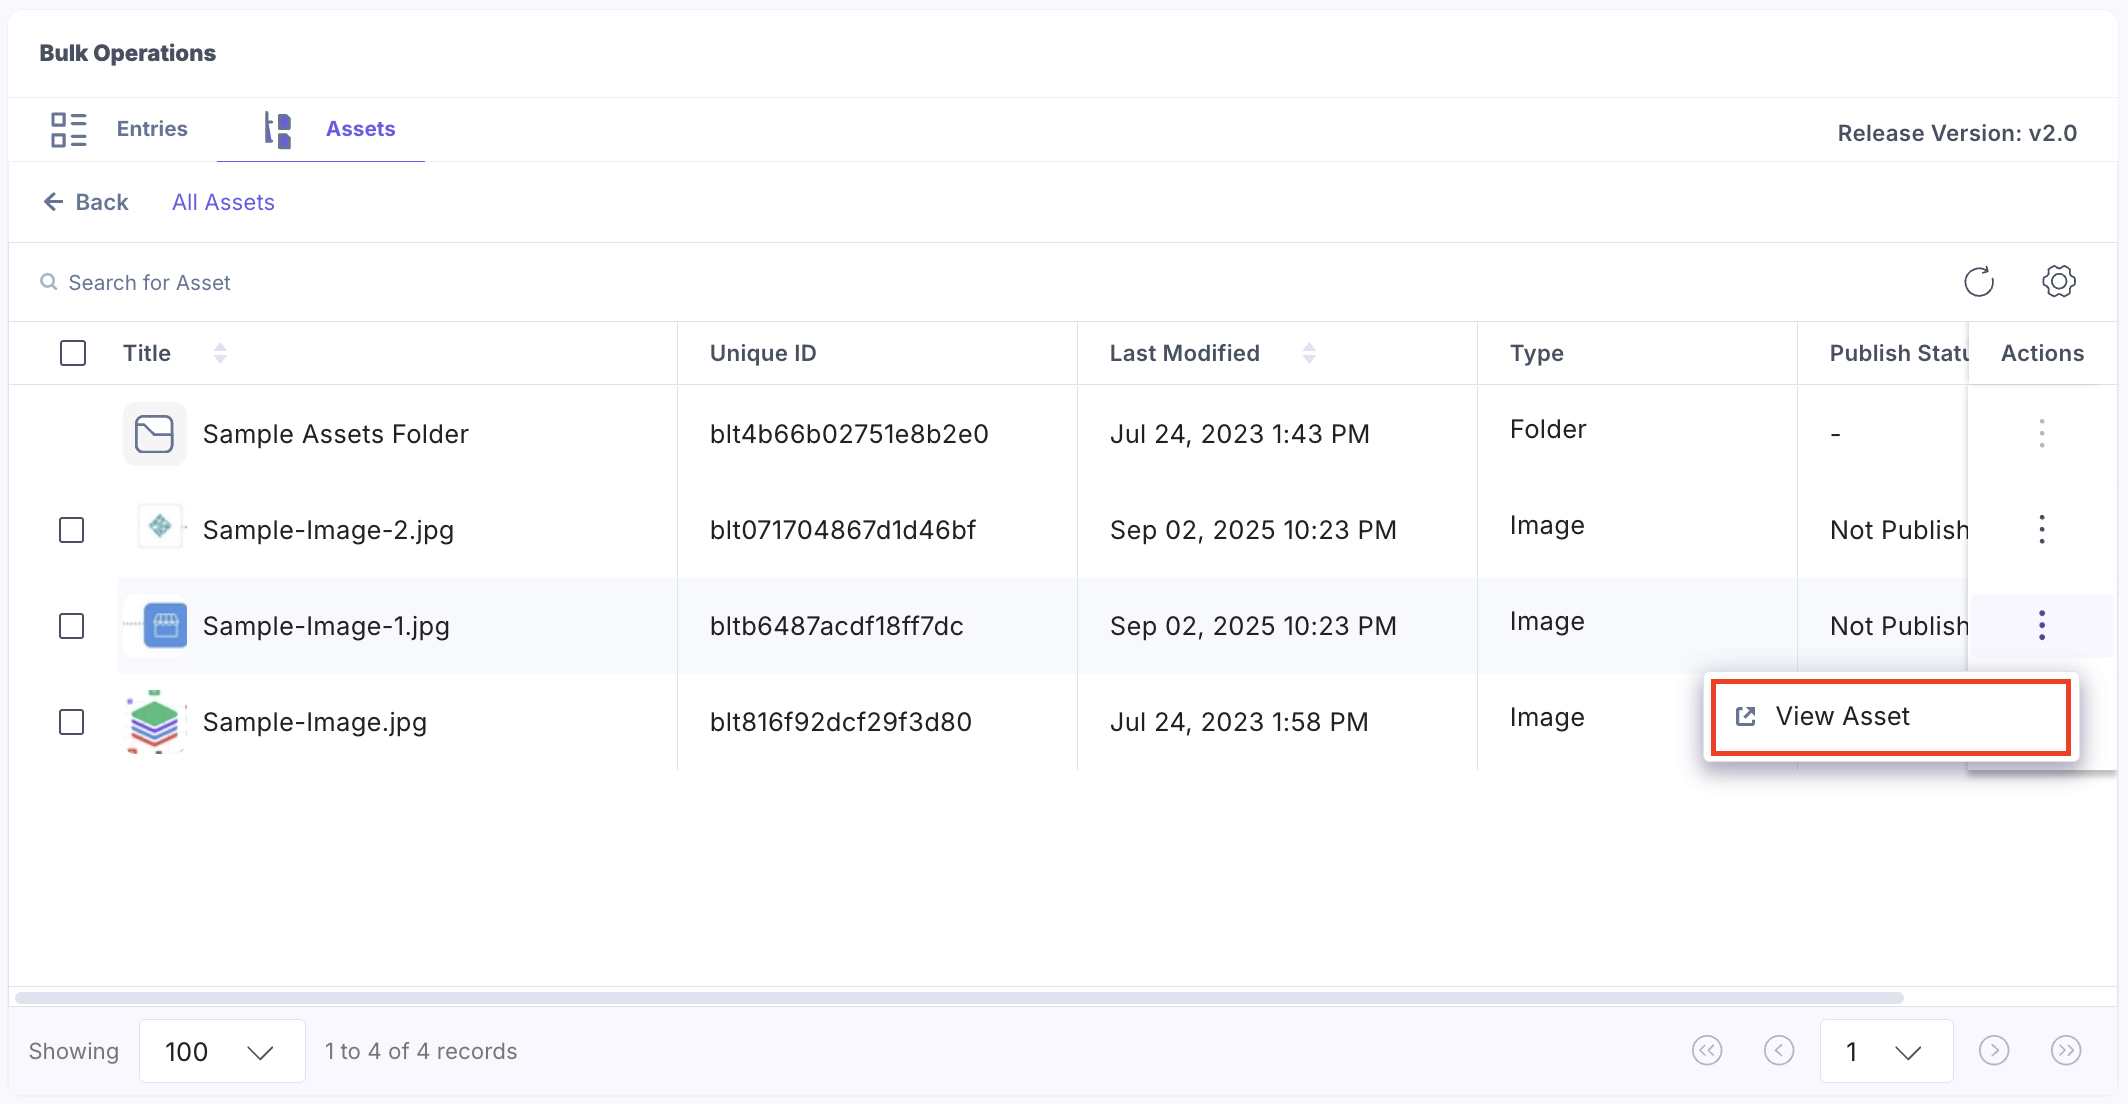
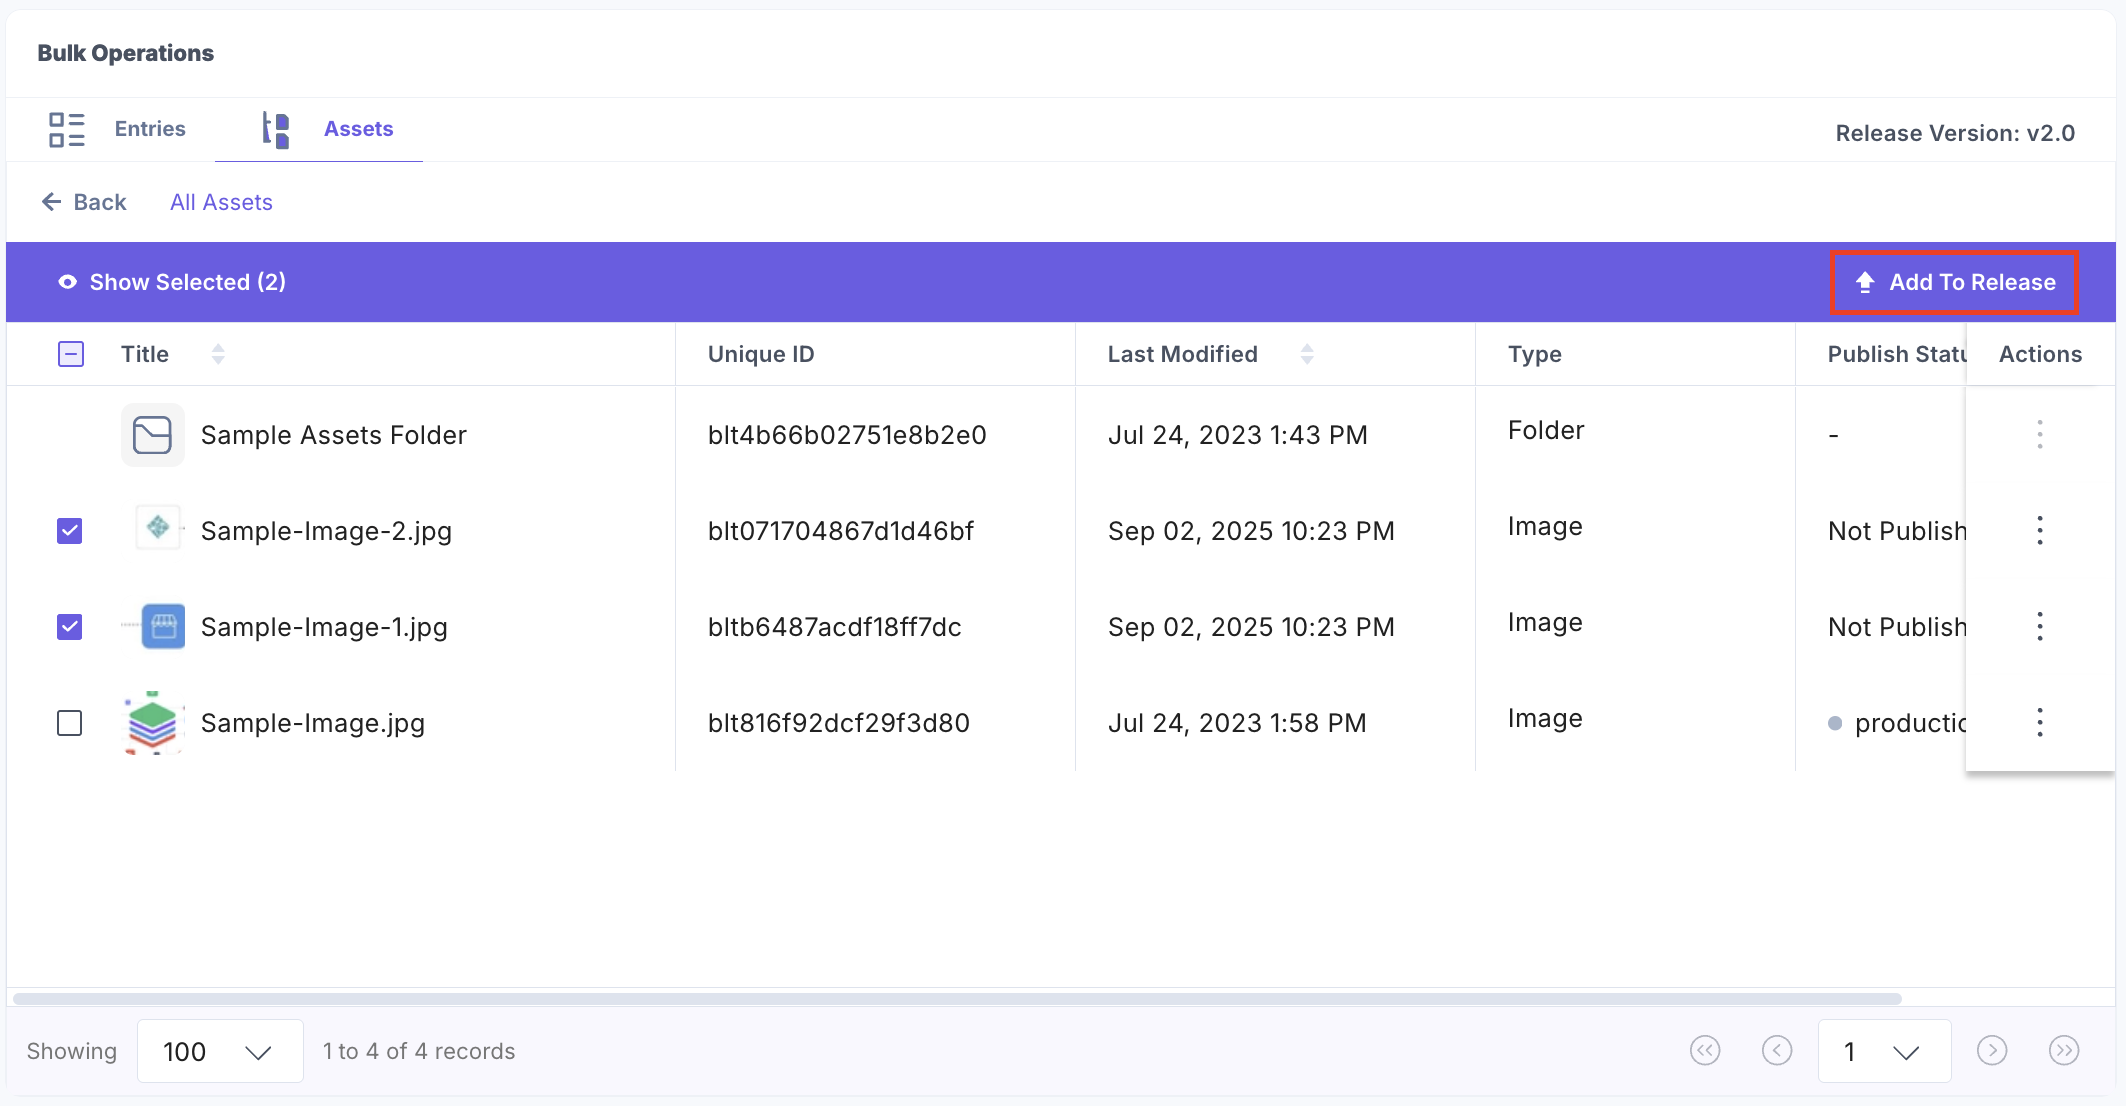
- Select the assets and click Add to Release to add all the selected assets to the release at once.
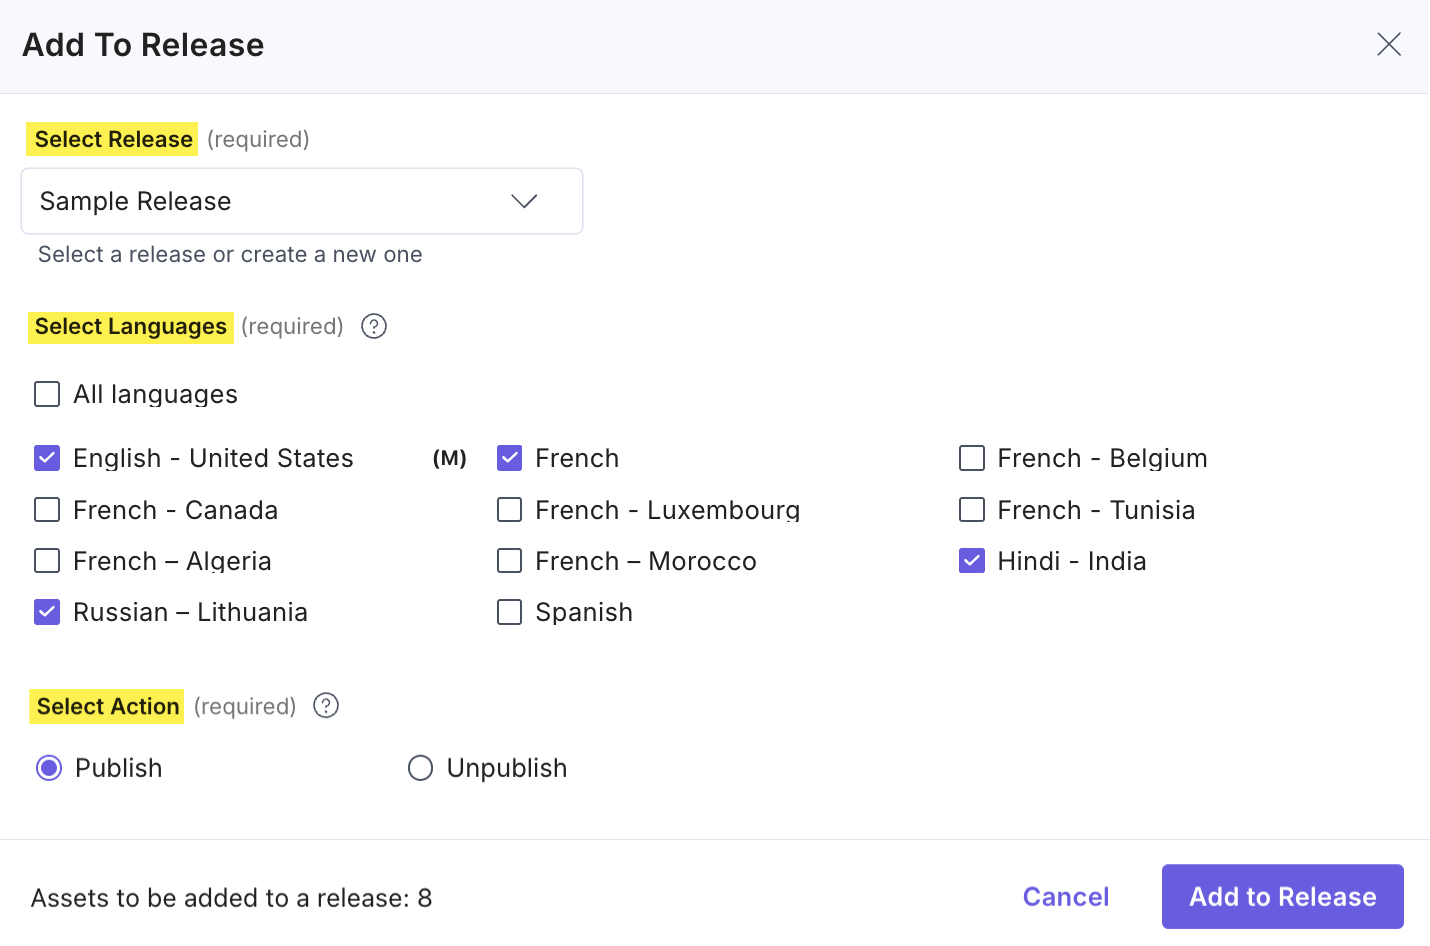
- In the Add to Release modal, select the Release. The stack Languages is selected, by default; you can add more languages if needed. Choose the Publish or Unpublish action option, then click the + Add To Release button to add all the selected assets to the release.
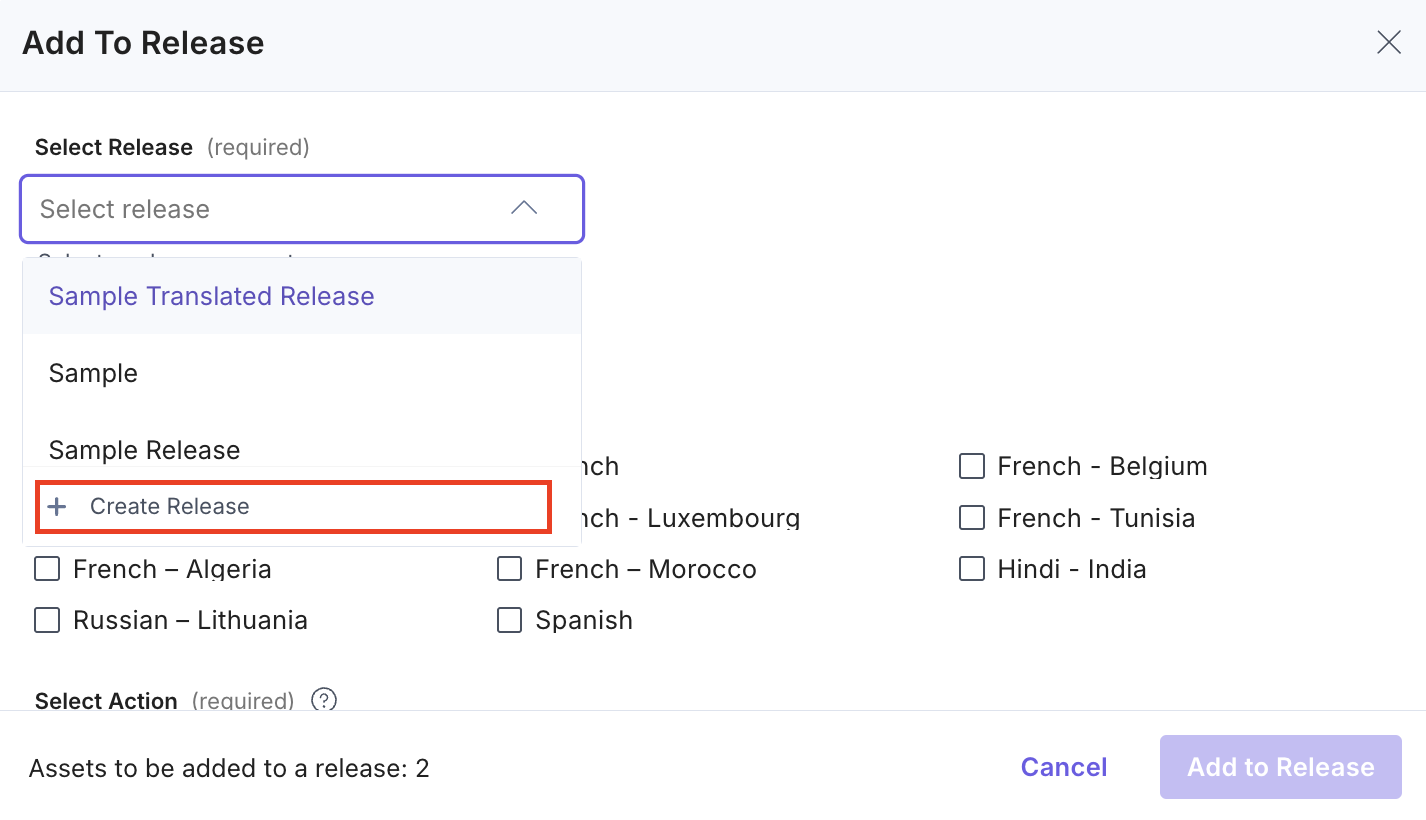
- Alternatively, click + Create Release in the Select Release drop-down to create a new release.
- In the Create A New Release modal, enter the Name and Description of the release and click Create.
A new release is created and can be seen in the Select Release drop-down options.
Note: You can add up to 500 assets if the release version is v1.0 and 1000 assets if the release version is v2.0.
Additional Resource: To know more about Releases, please refer to Create and Manage Releases documentation.
Find and Replace Operation
- Click Find and Replace to search and replace the content in the entries.
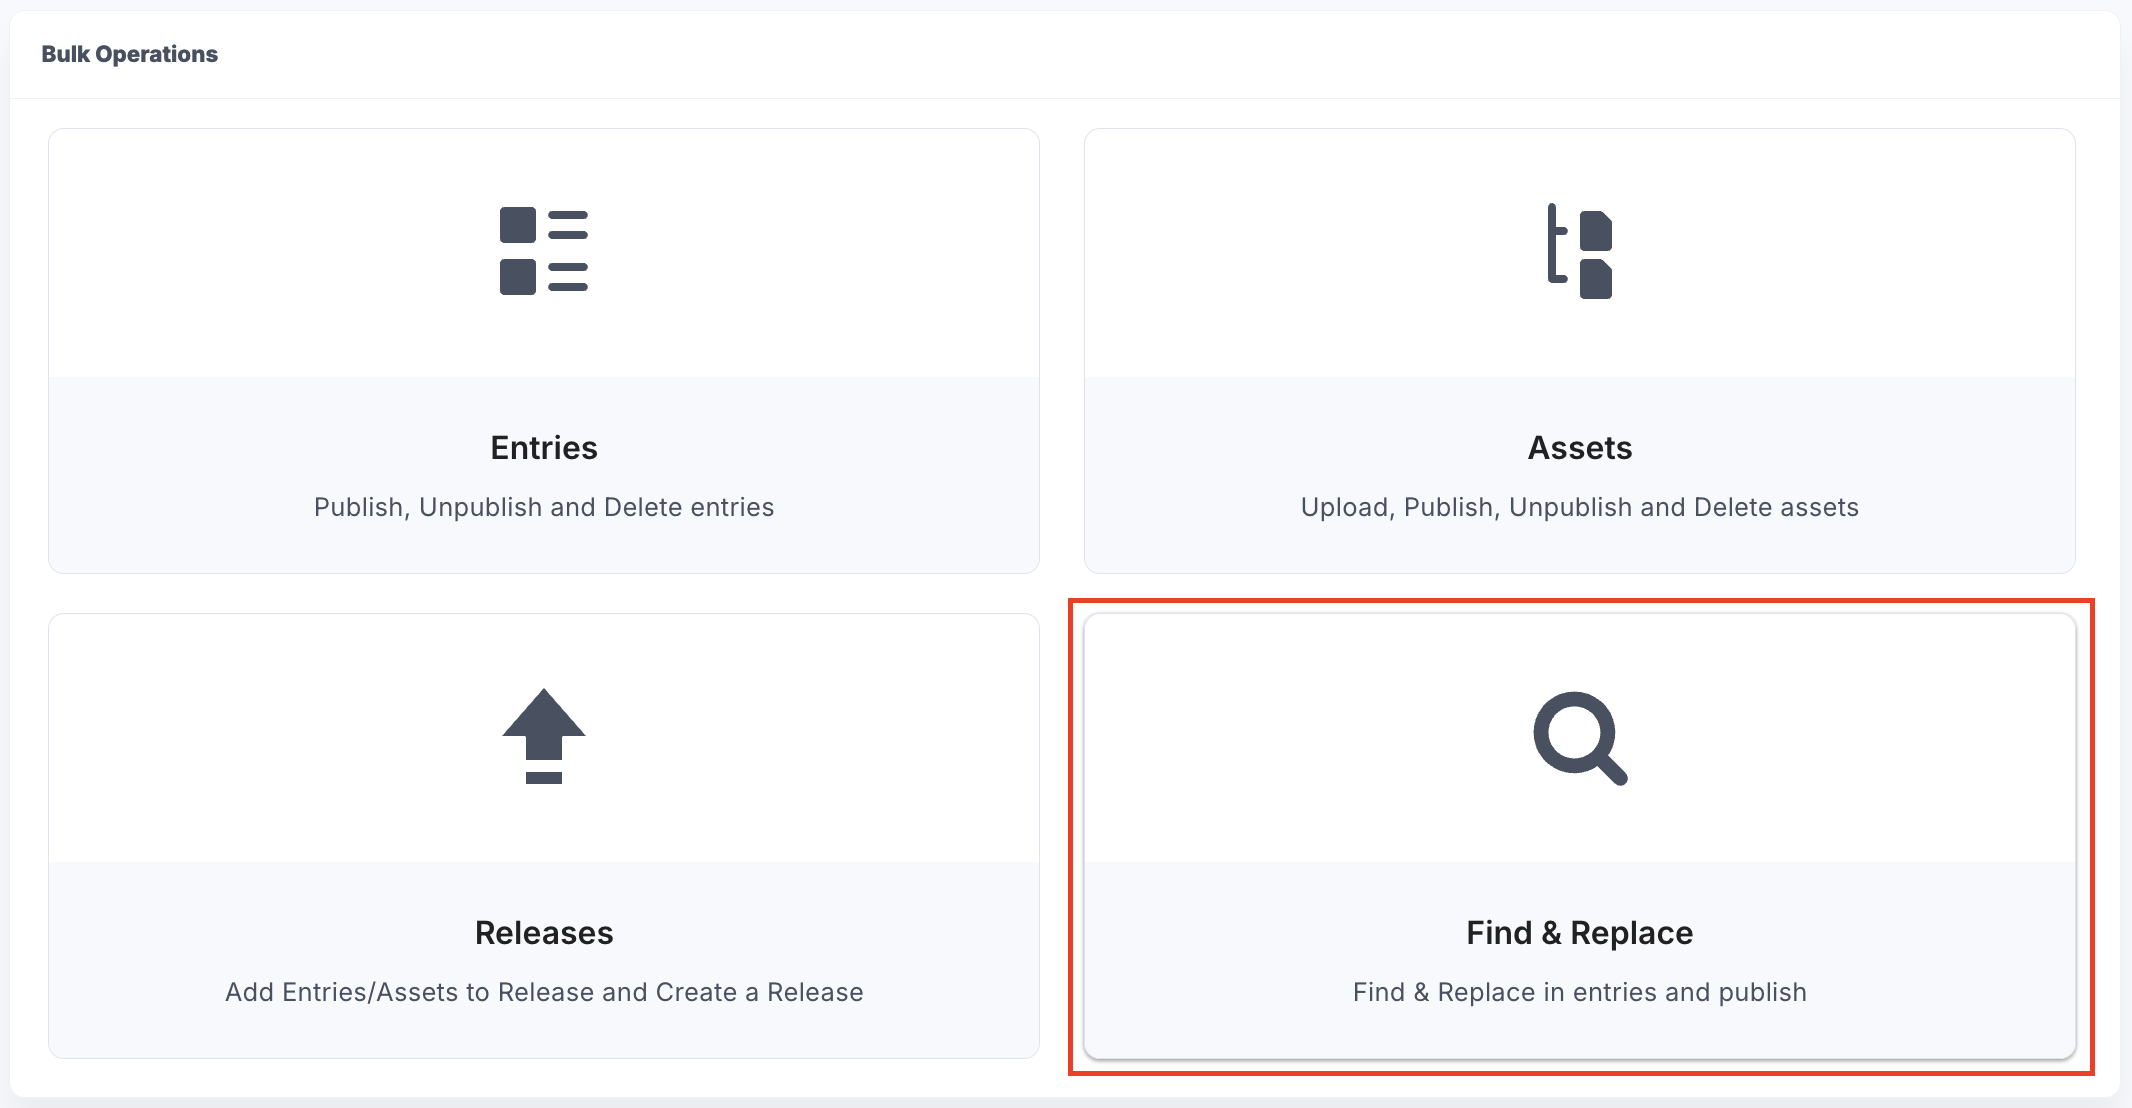
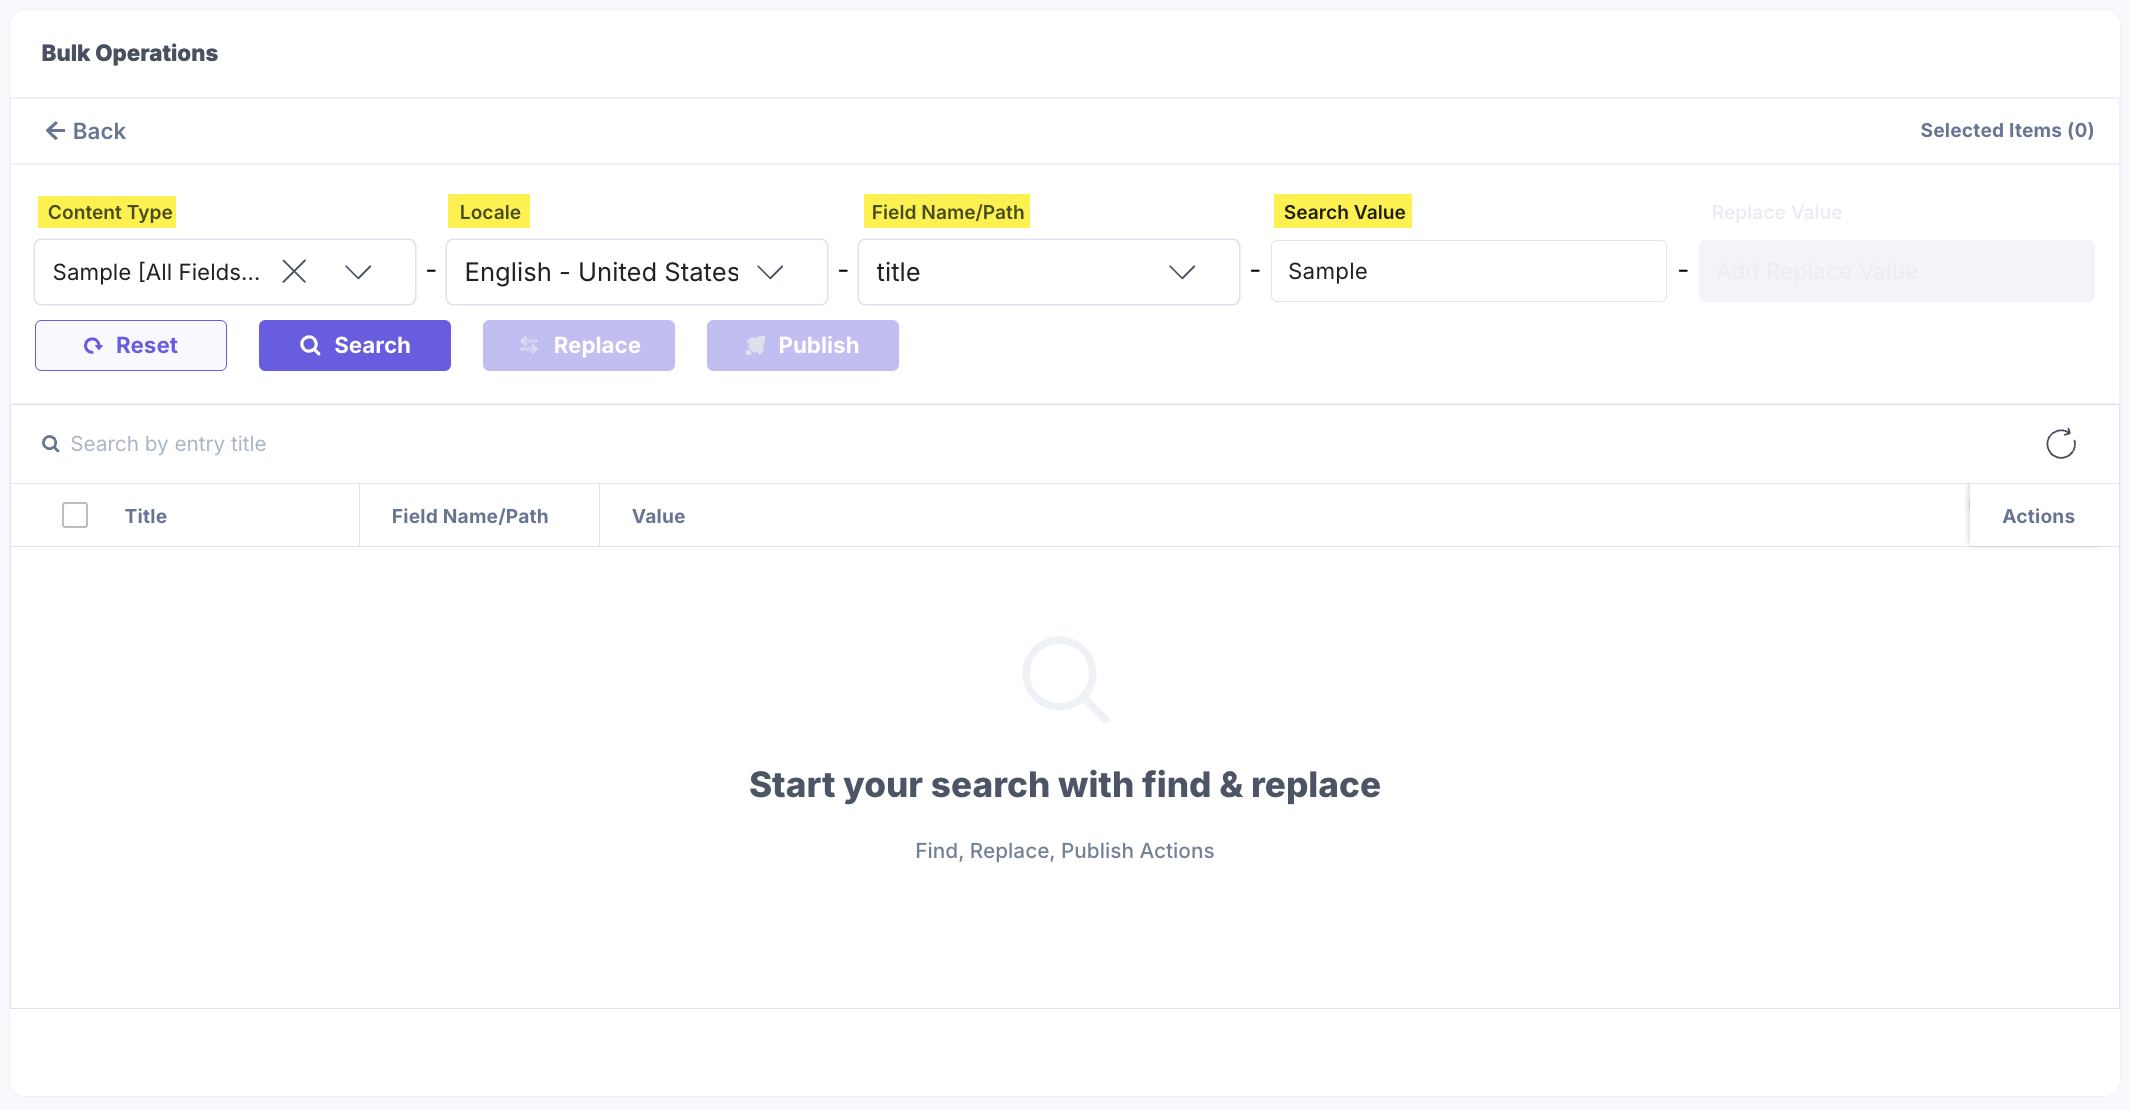
- In the Dashboard, enter the following mandatory details:
- Select the Content Type from all the available content types of your stack.
- Select the Locale from the available languages.
- The Field Name/Path drop-down shows all fields of the selected content type. Choose the field in which you want to search the content.
Note: Field Name/Path signifies the Unique ID of the field, which is generated when you add a field in the content type.
- Enter a word or phrase in the Search Value field for searching.
Note: The search value is case-sensitive.
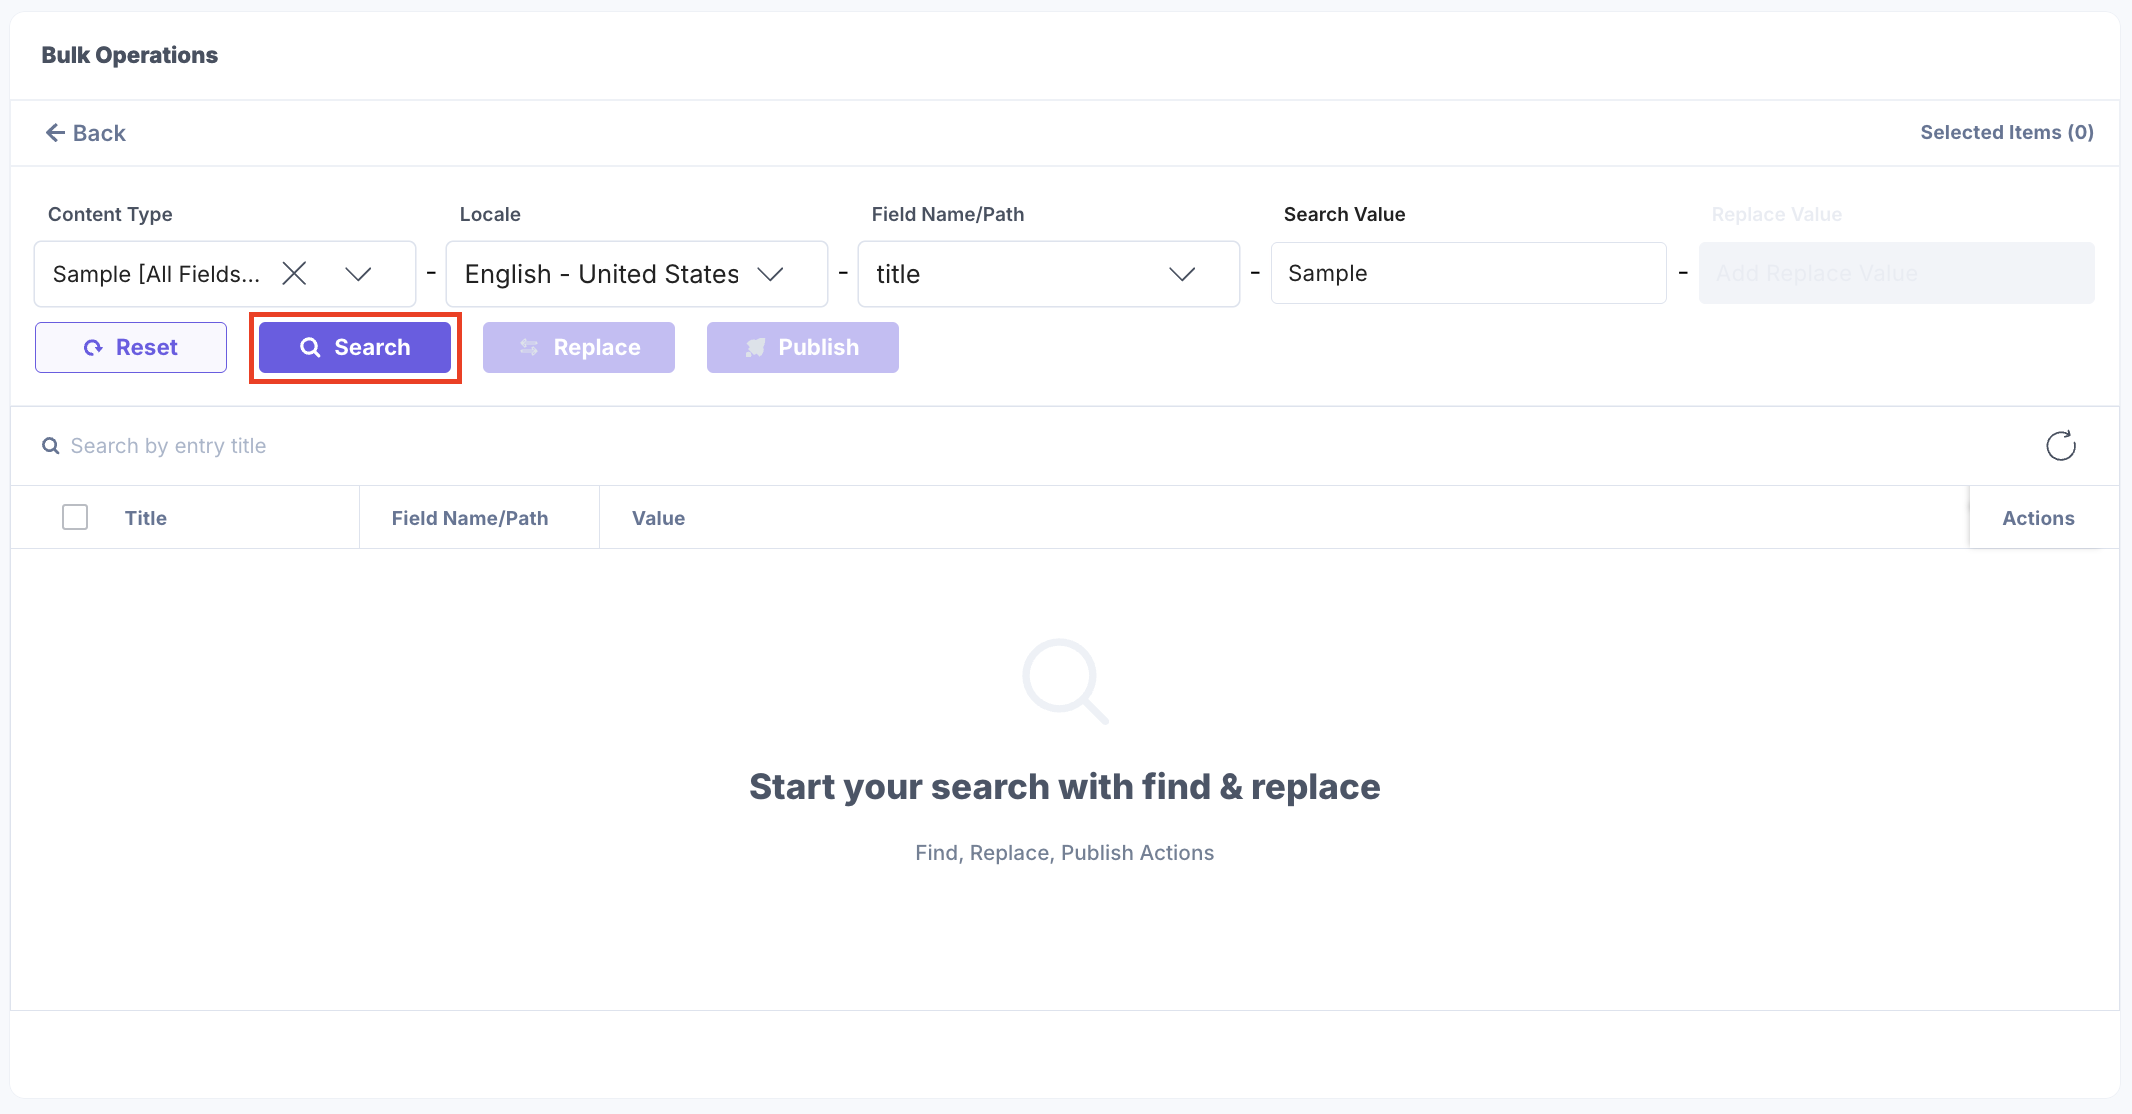
- Click the Search button to find the search values in the entries of that content type.
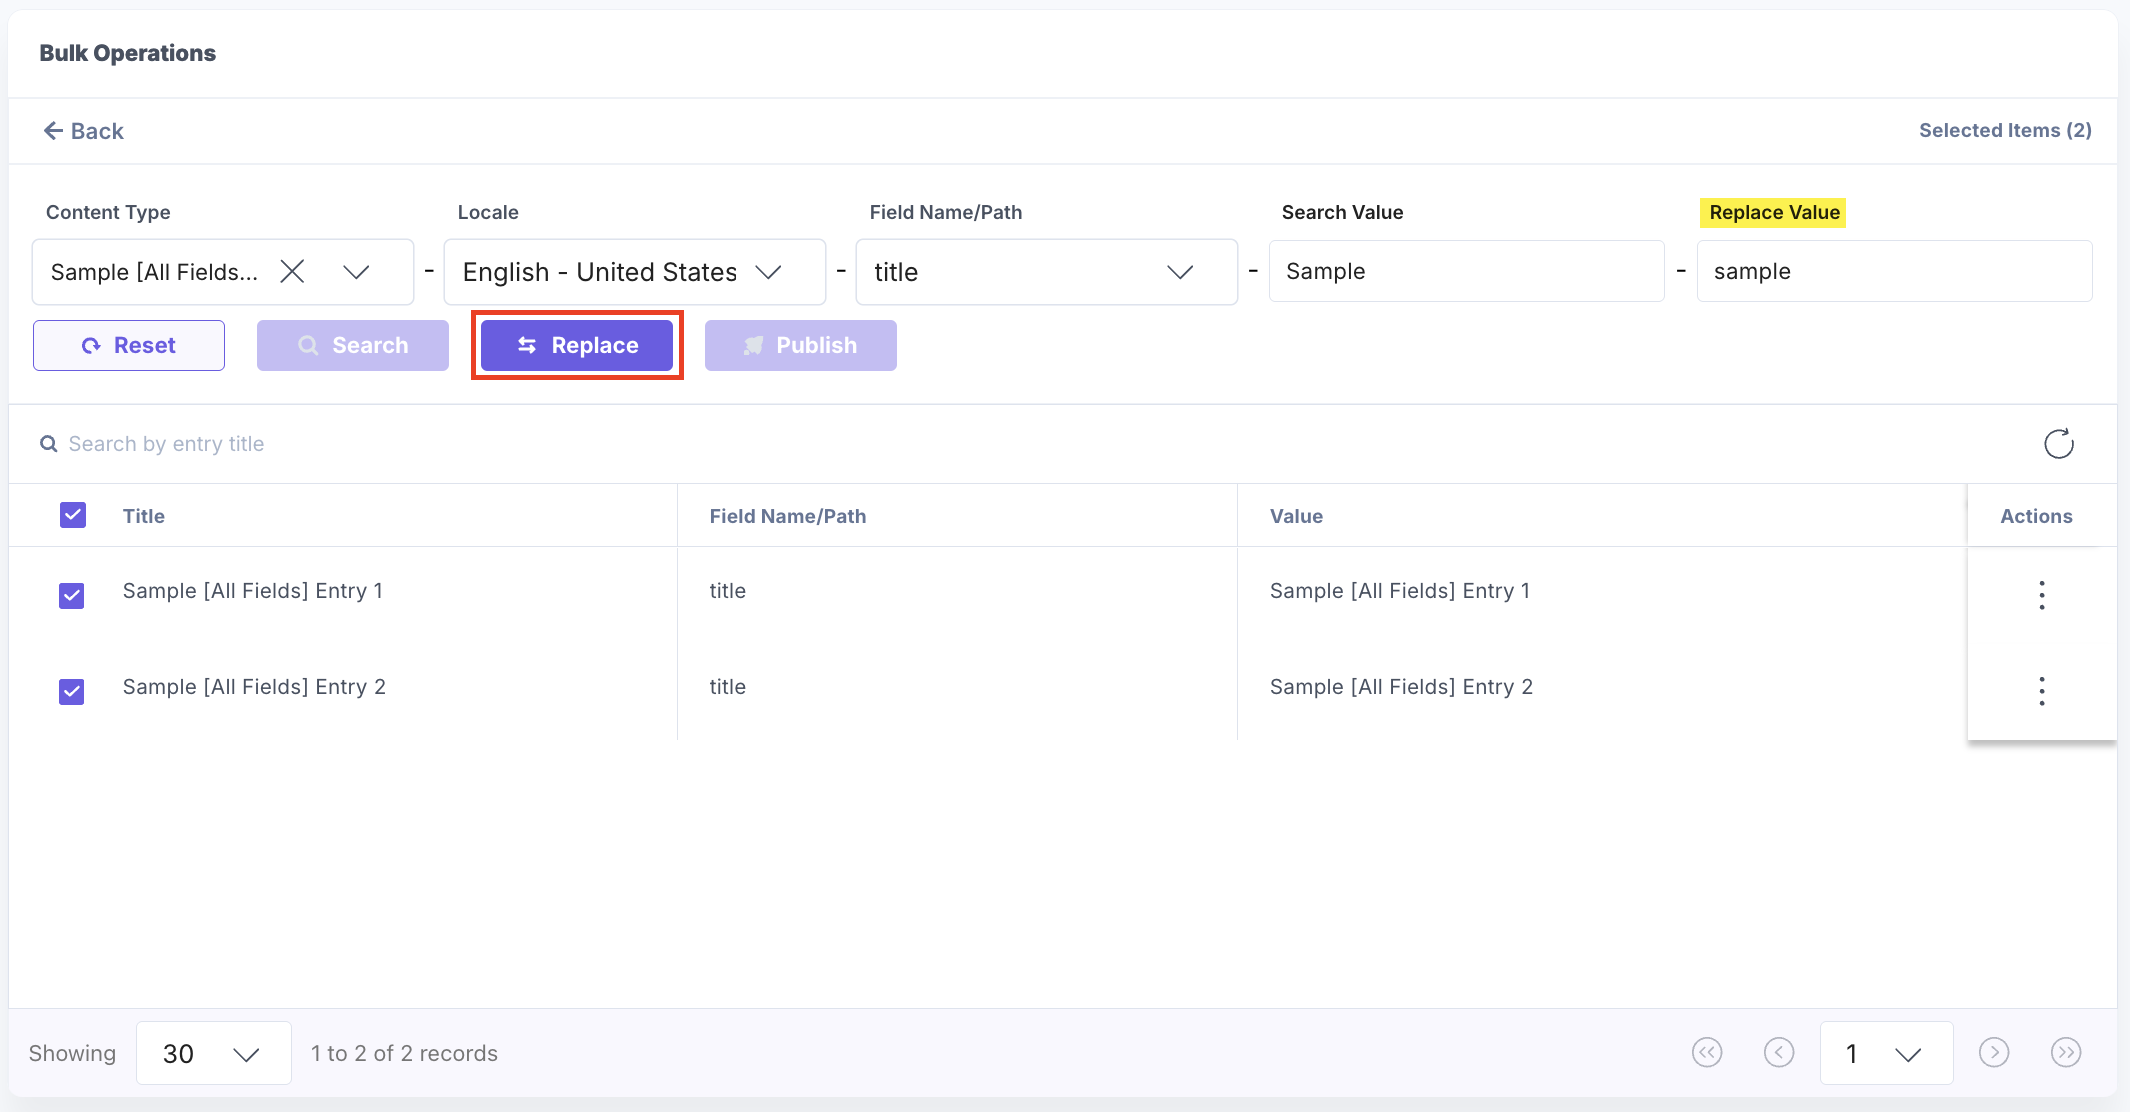
Note: After the search results for entries are generated, the Replace button is enabled.
- In the Replace Value field, enter a word or phrase which you want to replace, select the entries from the searched items, and then click the Replace button.
Note: The replace value is case-sensitive.
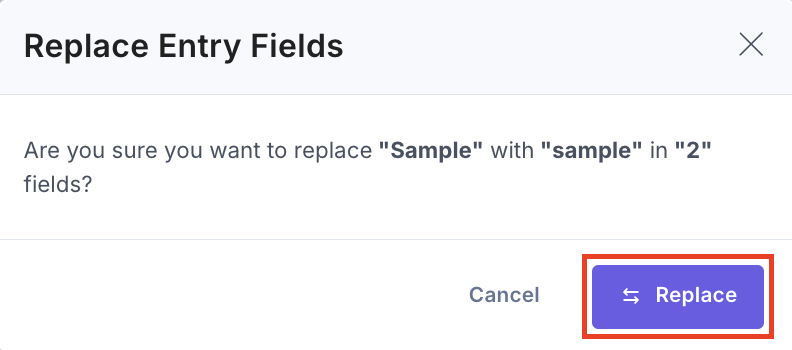
- In the Replace Entry Fields modal, you can view the Search Value, Replace Value, and the total number of Fields to be updated.
In the following screenshot, Sample represents the value to be replaced, sample represents the replacement value, and 2 is the number of fields in which this replacement will take effect.
Click the Replace button again to replace and update the searched text in the entries.
After updating the content successfully, the status changes to Success. Scroll right to view the status and message.
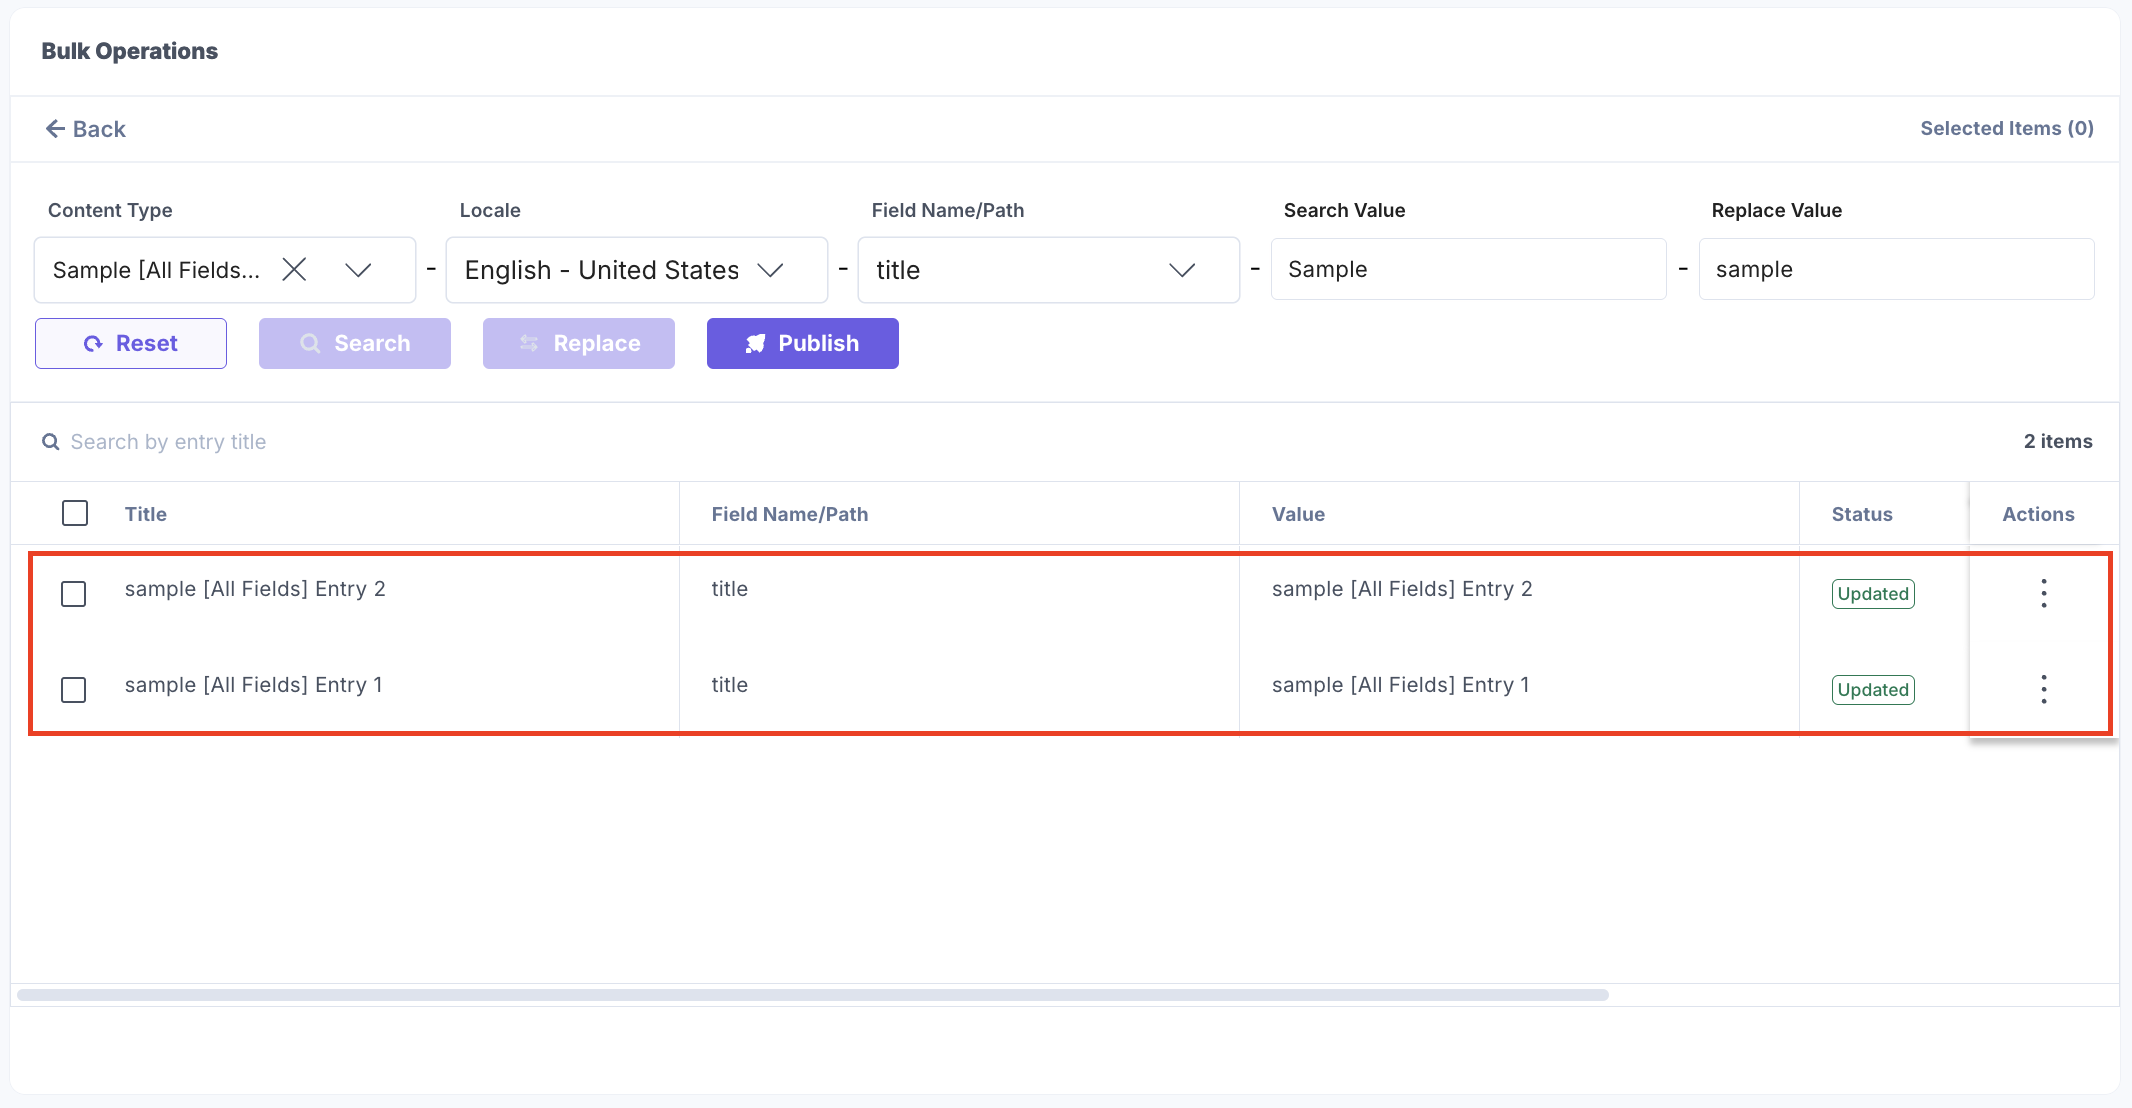
Note: Every Replace action creates a new version of an entry being updated.
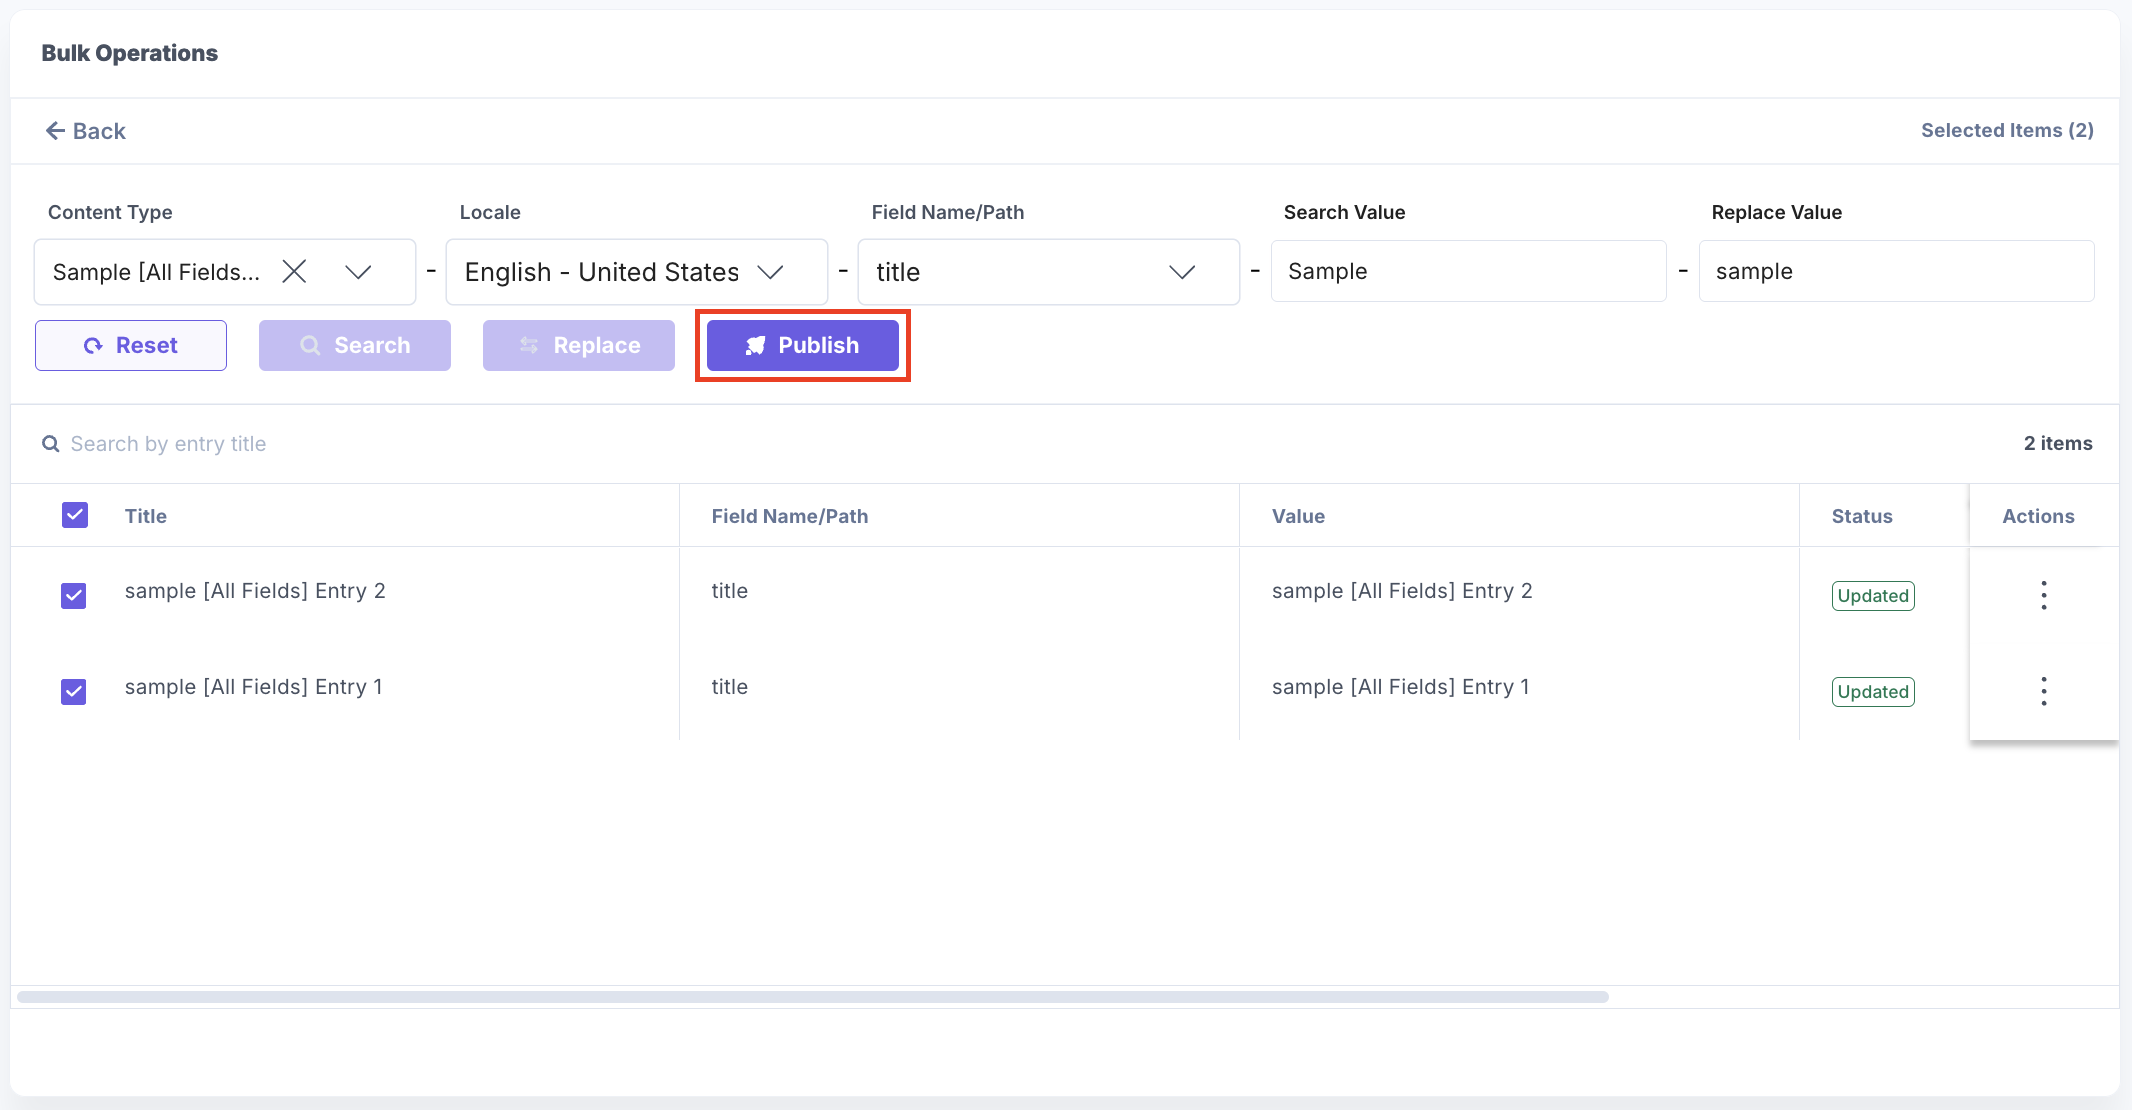
- Select the entries and click the Publish button for bulk publishing.
- In the Publish Entries modal, select the Environment(s) where you want to publish the entries. The stack Language is selected, by default. Choose the option to publish now or schedule it for later, and then click Publish to continue.
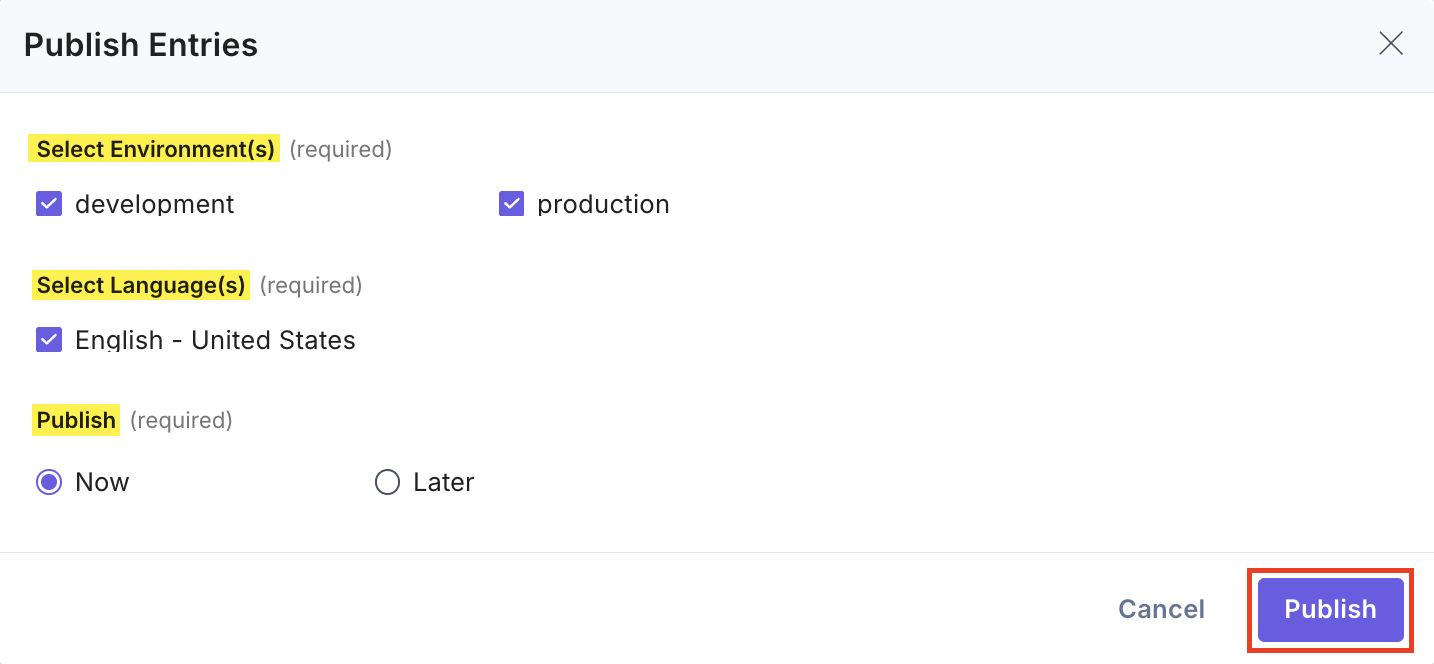
Note: The app takes into account the Language which is configured at the time of selecting the locale in the Search filters.
After successful publishing of entries, you can see the Queued status.
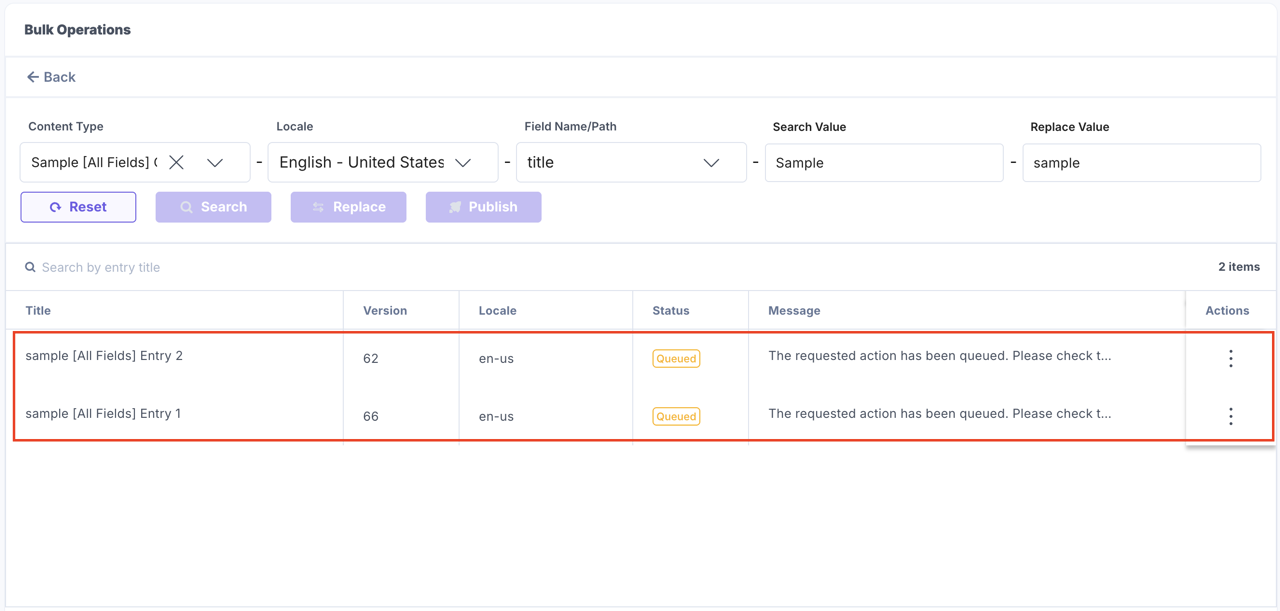
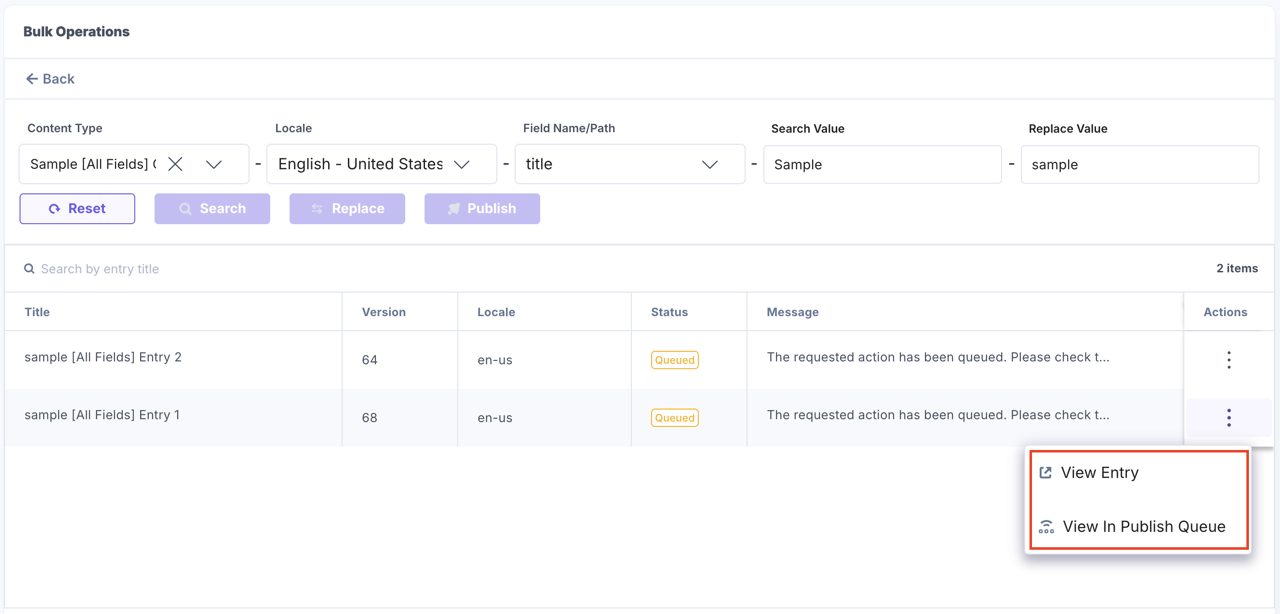
Click the vertical ellipsis under Actions next to an entry and select View Entry to open the entry editor. Alternatively, you can click View in Publish Queue to view the status in the publish queue.
Note: You cannot perform search, replace, and publish if it is restricted in your custom roles permissions. For more details, refer to the Custom Roles documentation.
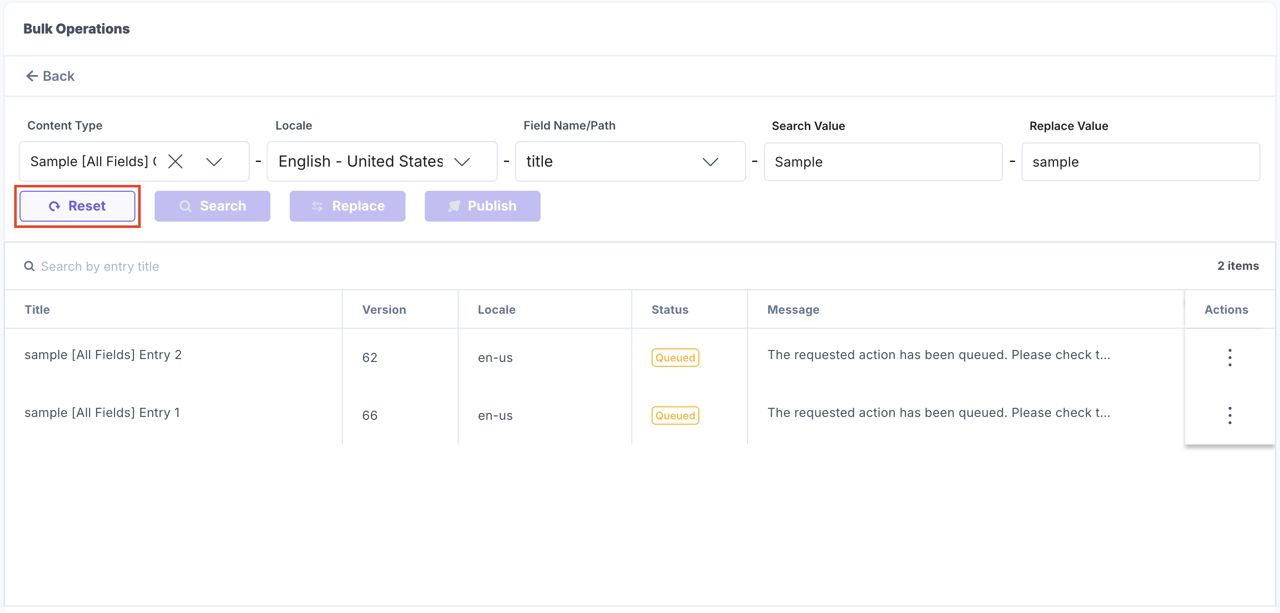
- Click the Reset button to reset all the fields to start a new search.
- Confirm and click the Reset button again to reset the search filters.
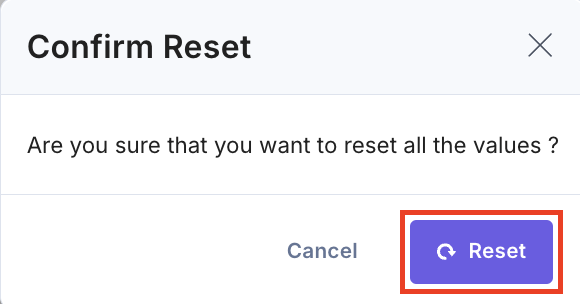
You can also reset the filters by updating any value in the mandatory filters.
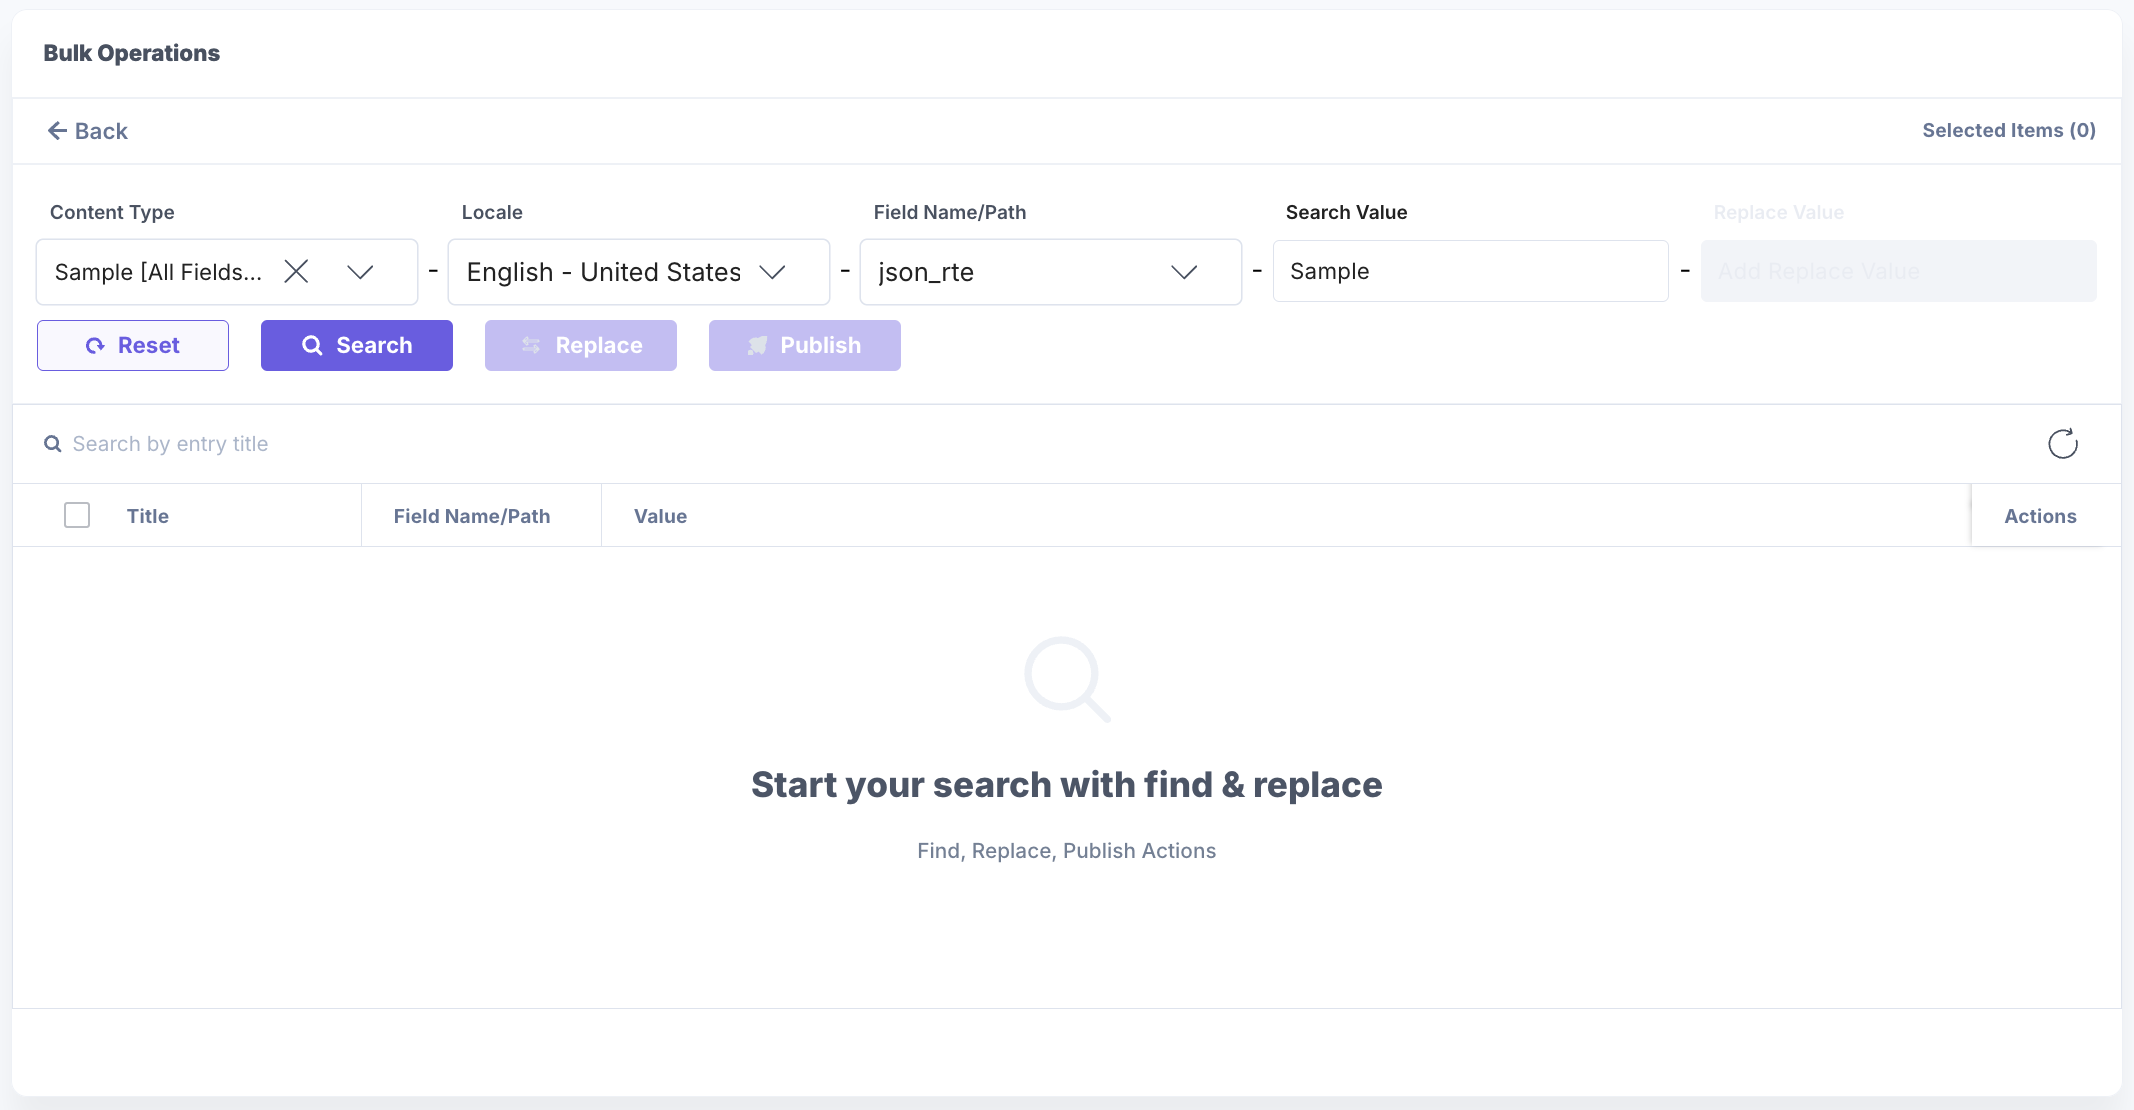
Find and Replace based on Field Types
You can apply the Find and Replace Bulk operation based on the field types. The app supports all the Text Fields, Number, Date (without Time), Boolean, and References.
Note: The app currently does not support Select, Date (with Time), File, and Custom fields.
Let’s apply the Find and Replace operation on different Content Type Fields.
- Text Fields: You can apply search on all the text-supported fields such as Title, URL, Single Line Textbox, Multi Line Textbox, HTML-based Rich Text Editor, JSON Rich Text Editor, Markdown, and Link.
Enter the Search Value text, click Search, then enter the Replace Value text, select the entries, and then click the Replace button to update the content in all the selected field instances at once.
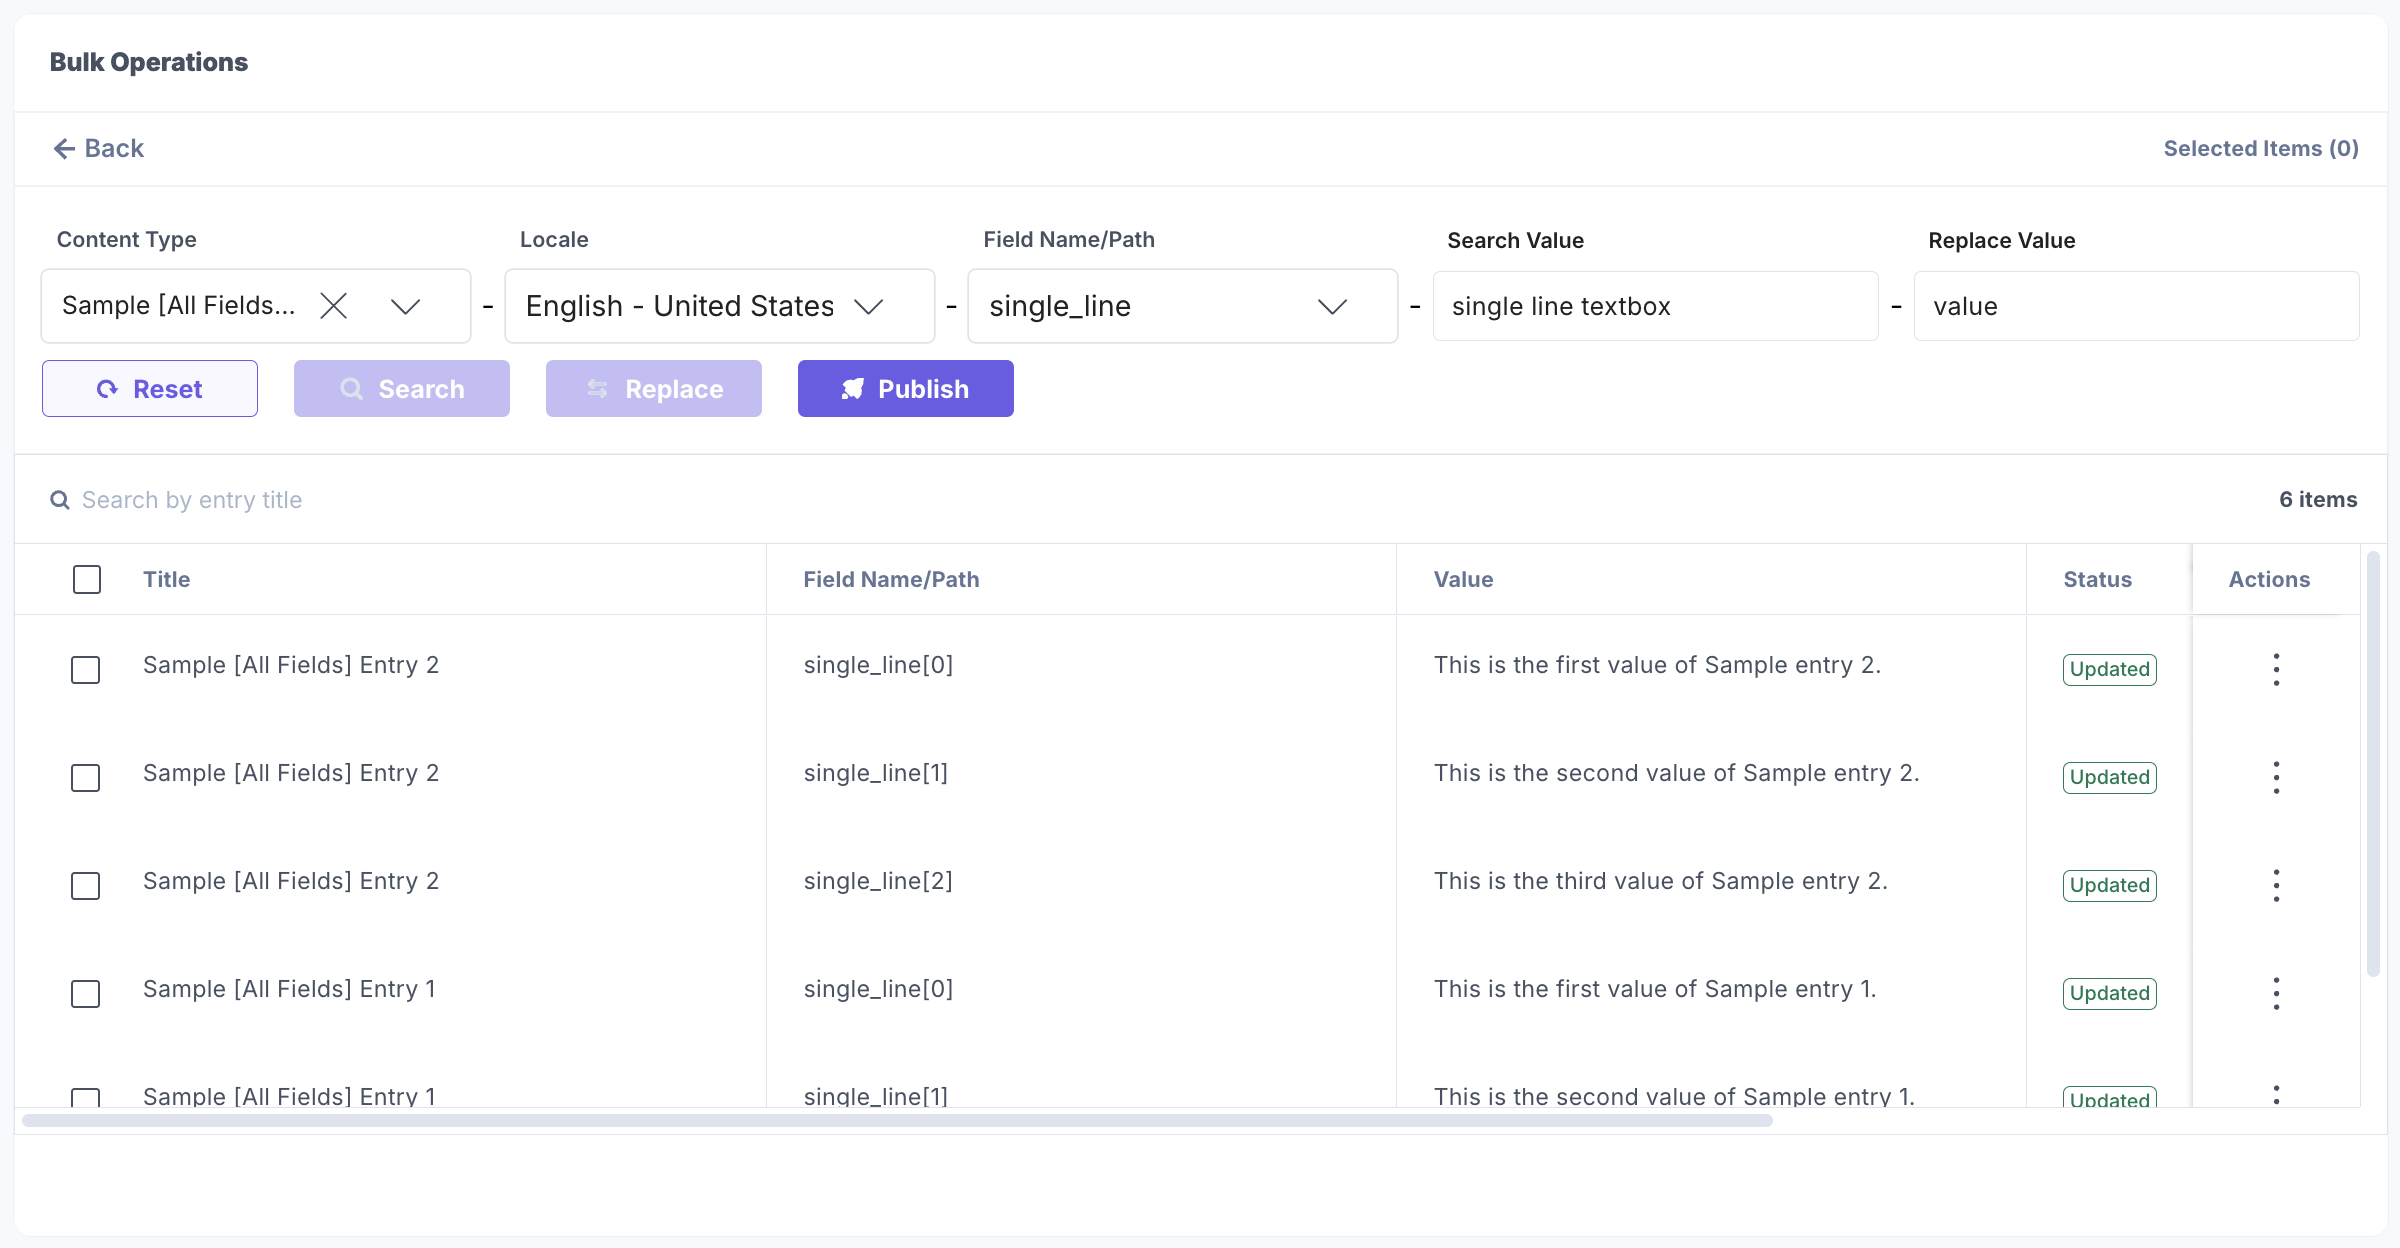
The Fields Name/Path displays the Unique ID of the field along with the field instance number in which the content is found and replaced. For example, single_line is the Unique ID, and [0] signifies the first single line textbox within the entry.
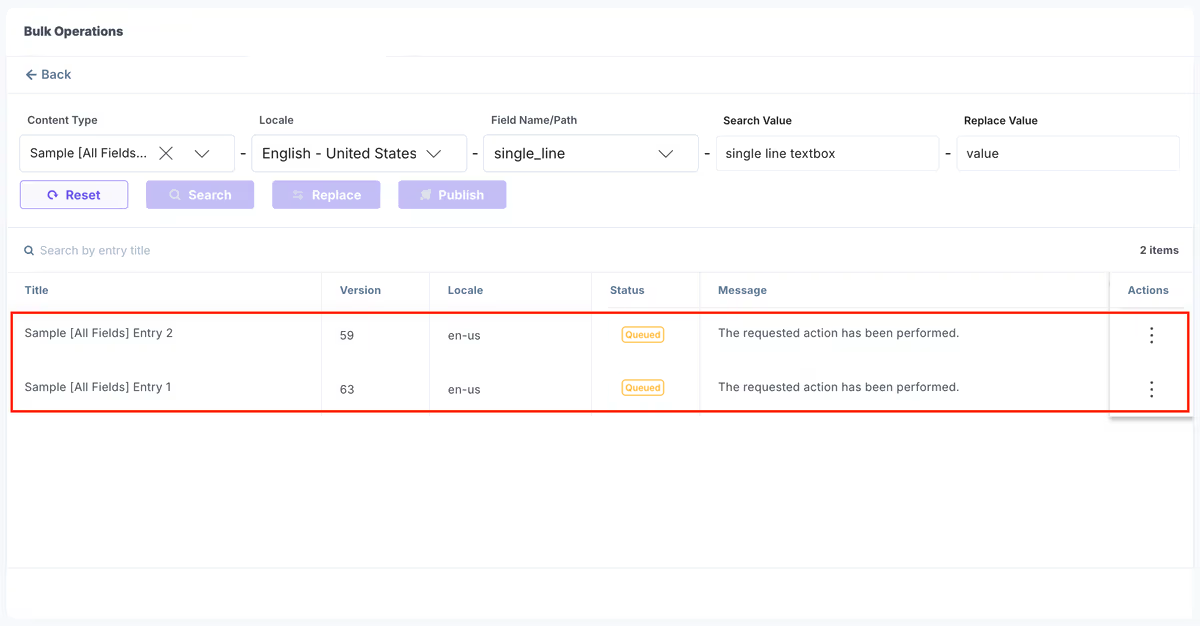
When you select and replace the content in multiple instances of an entry, the entry is updated once for all the replaced values, and then this updated version of an entry is created.
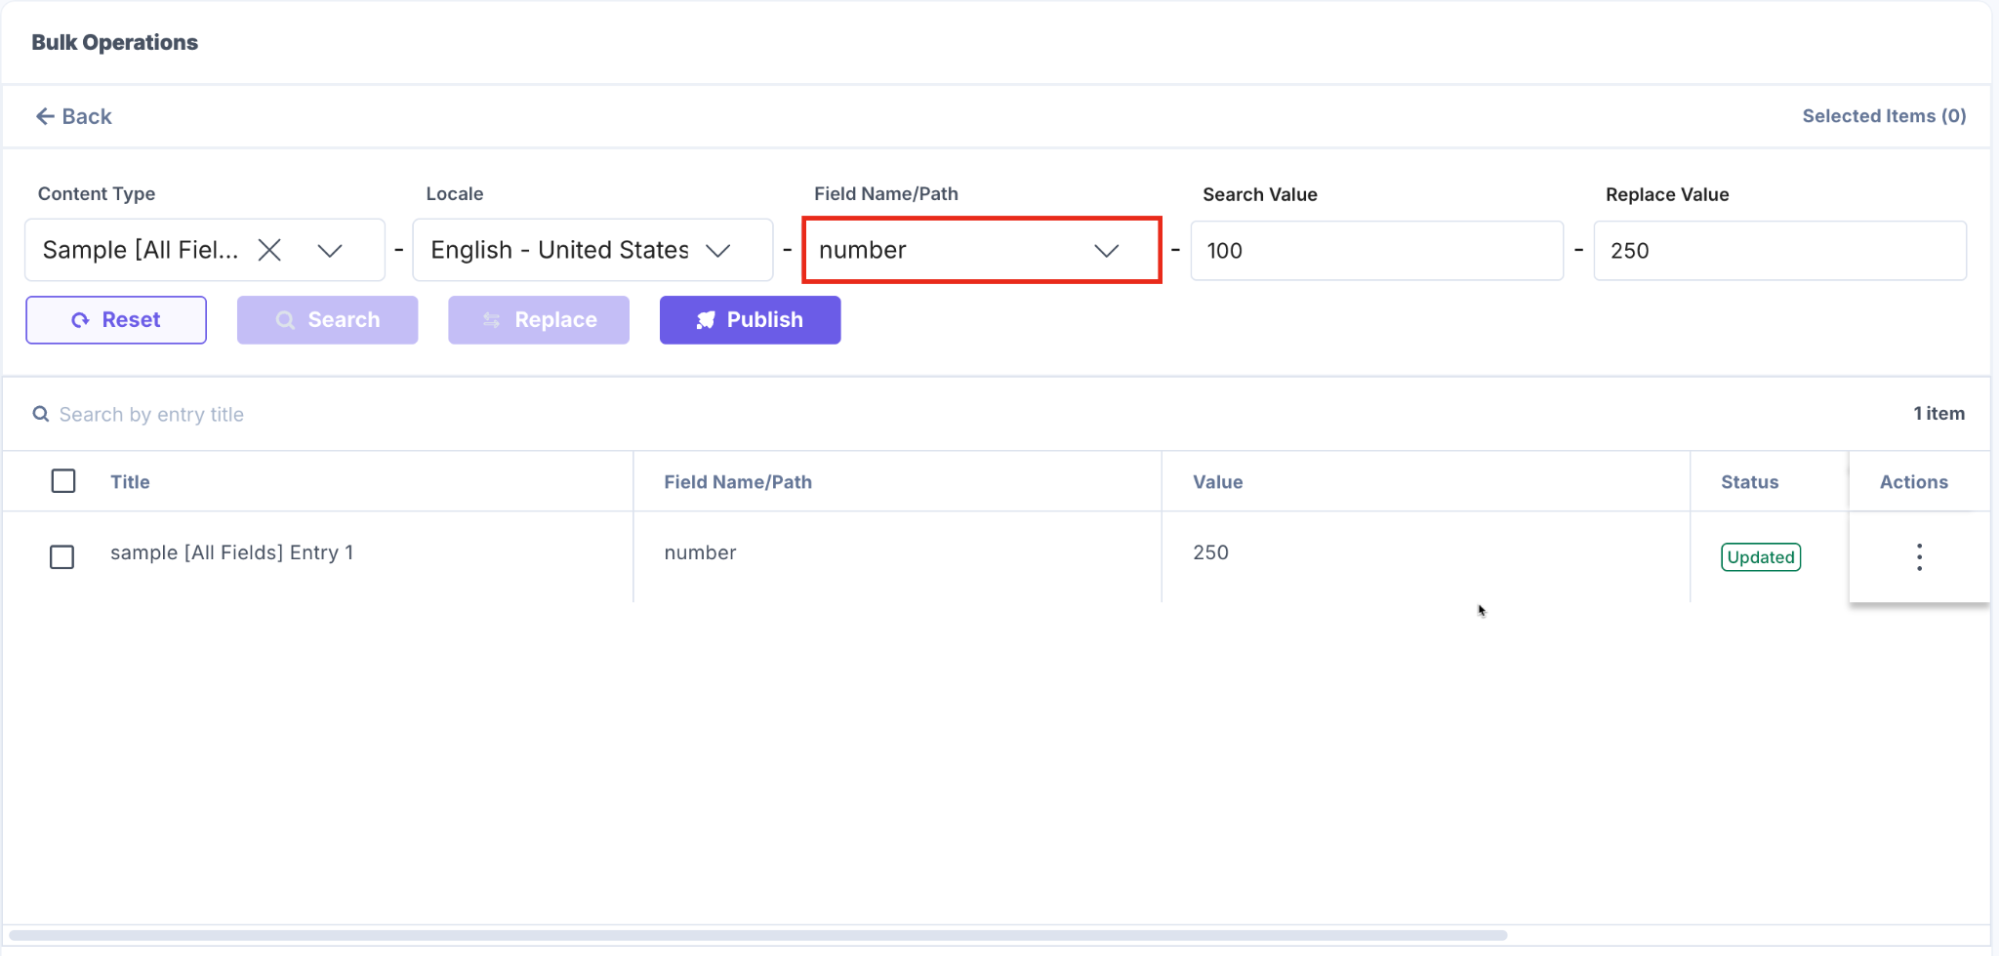
- Number: You can apply the find and replace operation on the entire number.
- Date (with Hide Time): You can use the search filter only on dates, not time.
Note: When adding a Date field to the content type, go to the Advanced properties, and select the Hide Time checkbox from the options provided.
Select any date in the Search Value date selector and replace it with another date selected in the Replace Value date selector.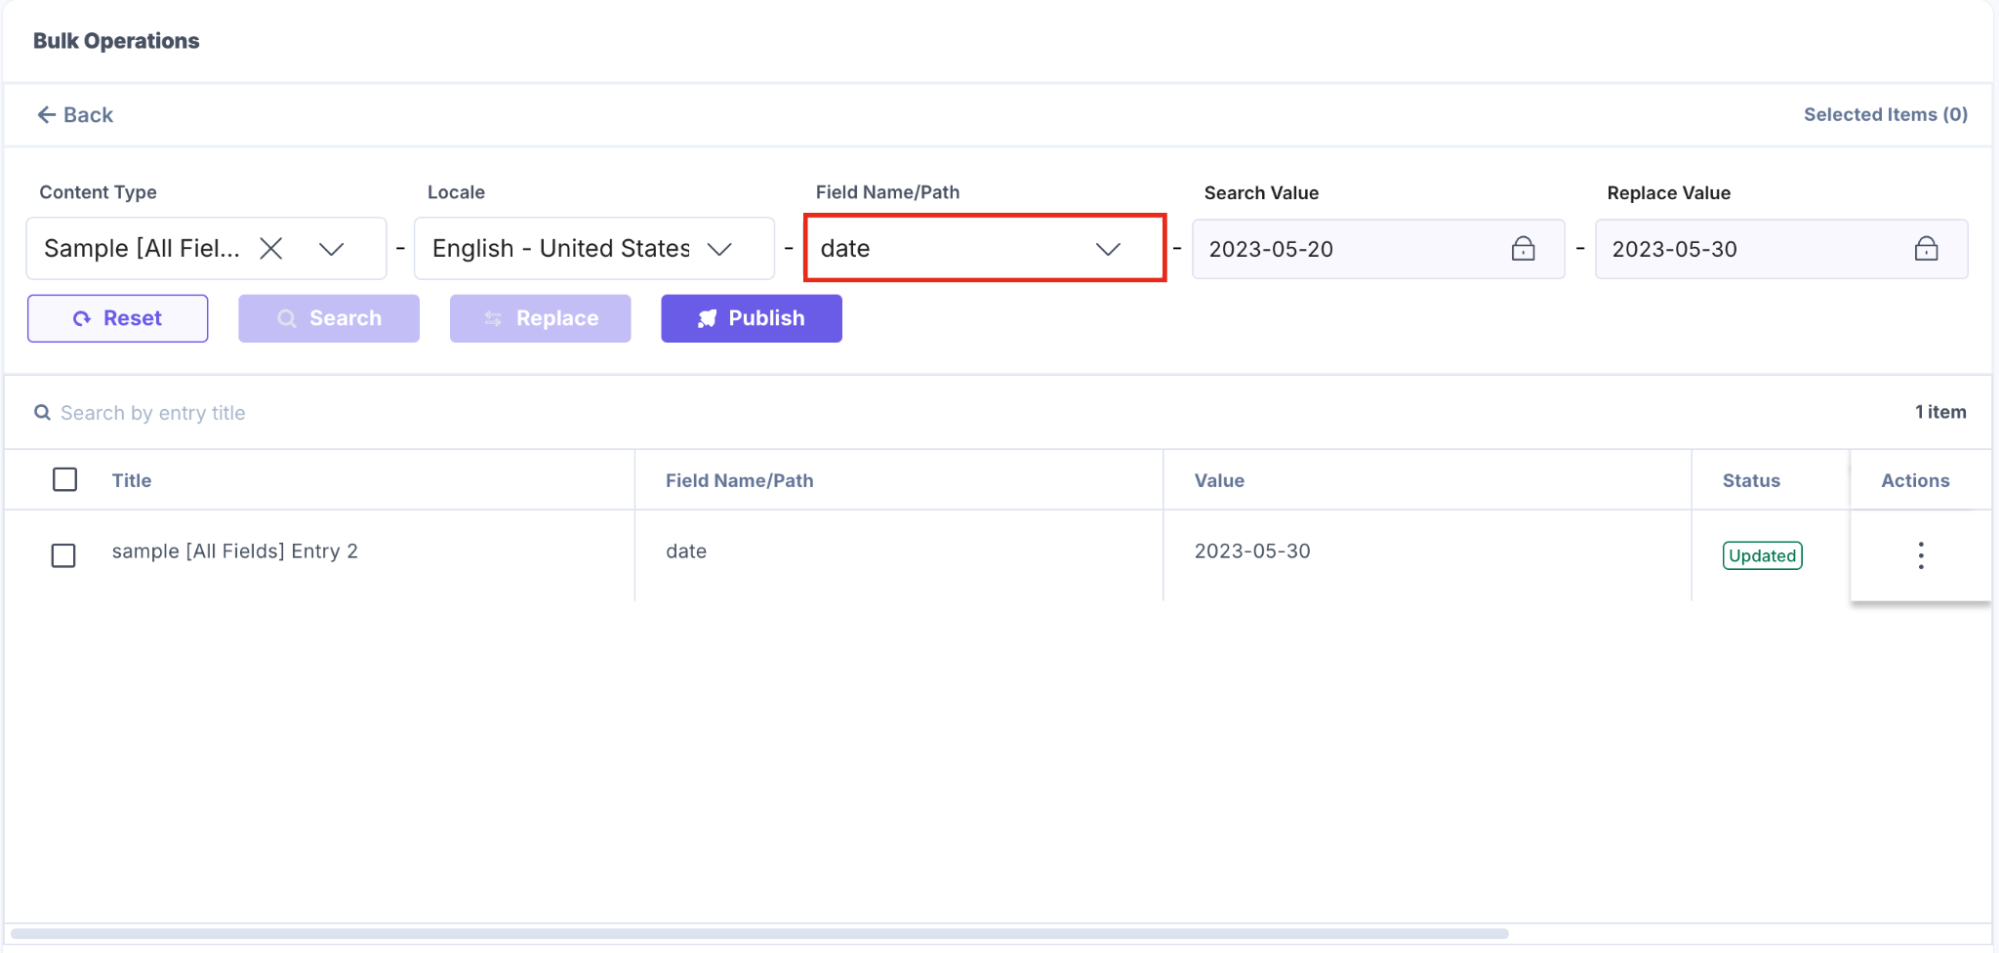
- Boolean: You can apply the search filter to change the Boolean value to True if it is set to False and vice versa.
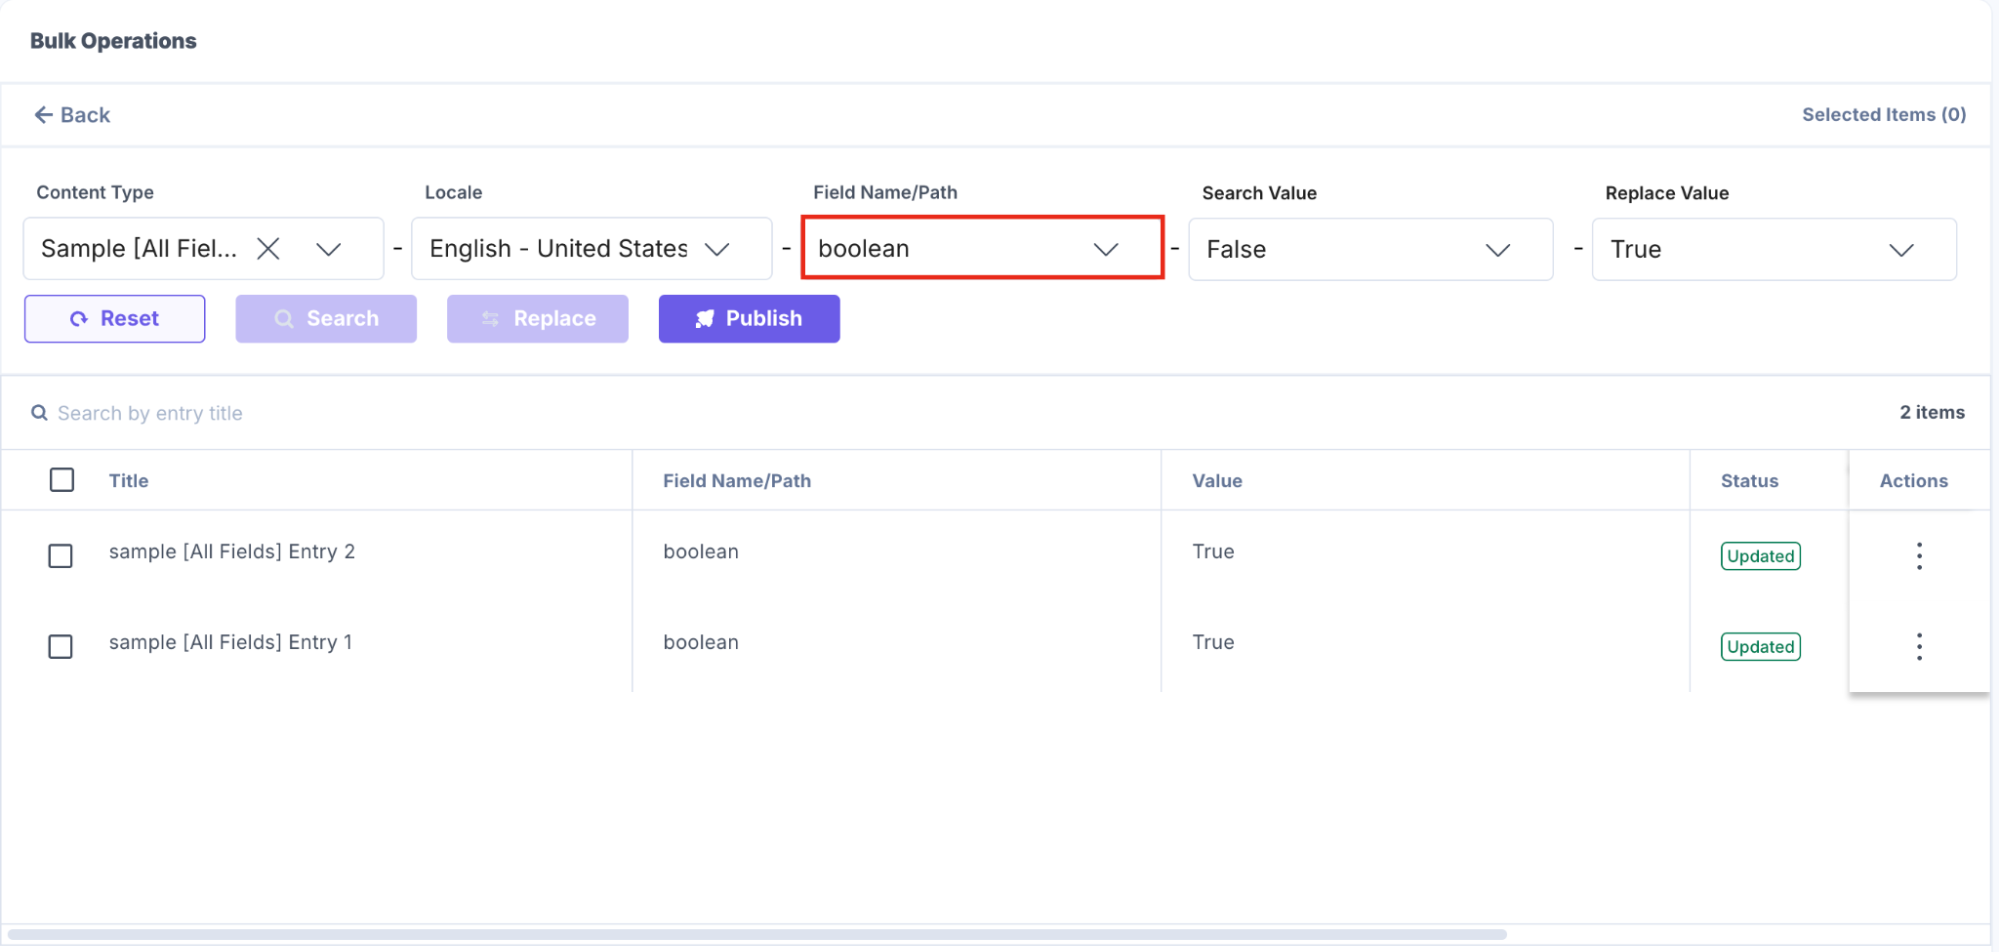
- References: You can use the Find and Replace operation in two ways:
- When the reference field has one referenced content type.
Select a referenced entry in the Search Value drop-down and replace it with another referenced entry selected in the Replace Value drop-down.
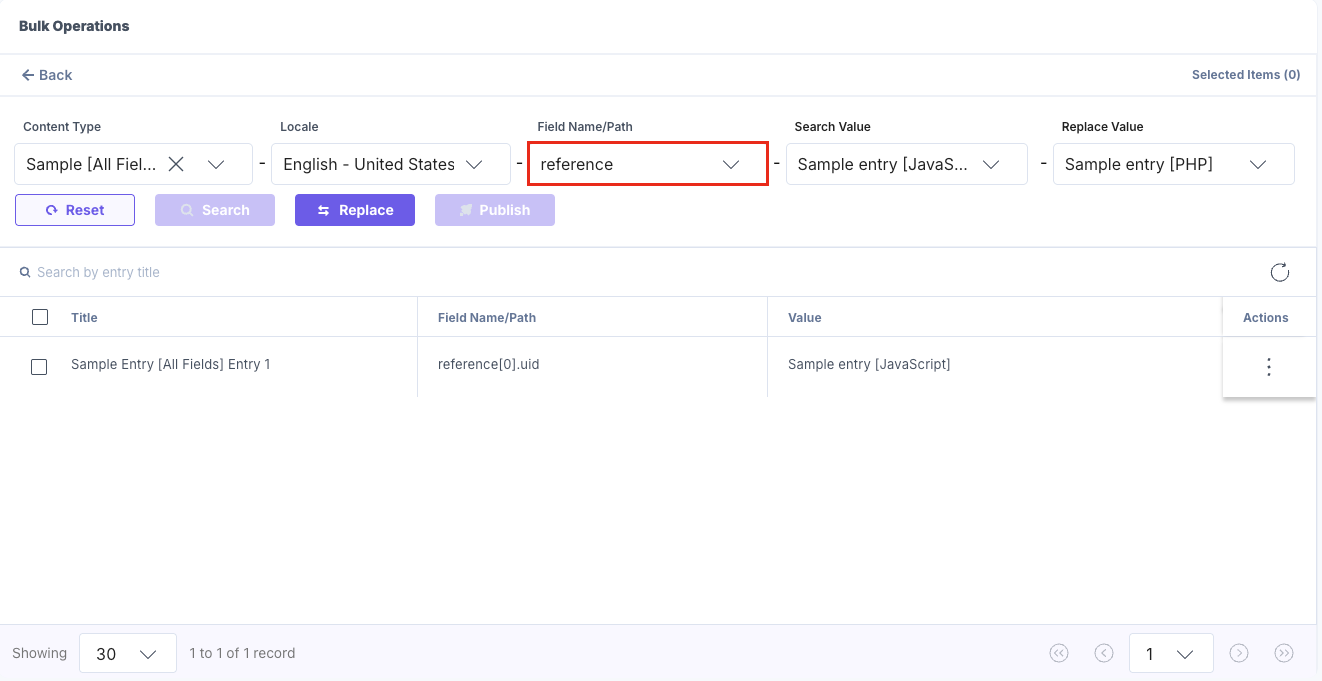
- When the referenced field has more than one referenced content type.
Select the content type in the Search Value drop-down, then select the referenced entry from another drop-down. Similarly, in the Replace Value drop-down, select the content type first and then select the referenced entry to be updated.
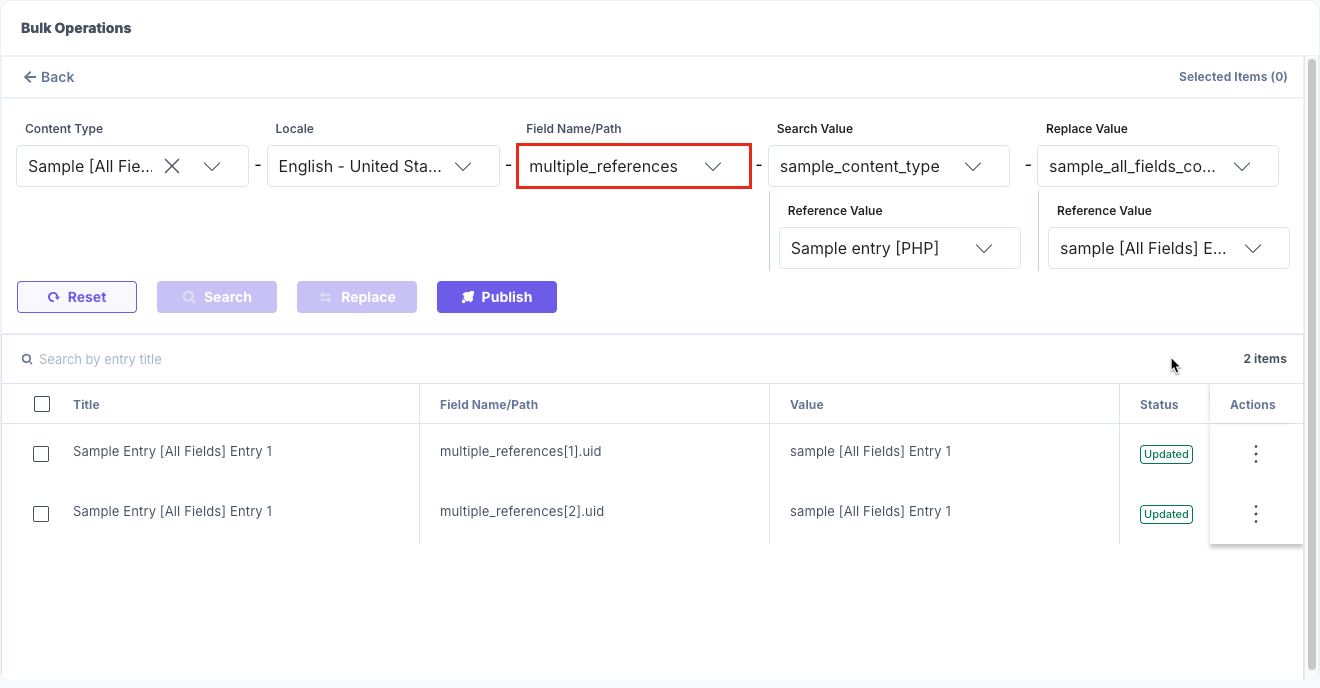
Note:
- The app also supports all the supported fields inside the Modular Blocks, Group, and Global fields.
- You can select up to 300 table items for Find & Replace.
- When the reference field has one referenced content type.
- Navigate to the stack dashboard to view the Bulk Operations app within your CMS.
More articles in "Content Management"
