

JSON Editor
Note: This documentation uses the legacy approach with extensions. We have launched JSON Editor as a Marketplace App. For more information on JSON Editor, please refer to the JSON Editor App Installation Guide.
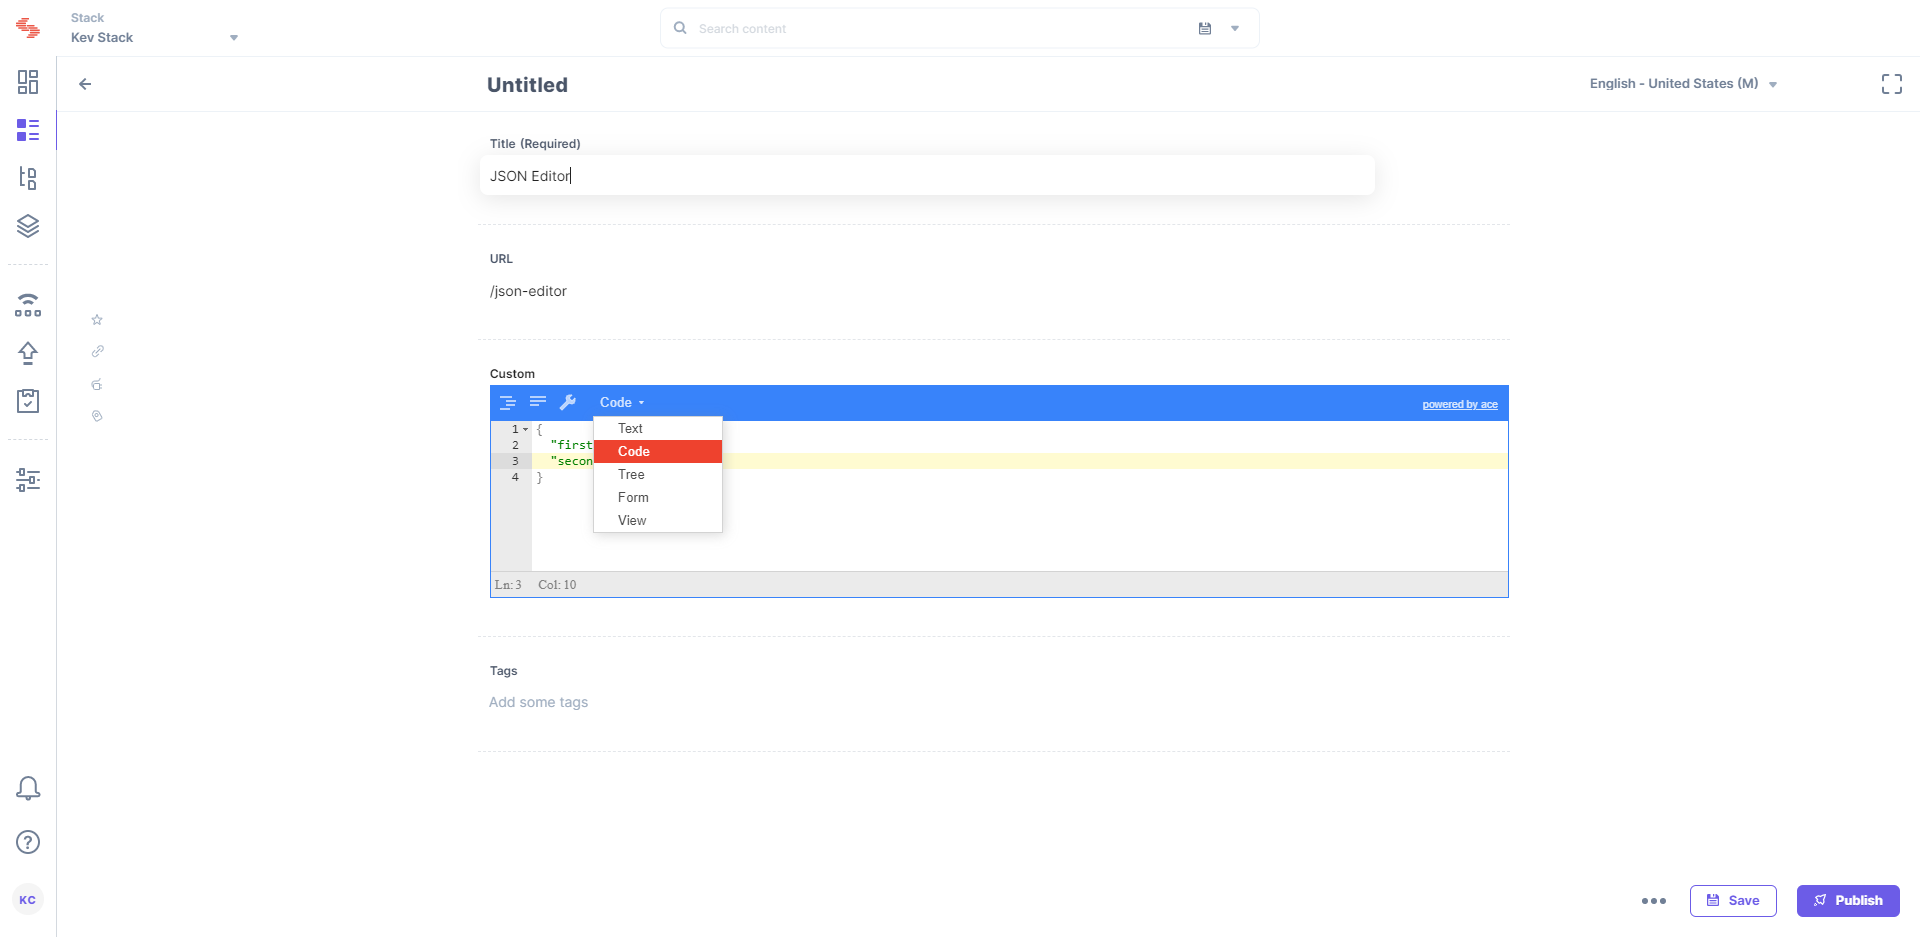
The JSON Editor custom field extension enables users to input data that is in JSON as well as in other formats such as normal “text,” “code,” “tree” format, “form,” and “view.”
This step-by-step guide explains how to create a JSON Editor custom field extension for your content types in Contentstack:
Add the “JSON Editor” custom field extension to your stack
To add this custom field extension to your stack, log in to your Contentstack account and perform the following steps:
- Go to your stack and click the “Settings” icon on the left navigation panel.
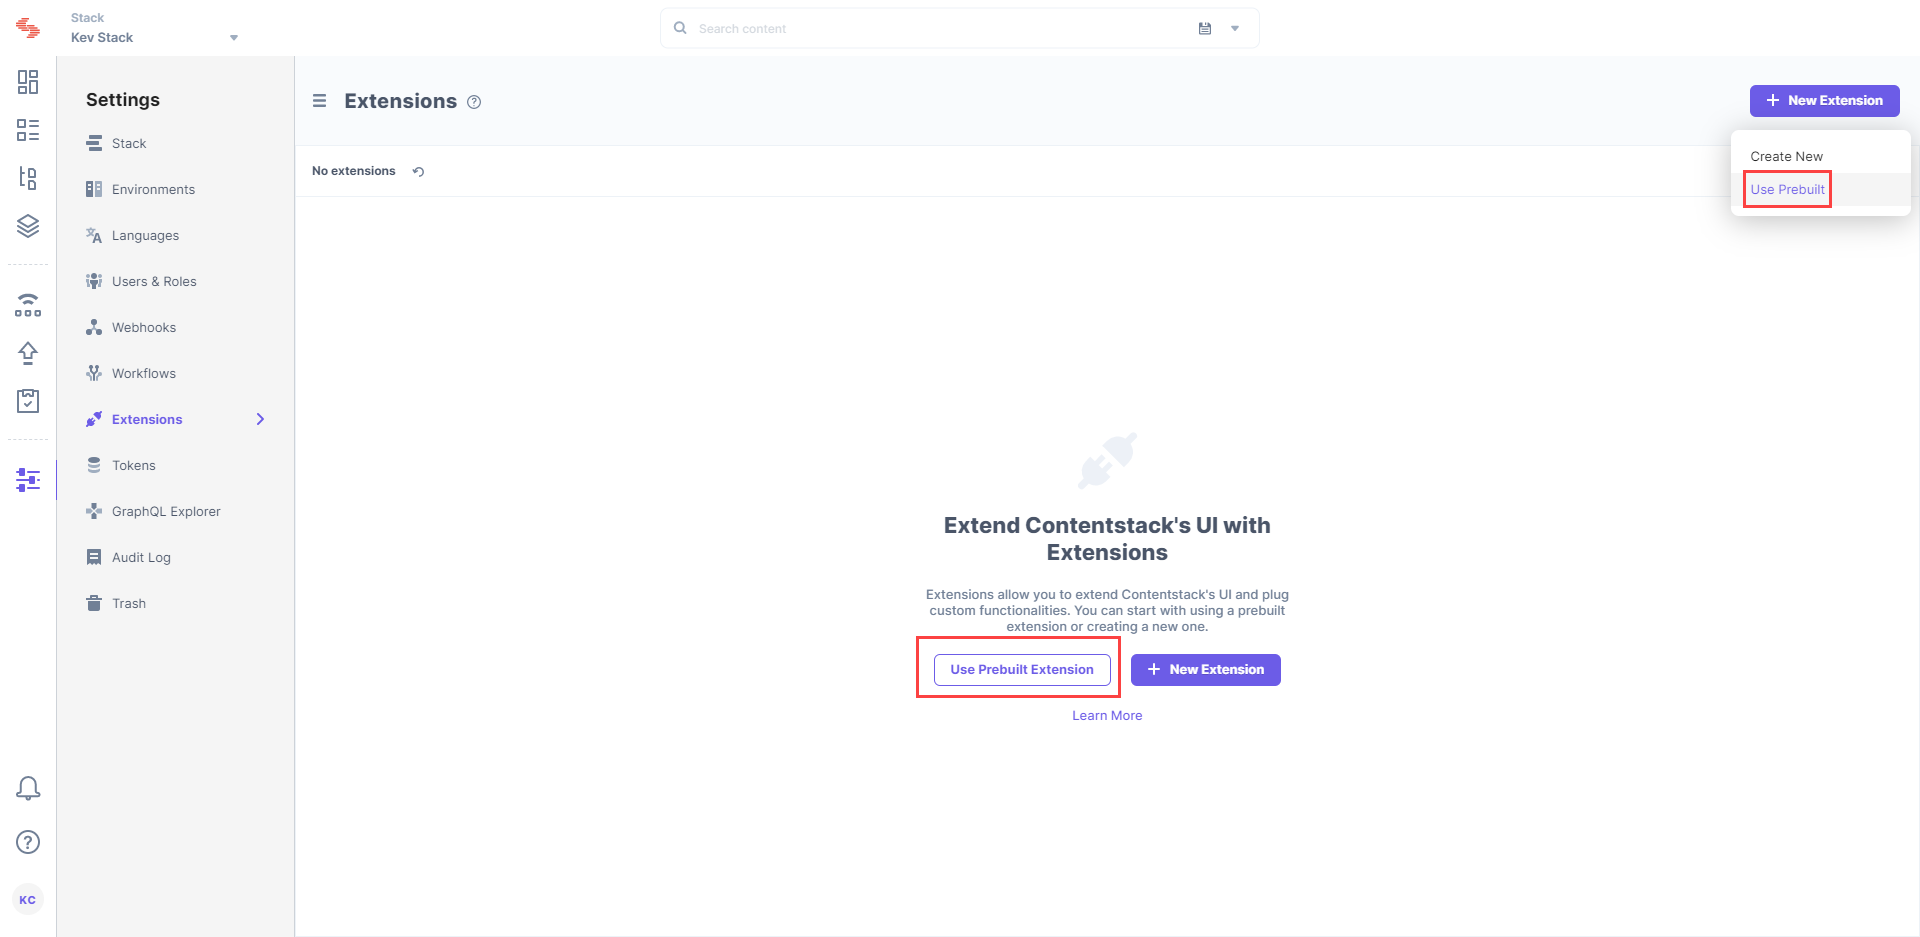
- Click on Extension.
Click on the
+ New
Extensions
button, and select the
Use prebuilt
option.
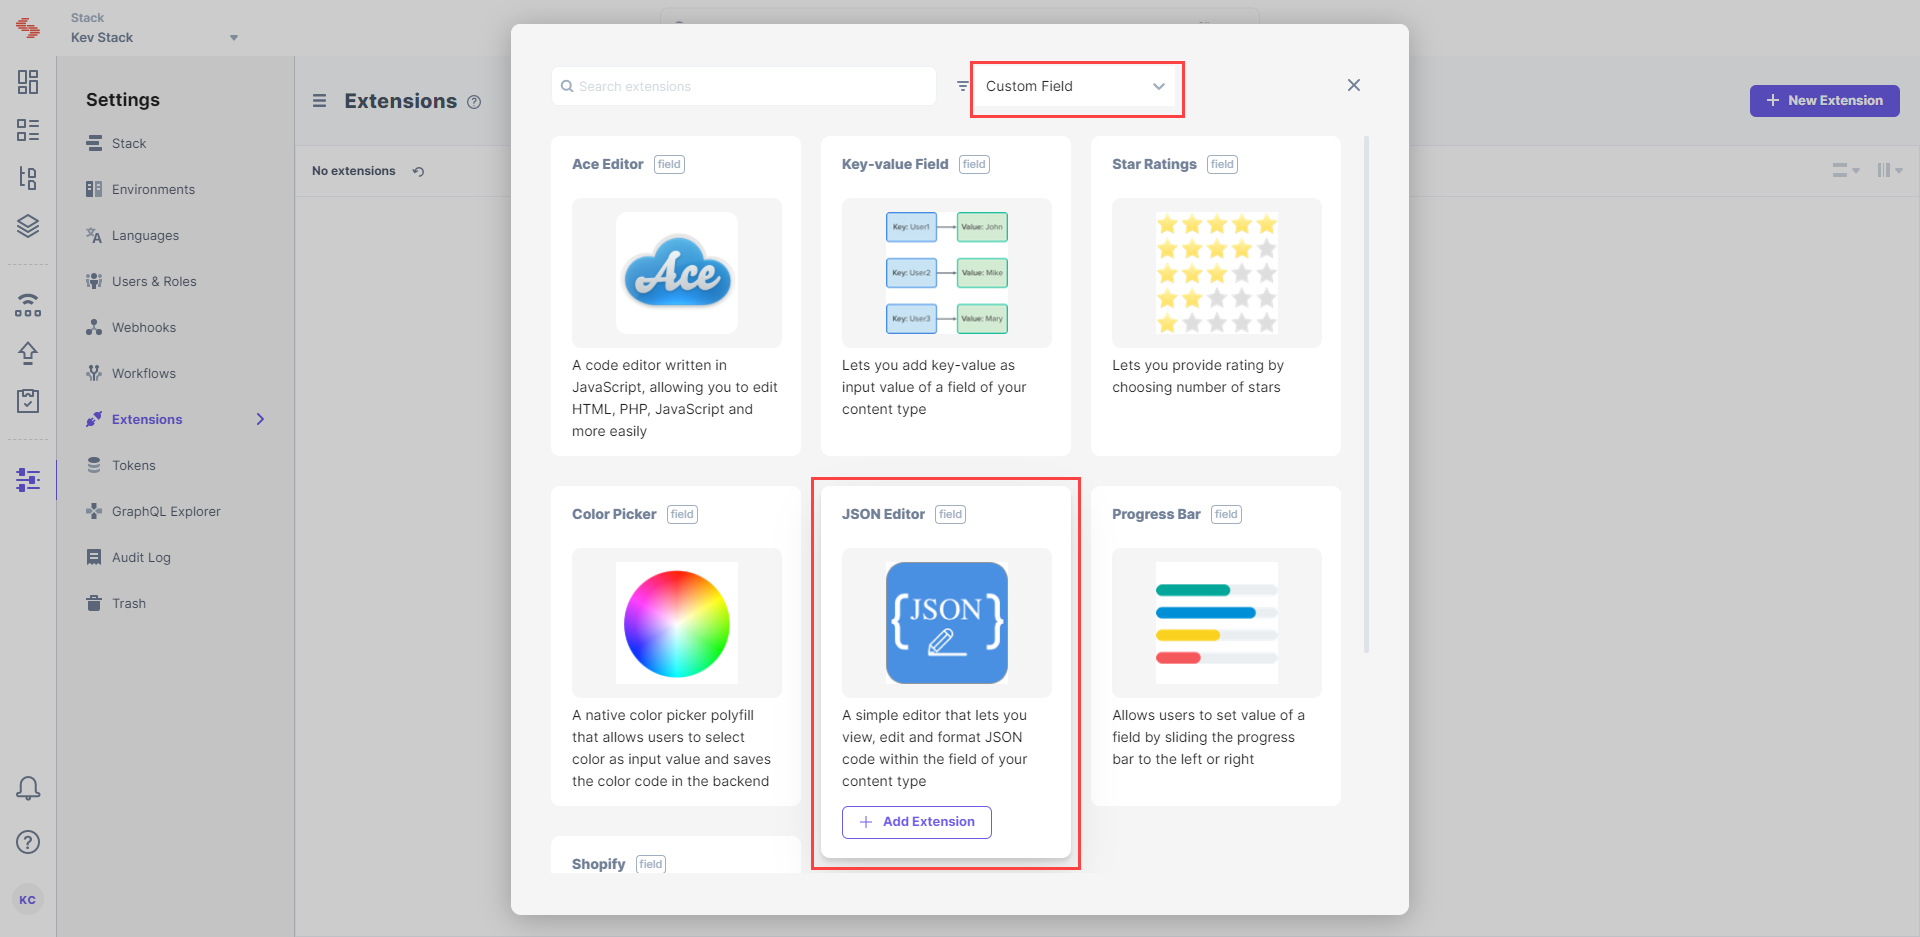
- In the following window, from the drop-down menu, select Custom Field options.
Hover over JSON Editor, and click on + Add Extension.
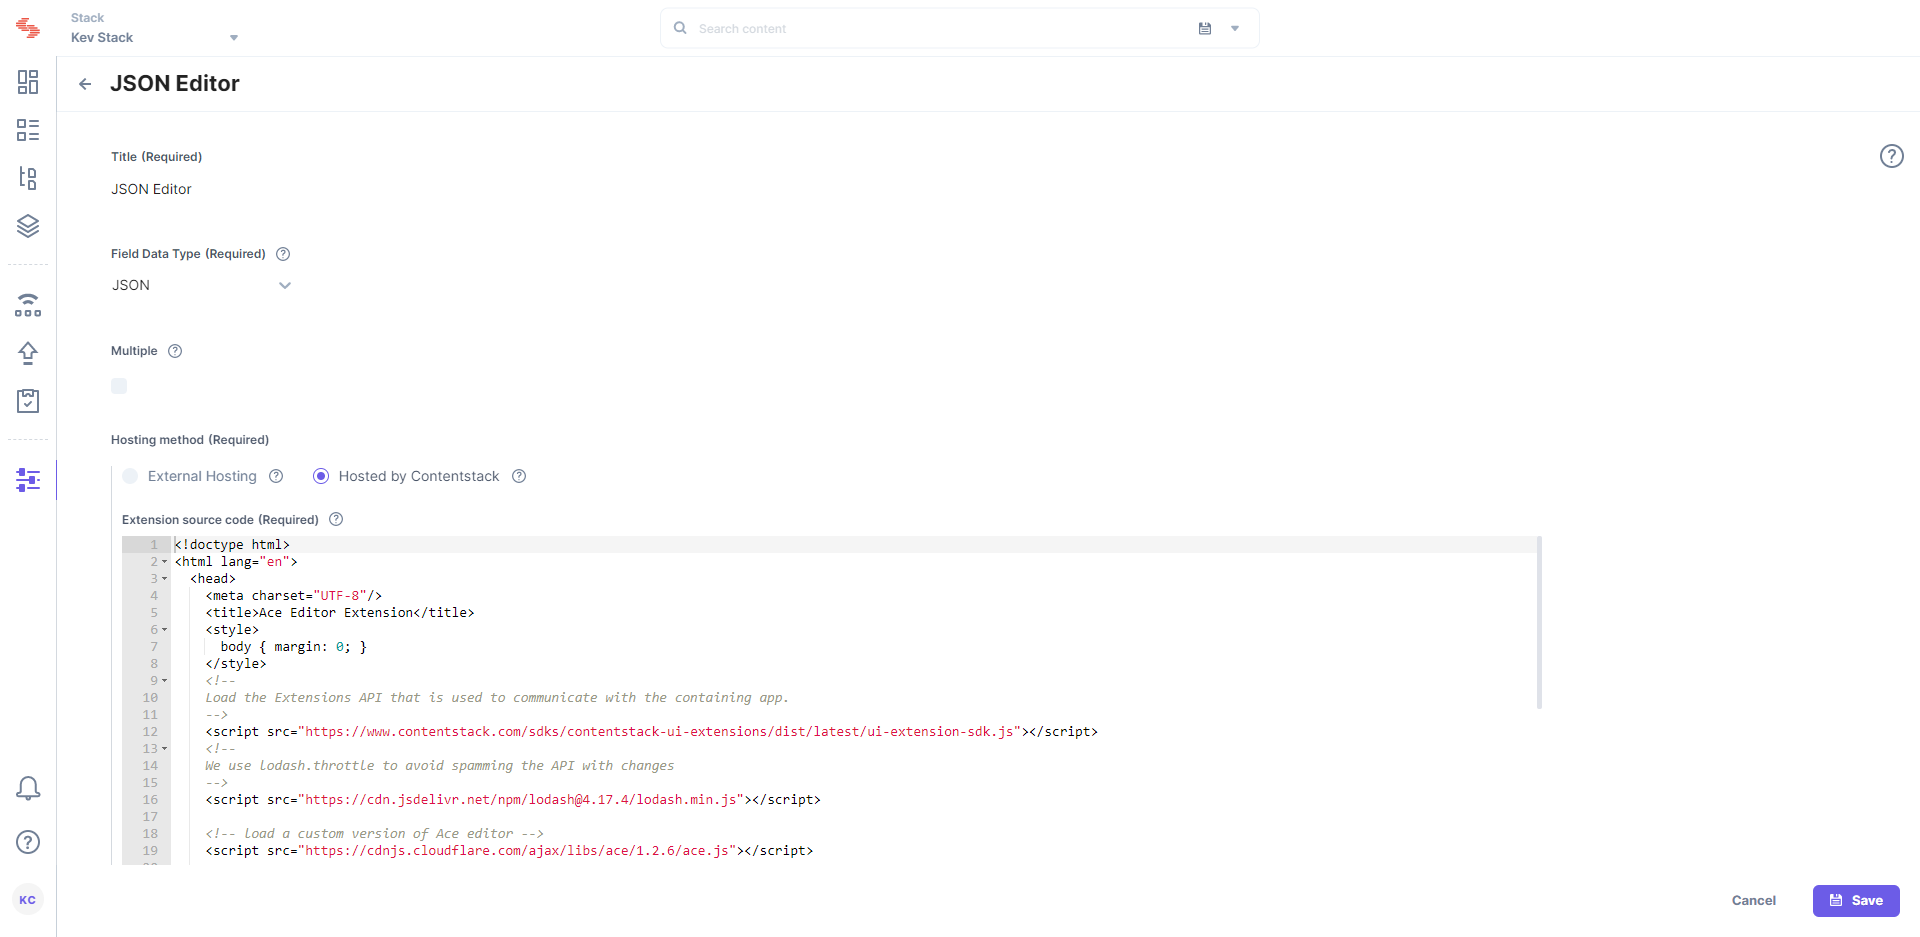
In the
Create New Extension
page, you will see the following options:
- Title (required): You will see a predefined title, “JSON Editor.” Use the same title to add the custom field in your content type.
- Field data type (required): By default, the data type for the input data is set as “JSON.”
- Multiple (optional): Select this if your custom field accepts multiple values, and the data type is not JSON.
- Hosting method (required): The hosting method is set to Hosted By Contentstack since it is a custom field hosted on Contentstack.
- Extension Source Code (required): Here you will find the source code for the custom field. You can make changes to this code as per your requirements.
Config Parameters
(optional)
: Provide values for the config parameters if you have used any in the source code.
- Finally, Save this custom field.
After saving the custom field, let’s learn how to start using this custom field in your content type.
Use your custom field
To use JSON Editor custom field in your content type, perform the following steps:
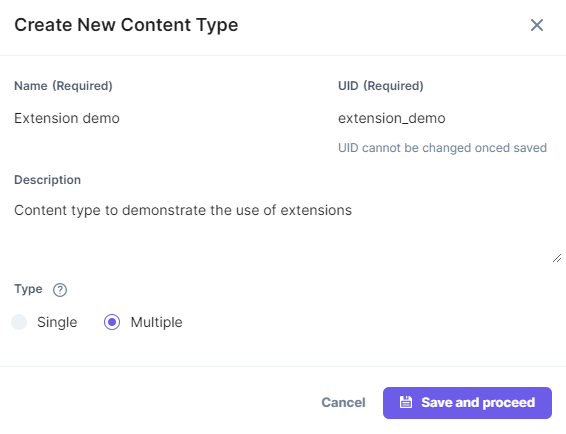
- Click on the “Content Models” icon on the left navigation panel and click on + New Content Type button.
- Create a content type
by adding relevant details as displayed below.
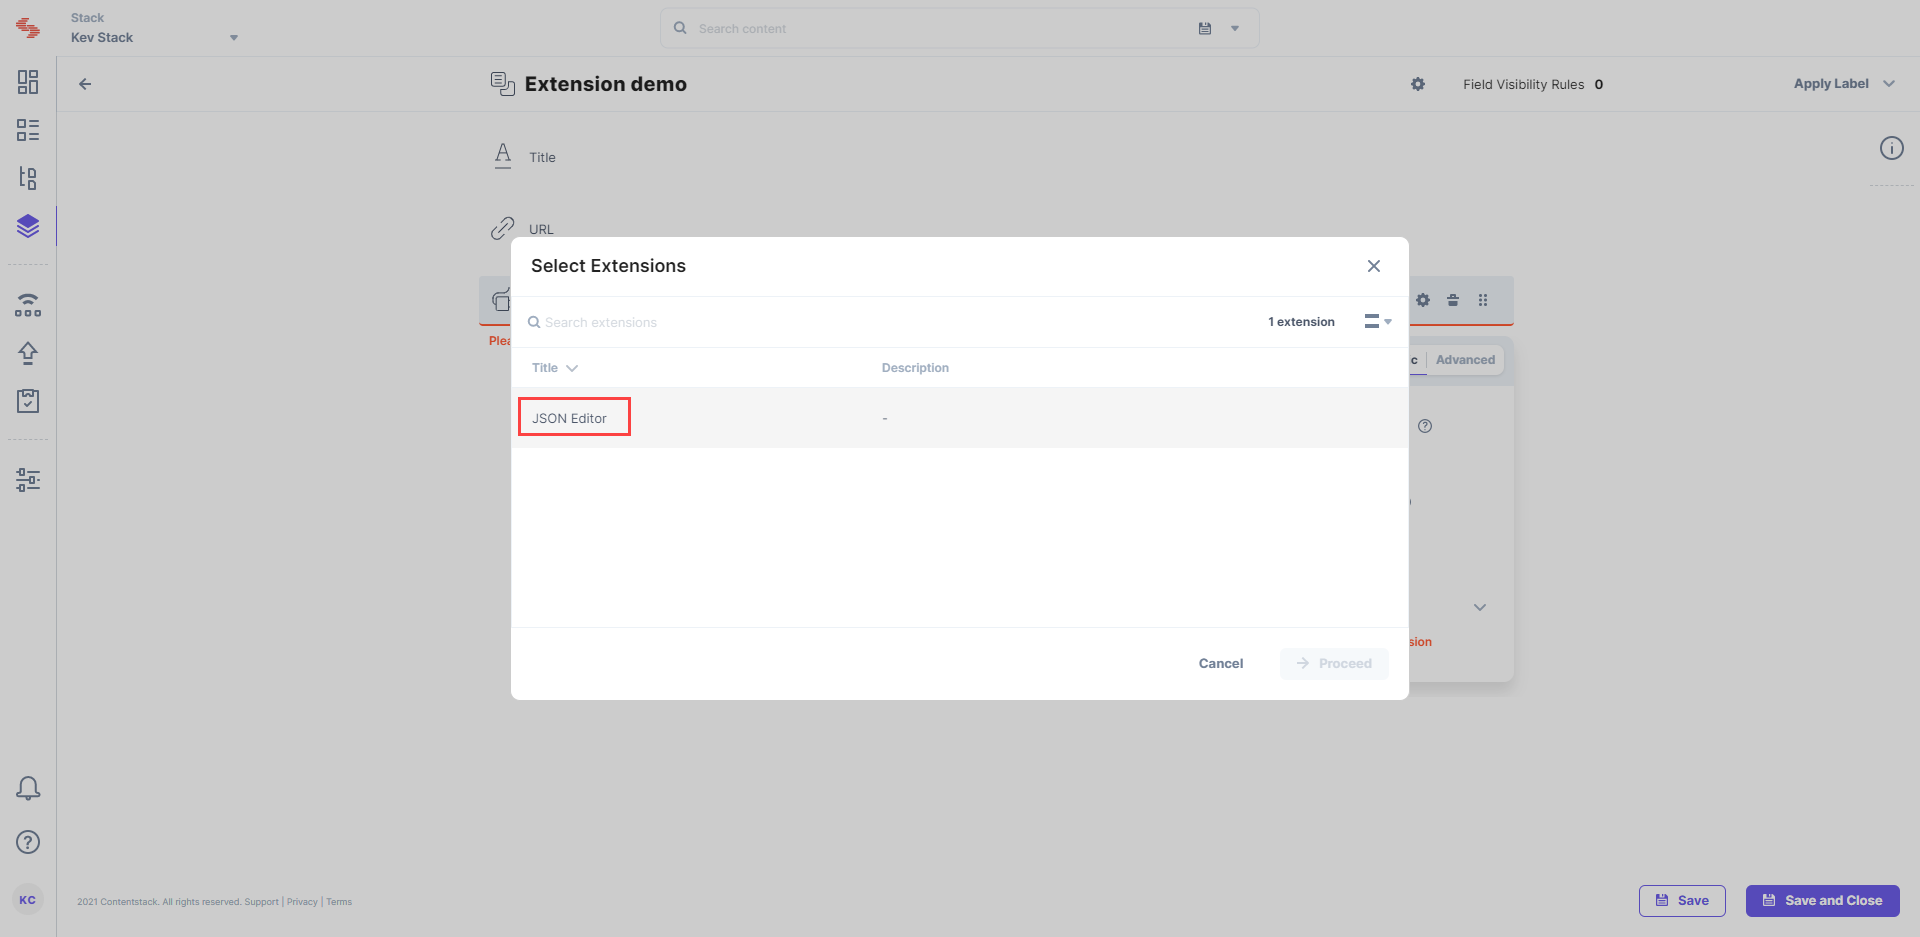
- On the Content Type Builder page, add the Custom field to your content type by clicking on the “Insert a field” link denoted by a + sign and then clicking on Custom.
Select
JSON Editor
from the
Select Extension
dropdown menu, and configure other properties of your custom field.
Note: You can provide specific instance-level configuration settings for your Custom Field extension by referring to the Config parameters section.
After adding other fields to your content type, click on either Save or Save and Close button. This will create a content type.
To use the JSON editor,
create an entryfor this content type, and you will see this field on your entry page as shown below:
Additional Resource: Refer to our guide on how to add the Ace Editor, a prebuilt custom field that includes features of code editors like Sublime and Vim.
