

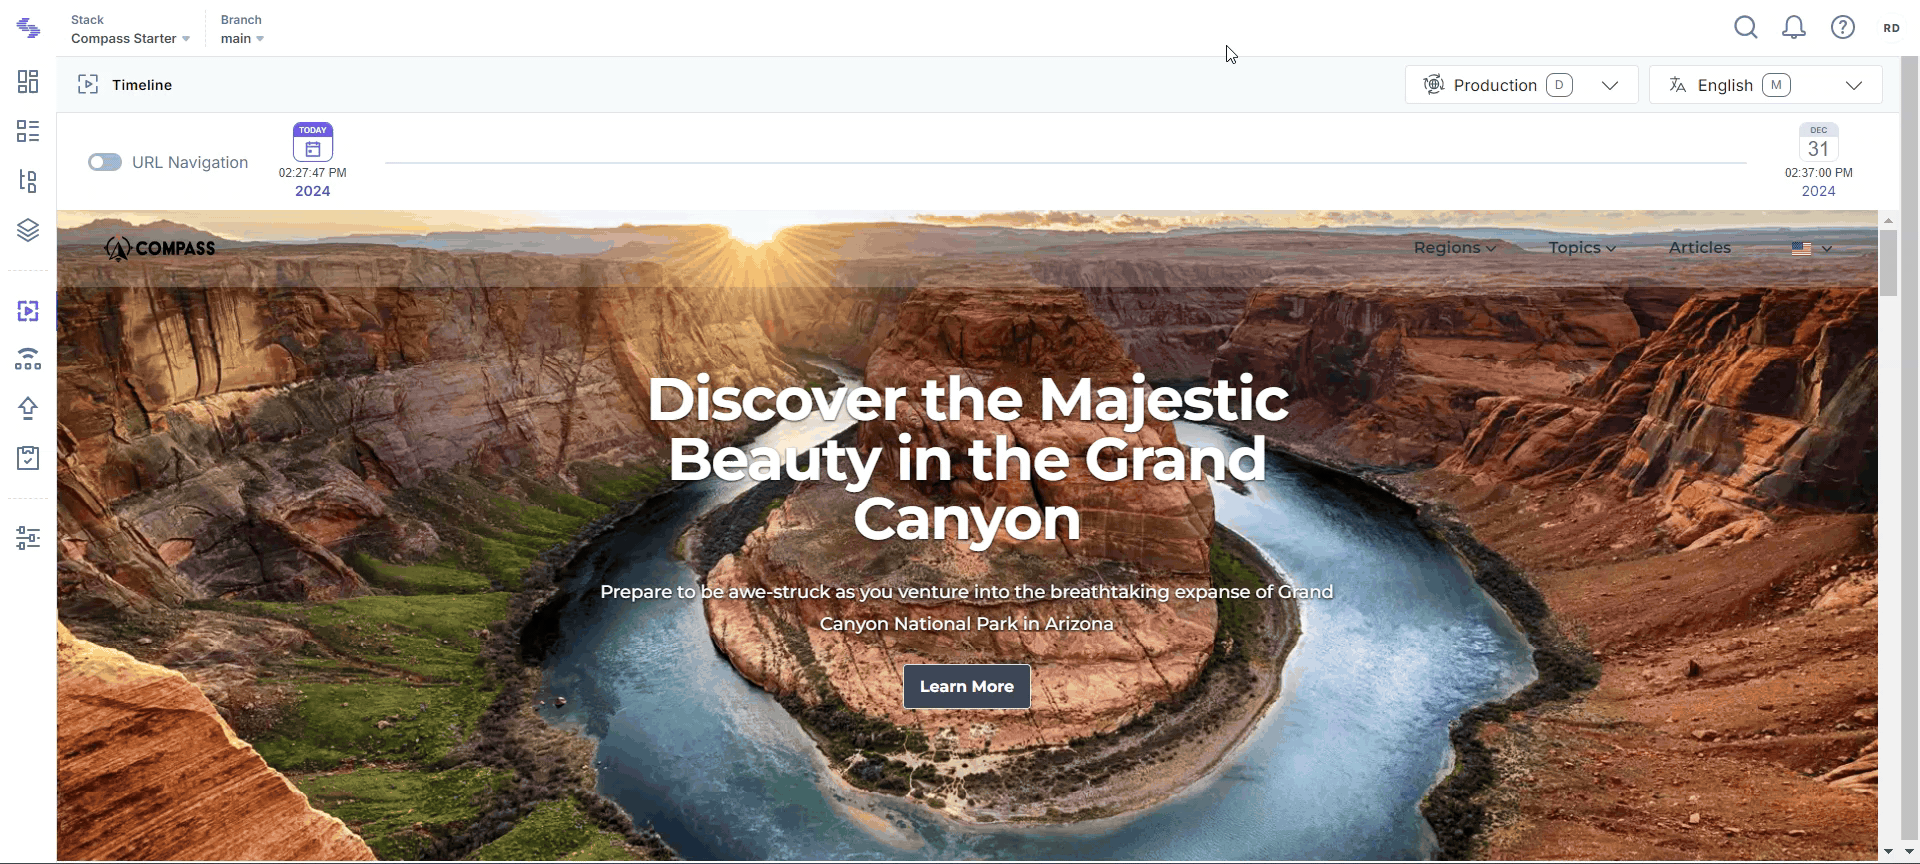
Preview Content Across a Timeline
Timeline allows you to see how your website will look at specific future dates and times. This feature helps you visualize the impact of scheduled content updates, ensuring everything appears as expected before going live.
Note: You need to enable the live preview feature in your stack settings to be able to view and use the timeline feature.
To view the timeline, log in to your Contentstack account, and perform the following steps:
- Go to your stack where you want to preview your website’s timeline.
- In the left panel, click the "Visual Experience" icon. By default you would see the Timeline preview.
Note: If you have not set up the default environment, the latest live preview SDK, and the preview token in the live preview settings, the Set Up Timeline screen will appear. This screen will guide you through each step to set up and use the timeline feature.
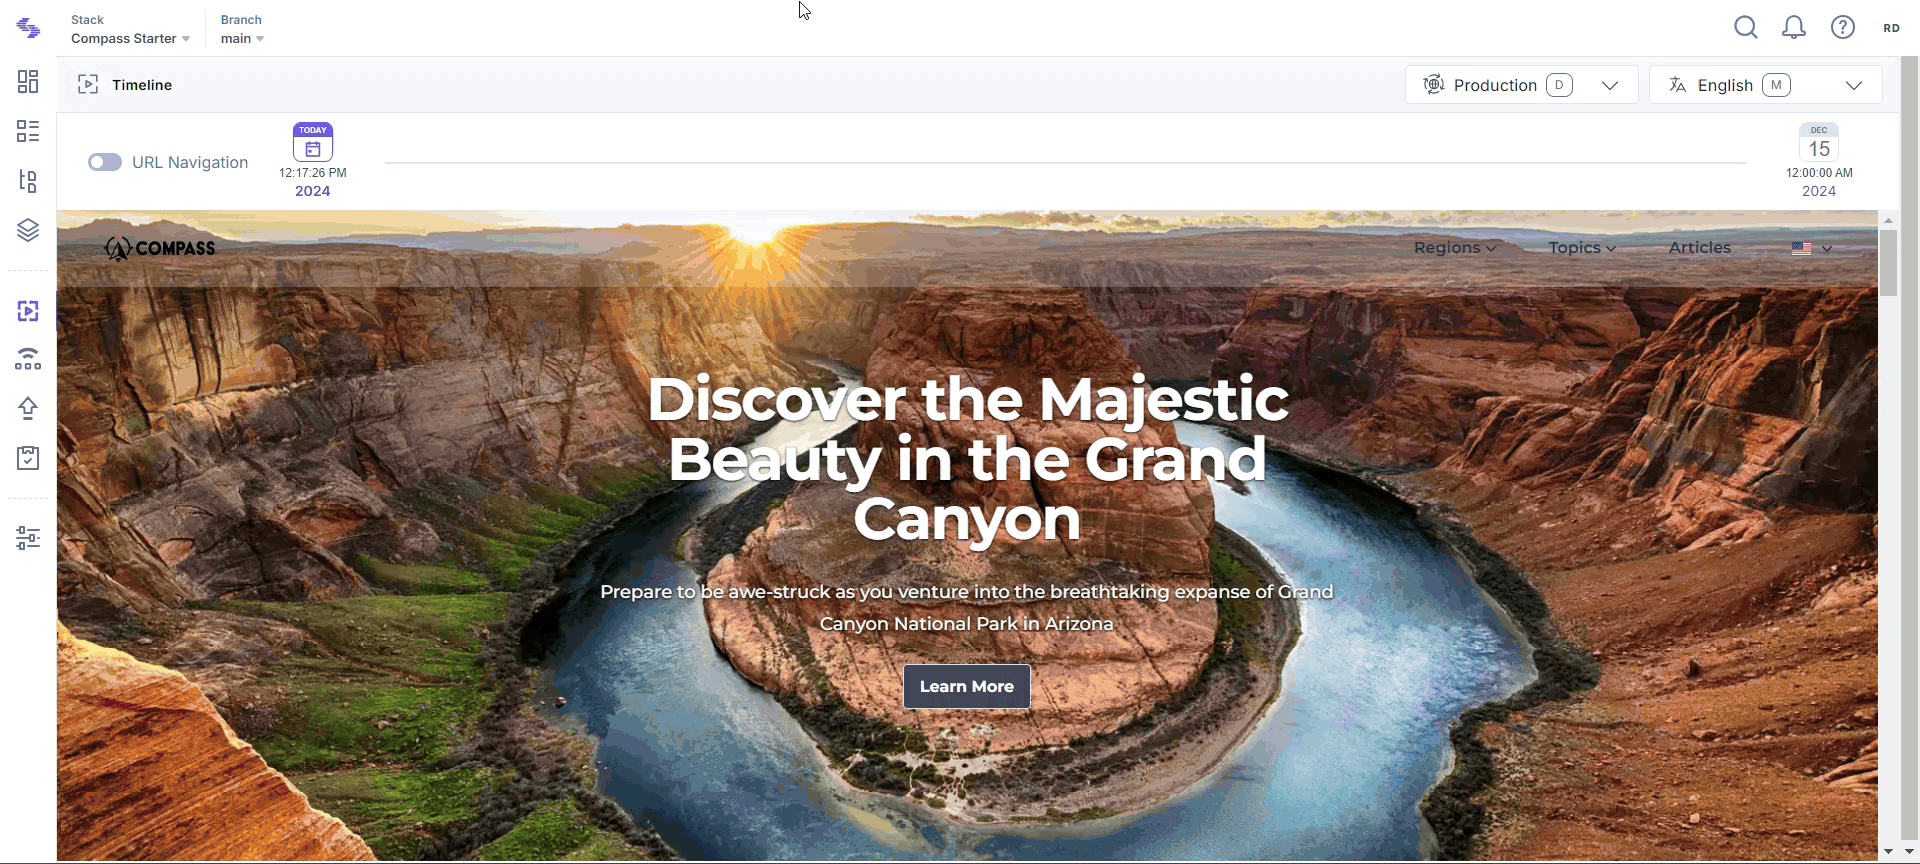
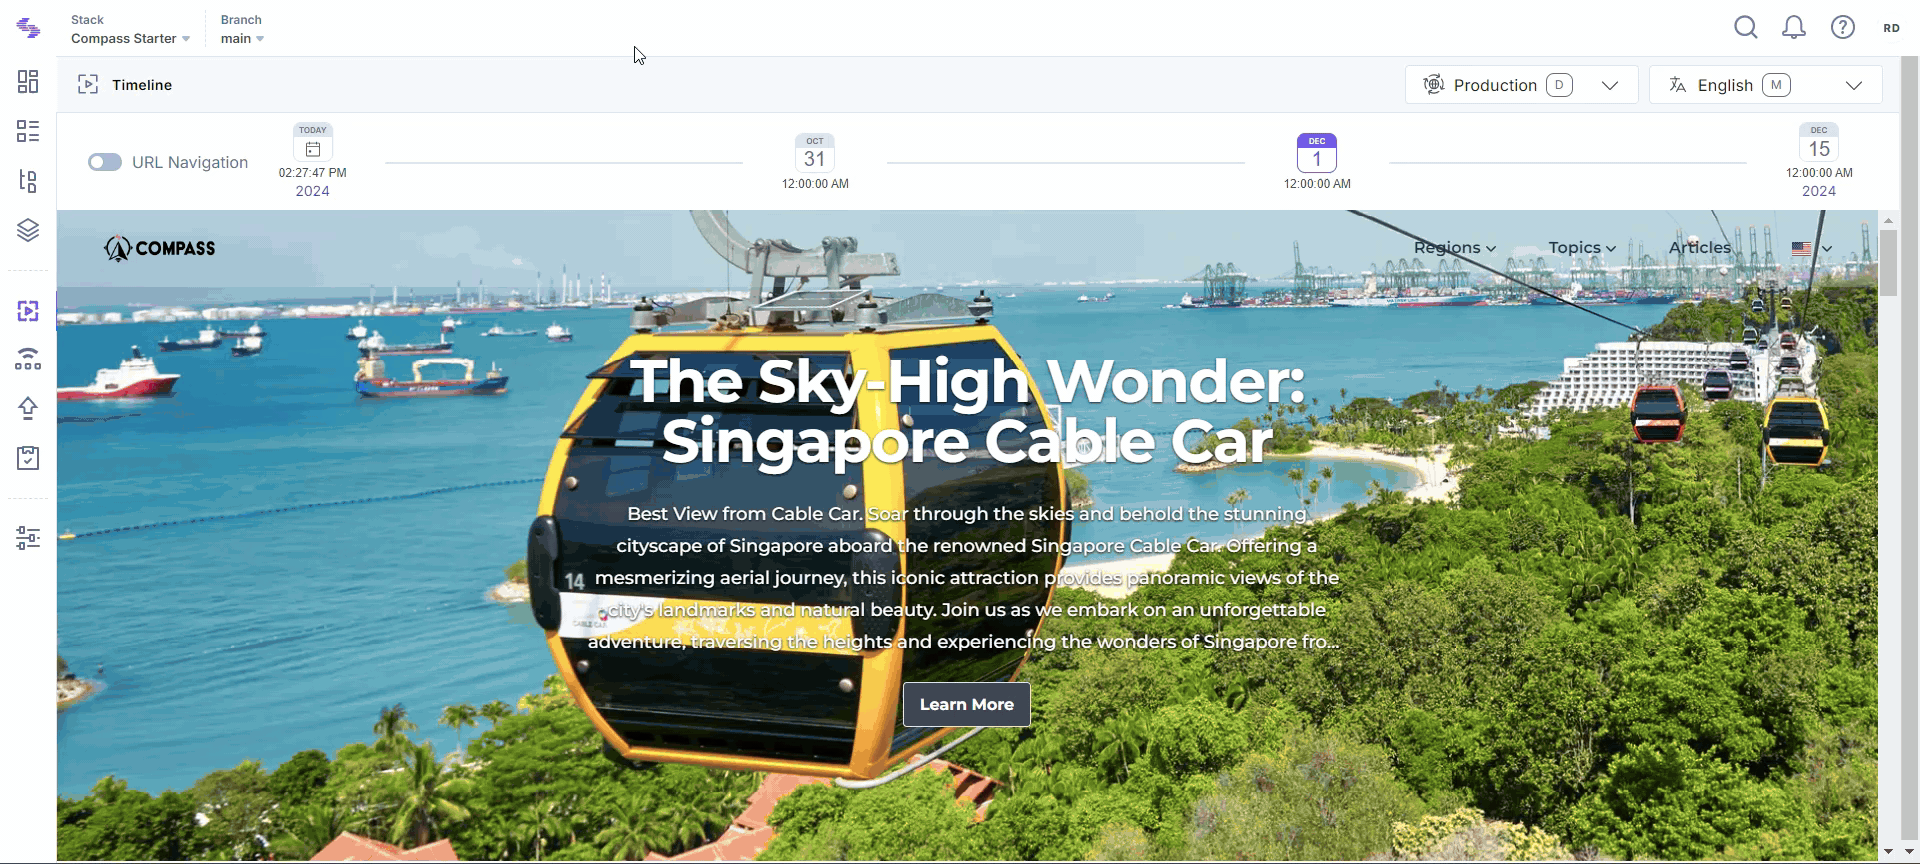
- Click any of the dates visible in the timeline bar to view your website in any future timeline.
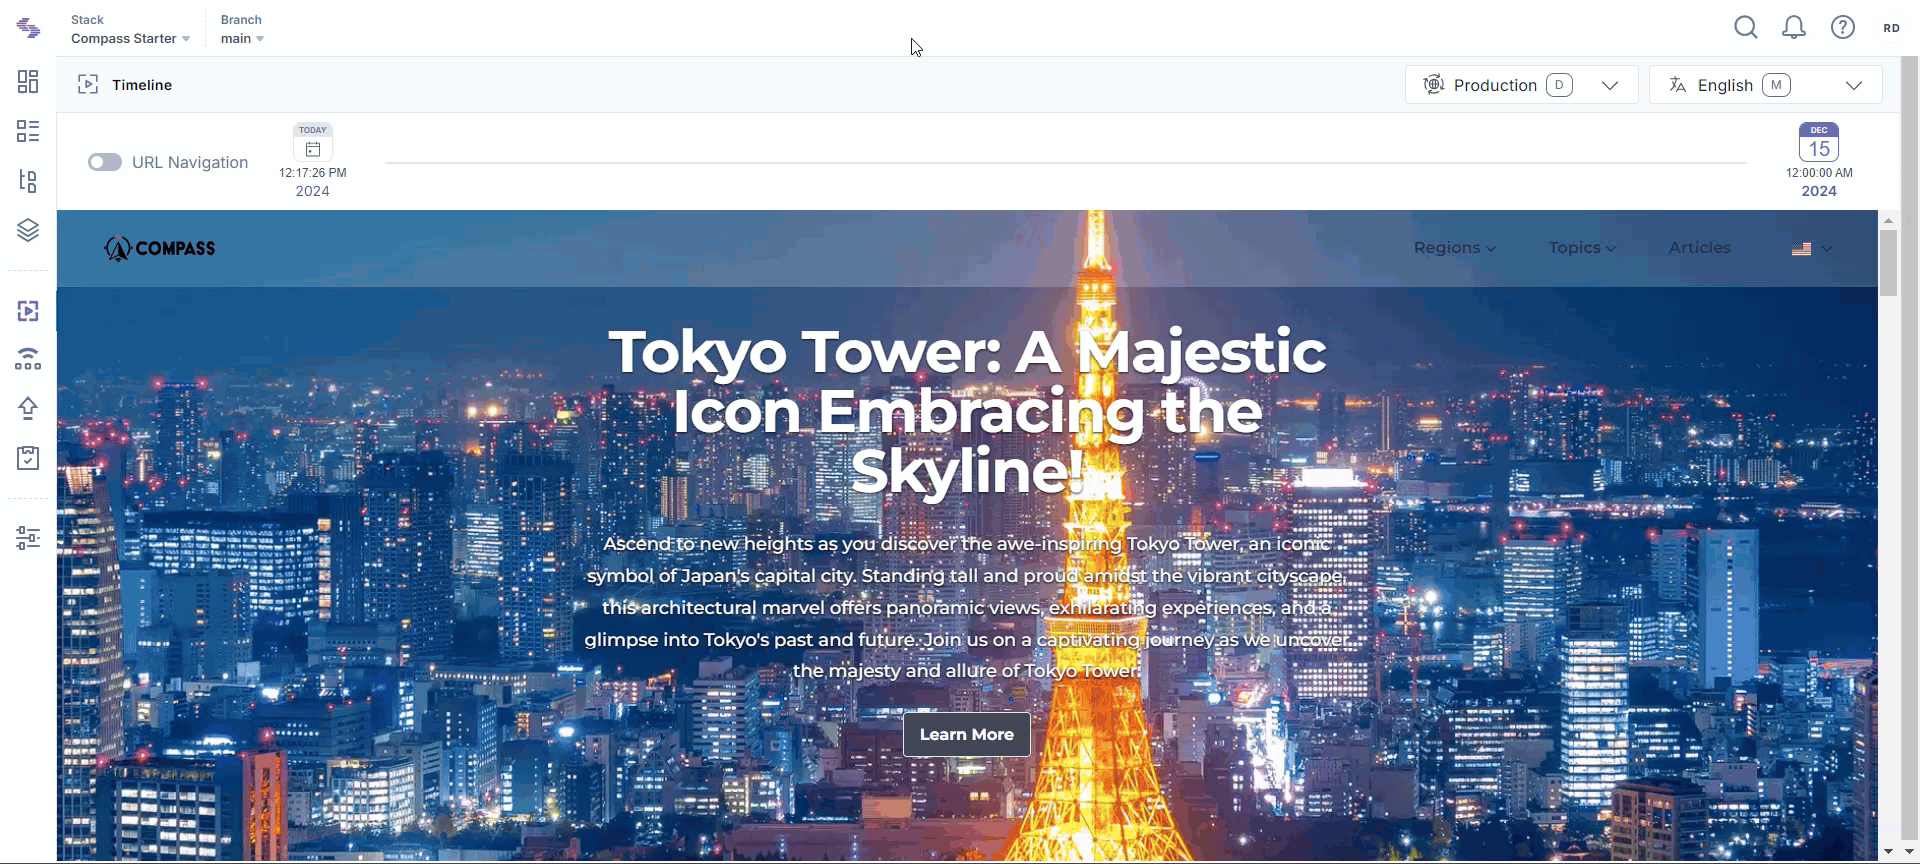
- Select different environments and locales to see how your content will appear in various settings.
Navigate through different pages of your website to see how the scheduled content appears.
Add Dates to Timeline
You can also add dates to the timeline bar.
- Click the Add Preview button to add dates to the timeline bar.
- In the resulting timeline dropdown, select from scheduled publishes or releases.
- Alternatively, click Select Custom Date to add a custom date to your timeline for preview.
URL Navigation
You can toggle between the “Timeline” and the “URL Navigation” modes. In the “URL Navigation” mode, you can preview your website using the URL bar, making it simple to navigate across different URLs.
Preview Details
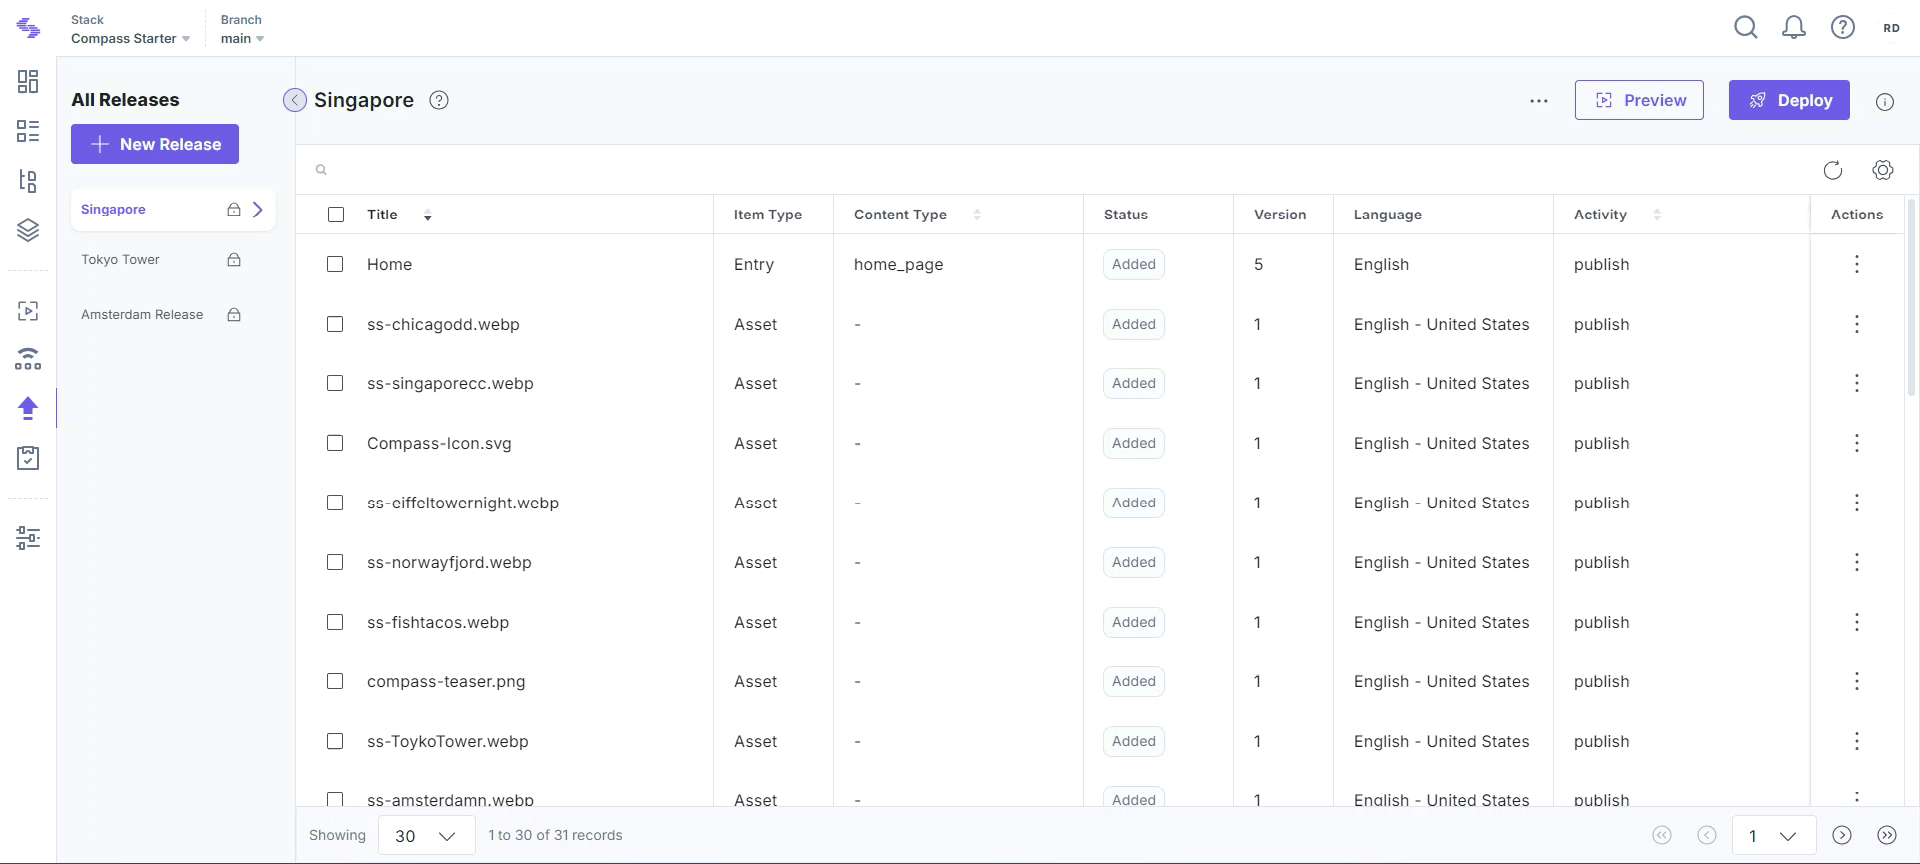
You can view the items, i.e., entries and/or assets, that have been updated for a particular timeline.
- Hover over a date in the timeline bar and click the Preview Details icon to view items updated for a particular timeline.
- For scheduled publishes, you will see the entry or asset scheduled for publishing.
- For releases, you will see a list of entries and assets present in the release.
- The left panel displays the Publish Timeline, providing an overview of all publishing schedules.
- For entries, click the “vertical ellipsis” in the Actions column and select Compare Entry to compare the entry in different versions.
- Use Open link in new tab to open the entries or assets in a new tab.

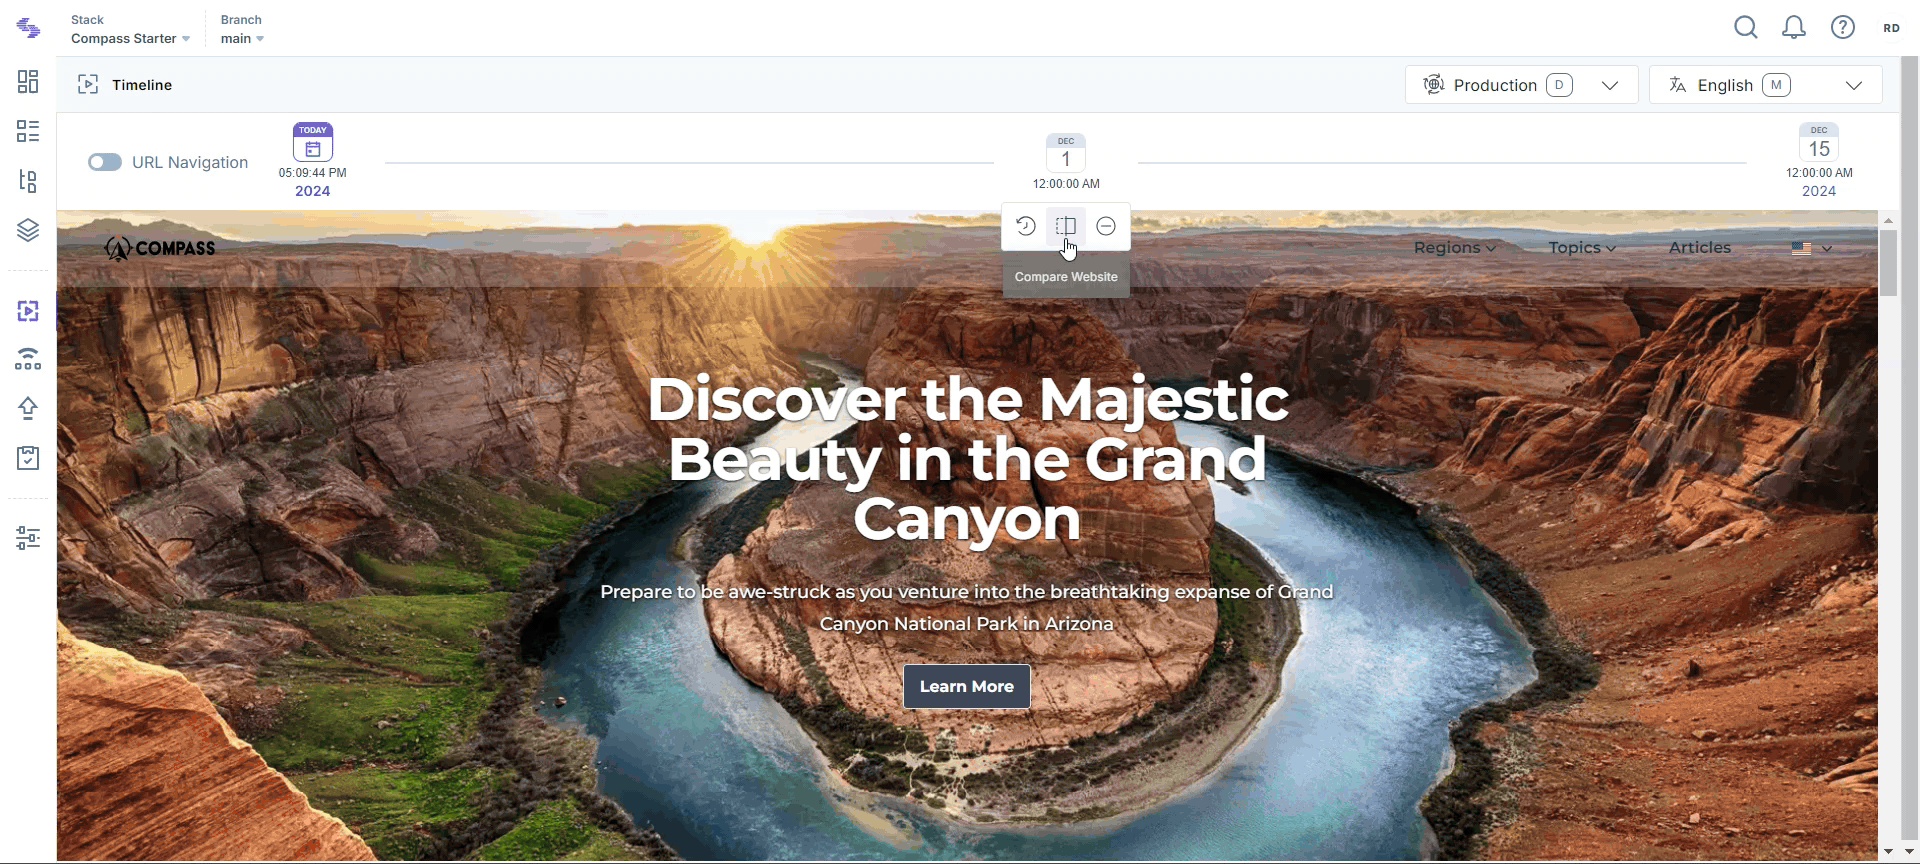
Compare Website
You can also compare your website in two different timelines.
- Hover over a date for comparison and click the Compare Website icon to open a side-by-side comparison of your website in the current timeline and the selected date.
- Use the Highlight Differences option to see all differences between the two pages.
Note: You can customize the color options for the highlight differences functionality.
- Preview the website in different views (Responsive, Desktop, Tablet, or Mobile) or manually set the width and height.
- Change the orientation of the website as needed.
- Alternatively, compare websites in different timelines from the Preview Details page.
You can choose to compare your website in different timelines thus giving you complete control.
Remove Preview
Hover over any date in the timeline bar and click the Remove Preview icon to customize your timeline view.
Update Timeline
By default, the timeline bar shows the farthest scheduled date as the end of the timeline. To update the end date, hover over the date on the extreme right and click the Update Timeline icon. Select any scheduled publish or release from the pop-up to update your timeline.
Releases
When viewing a particular release, use the Preview button to preview the website for that specific release.
Additional Resource: You can preview a particular entry with or without scheduling it for publishing. Refer to the Preview Entry document for more information.
Use the timeline feature to navigate through your website as a visitor would. Check all pages, links, and content elements to ensure they appear correctly. Pay attention to the layout, design, and functionality to confirm everything works as intended.
By following these steps, you can ensure that your website will look perfect when future updates go live, providing a seamless and engaging experience for your audience.
More articles in "Work with Timeline"
