

Preview Entry
With Contentstack's Timeline feature, you can now see how changes made to any entry will appear on your website in the future. Follow these steps to preview an entry:
To preview an entry, log in to your Contentstack account, and perform the following steps:
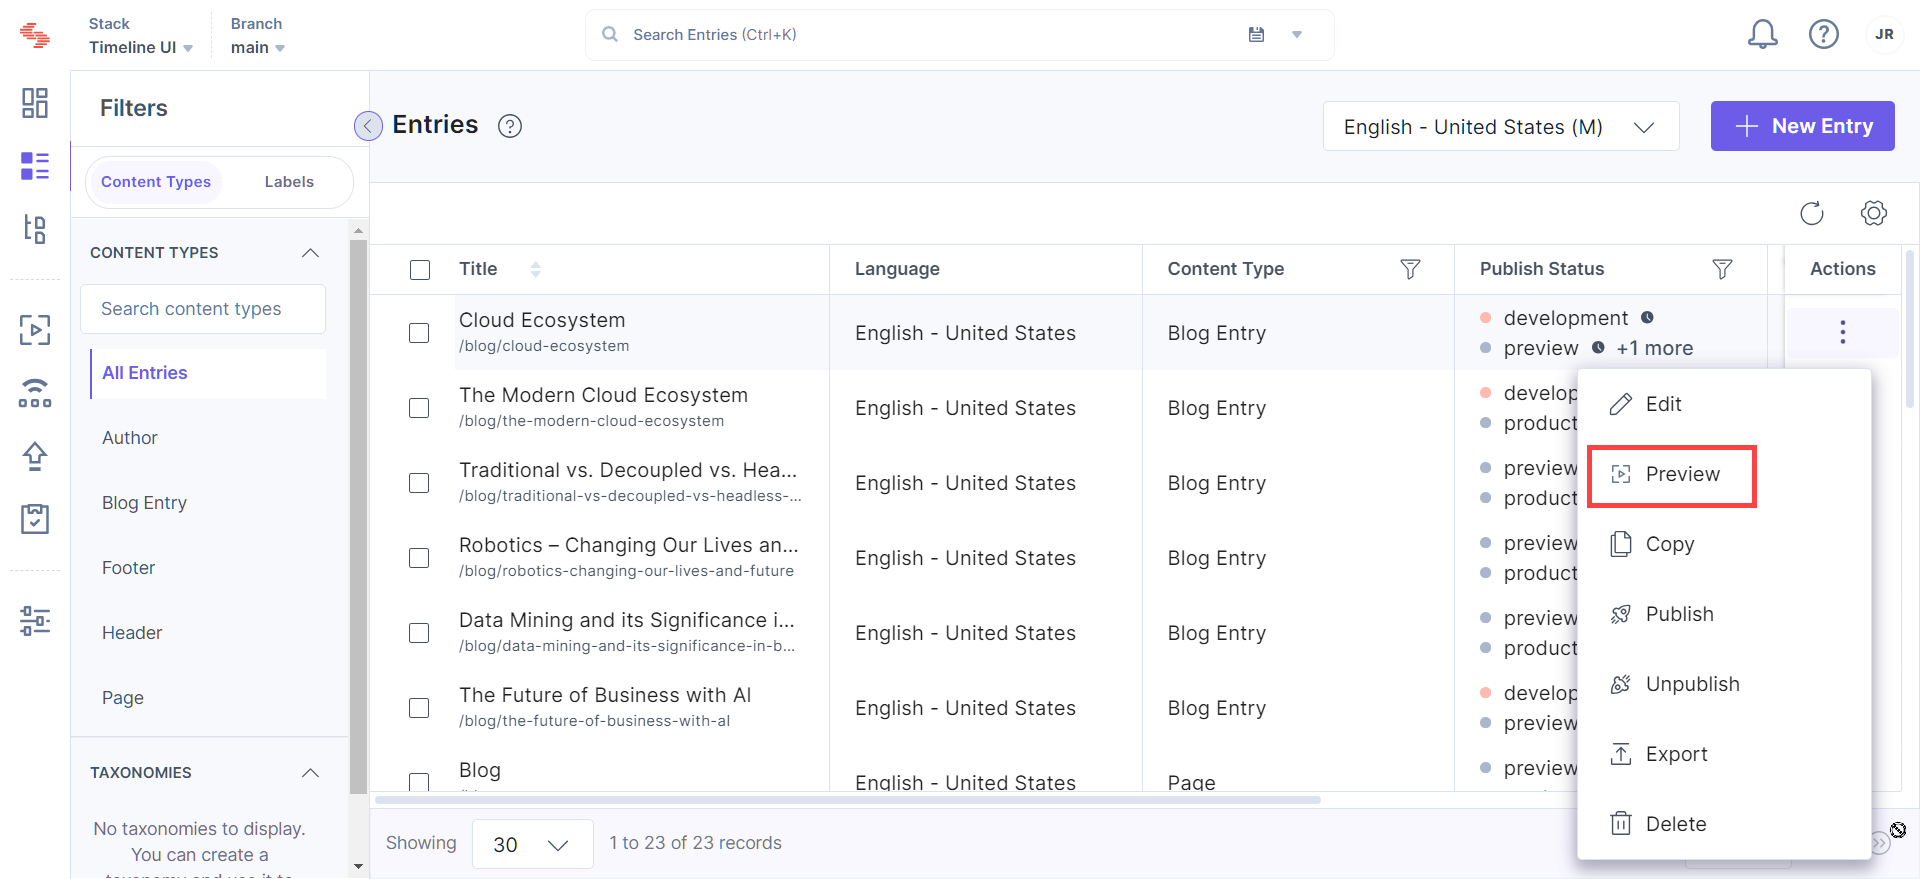
- Click on the Entries icon in the left navigation panel or use the shortcut key “E” (applicable for both Windows and Mac OS users).
- Navigate to the entry you want to preview. Click on the “vertical ellipsis” in the Actions column and select Preview.
Note: You can preview only the latest versions of your entry.
Depending on the scenario of your entry’s publish status you will see the following modals:
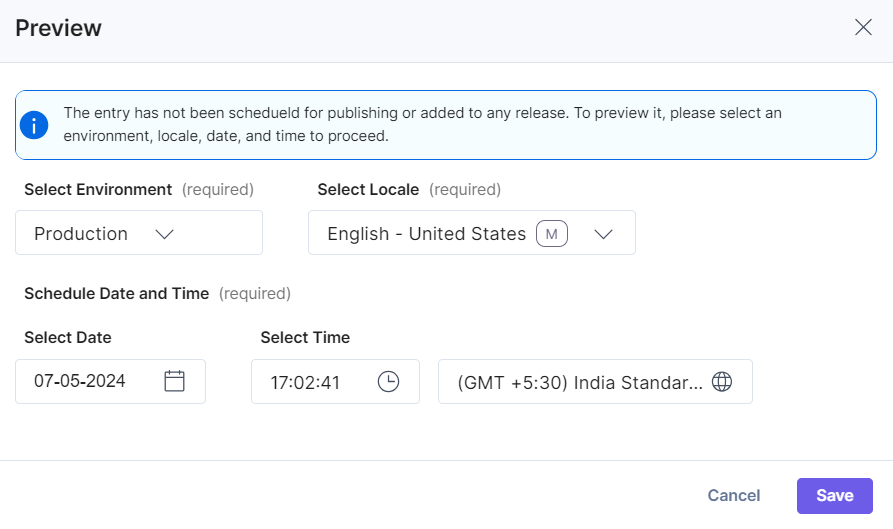
Unpublished Entries
- If your entry is not published in any environment and not scheduled for publishing, you need to select the Environment and Locale to preview your website.
- If your entry is not added to any release or scheduled for publishing, input a tentative Date and Time to proceed with the preview.
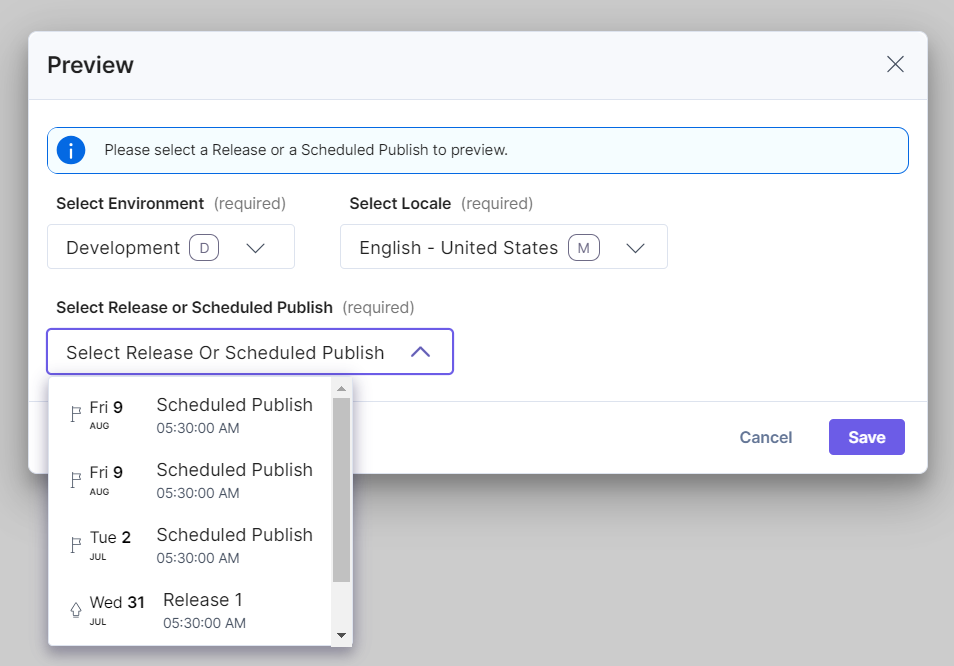
Scheduled Publishing
- For entries scheduled to be published, select the Environment and Locale to preview your website.
- If the entry is scheduled for publishing, you will see a dropdown to select the Scheduled Publish option.
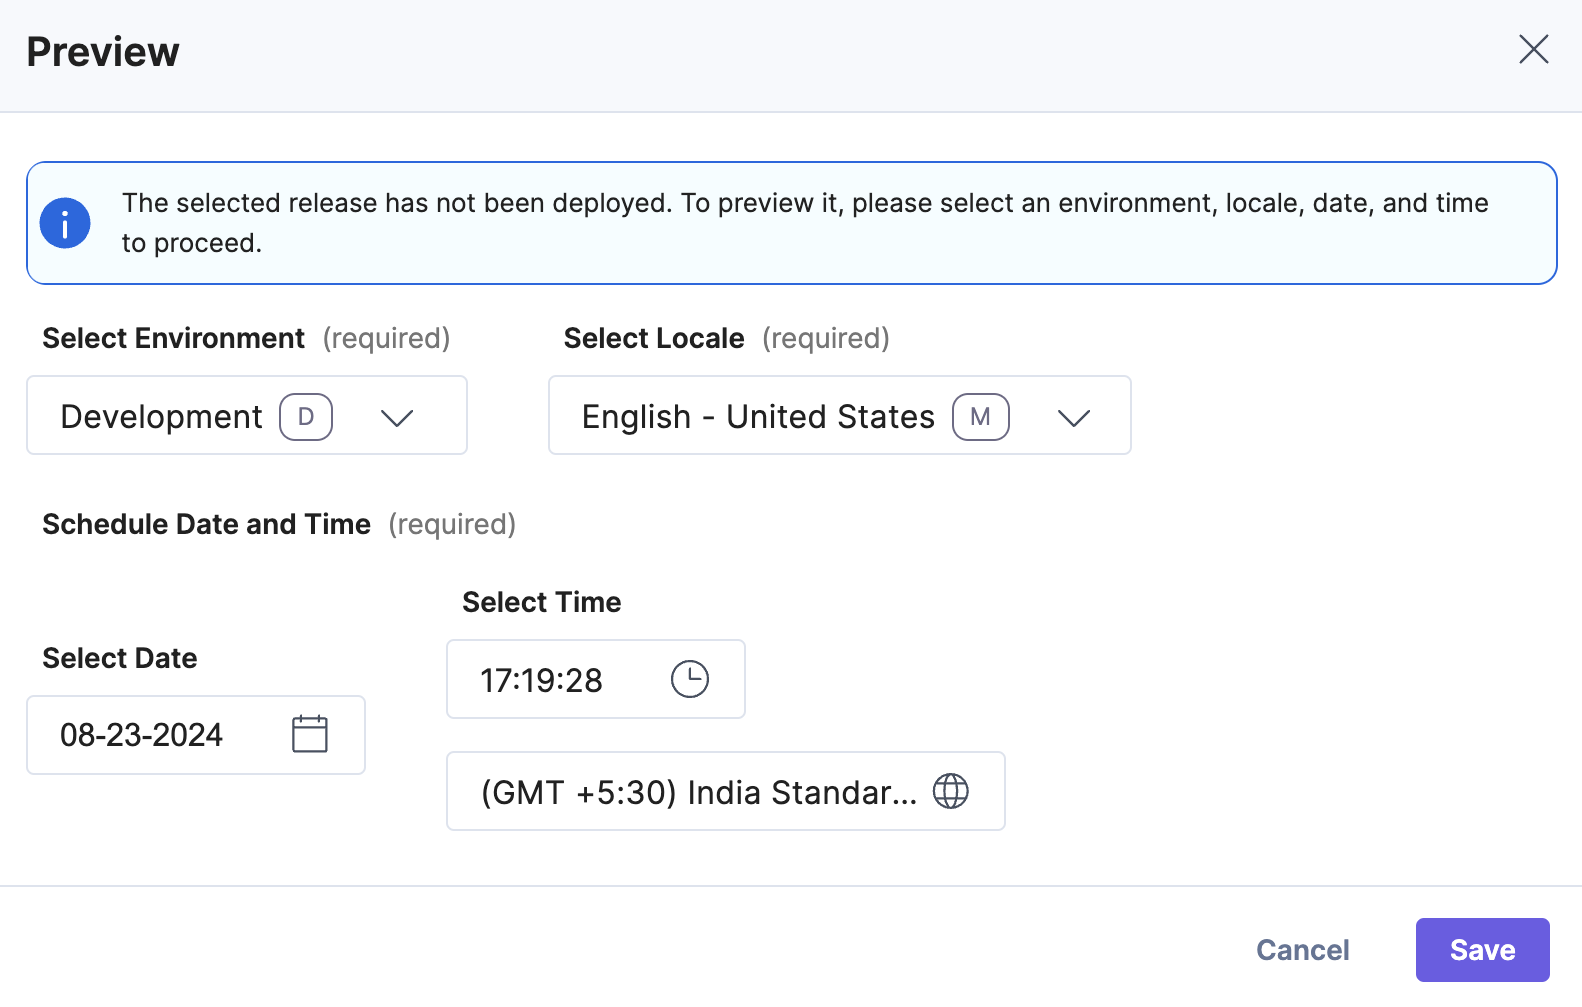
Added to an Undeployed Release
- For entries added to a release but not yet deployed, select the Environment and Locale to preview your website.
- If the entry is part of a release but not deployed, input a tentative Date and Time for the preview.
- Alternatively, in the Releases module, if you try to preview an undeployed release, you will be prompted to input a tentative Date and Time.
Added to a Deployed Release
- For entries added to a deployed release, select the Environment and Locale to preview your website.
- If the entry is already deployed via a release, you will see a dropdown to select the Release.
By following these steps, you can ensure that your content updates are accurately reflected on your website before they go live, providing a seamless and consistent user experience.
Was this article helpful?
More articles in "Create and Manage Content"
